The all-in-one automation suite for brand identity designers
Deliver flawless
Everything you need, in one poweful suite


How to Create Brand Guidelines (Illustrator Tutorial)
A simple step-by-step guide to create brand guidelines in illustrator
So you’ve just had fun creating an awesome brand identity for a client. Congratulations! But now it's time for the part that many designers find tedious: creating the brand guidelines.
It doesn't have to be a slow or boring process. A great brand guideline is the final, professional step that protects your hard work and ensures the brand stays consistent for years to come.
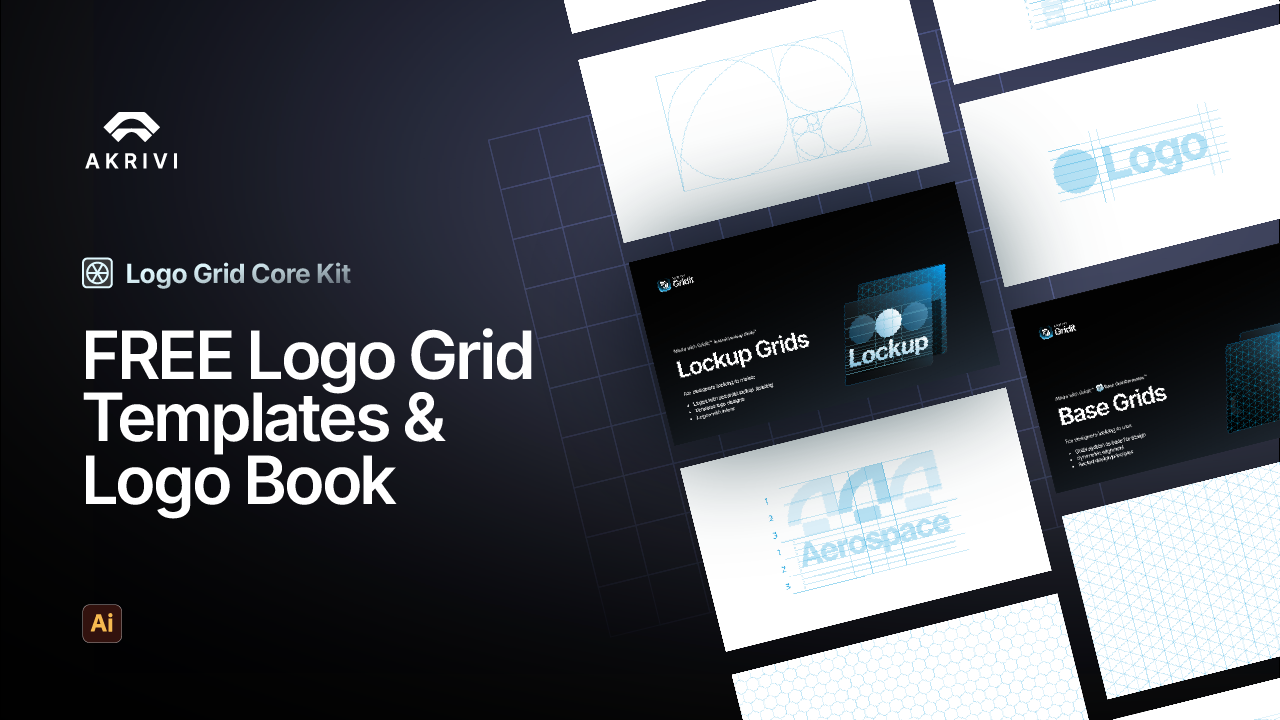
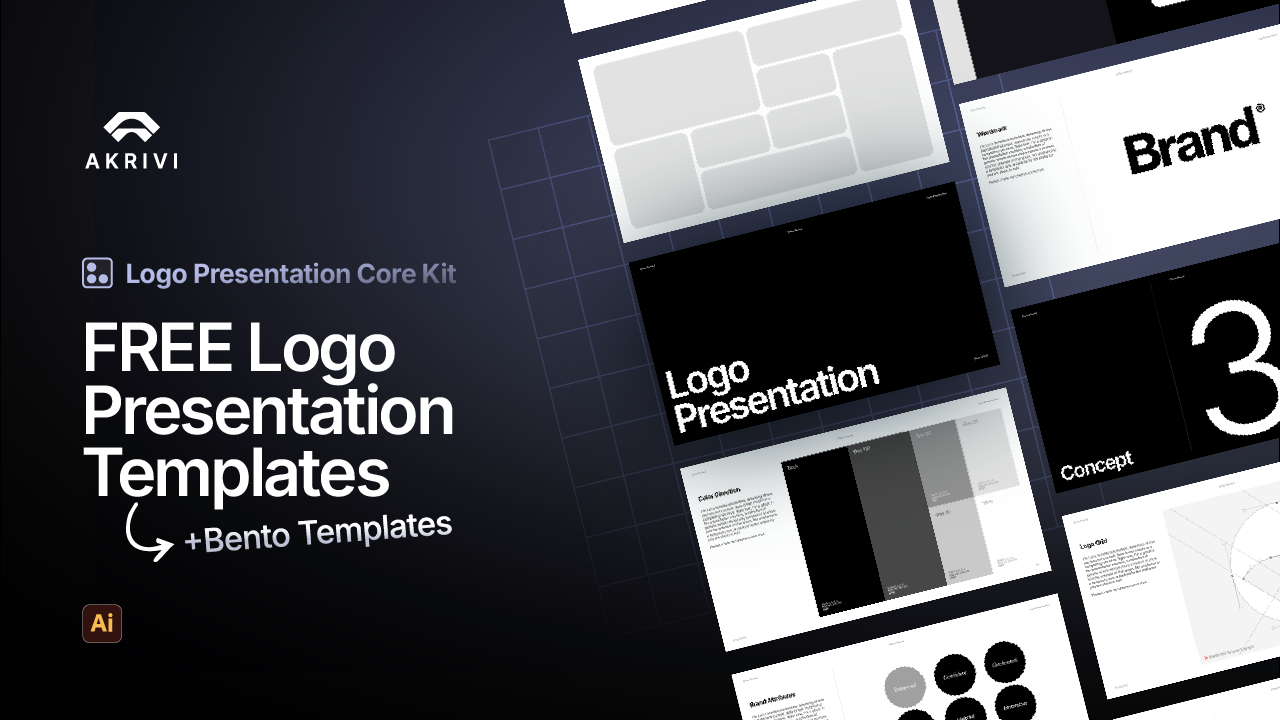
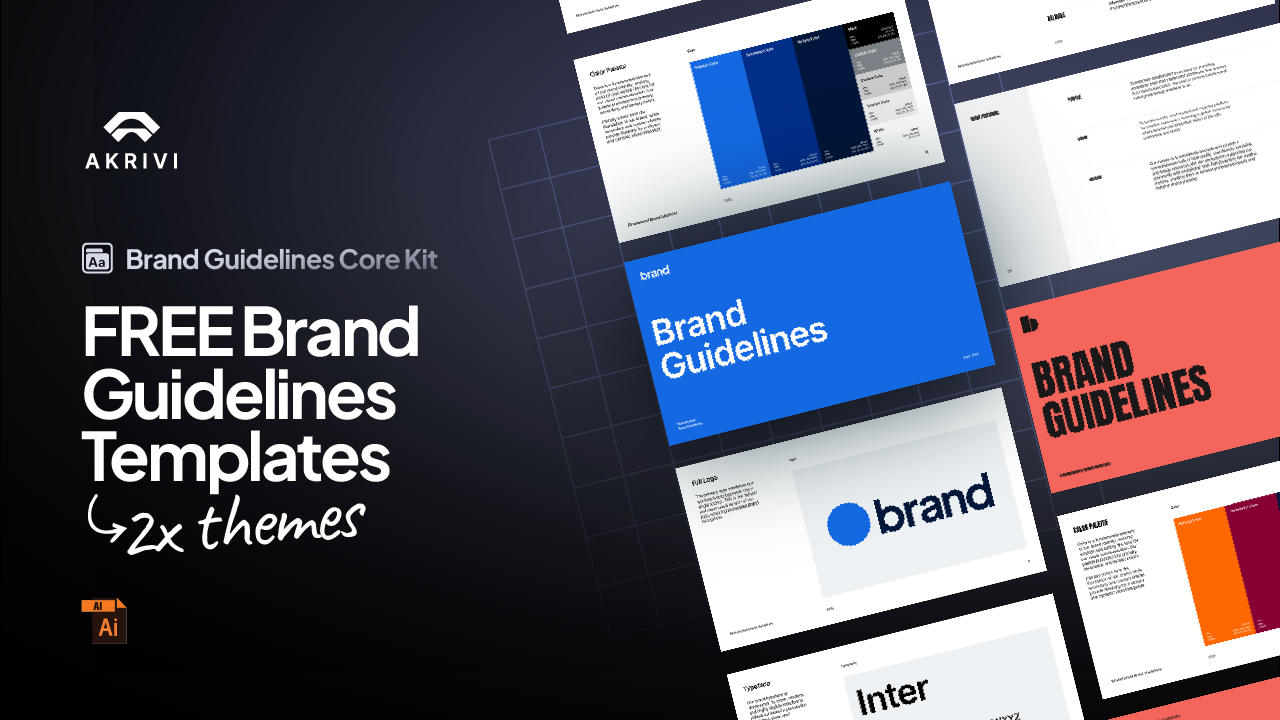
In this guide, I’ll show you a simple way to create your document in Adobe Illustrator, and I’ve even included some free brand guidelines templates to help you save time.
The Step-by-Step Guide to Building Your Document
Let's jump into Illustrator. I'll show you exactly how I set up every brand guideline document to ensure consistency and a professional finish from the very beginning.
If you need a refresher on the 6 key elements that go inside a brand guideline, you can check out my guide on what to include in brand guidelines here.
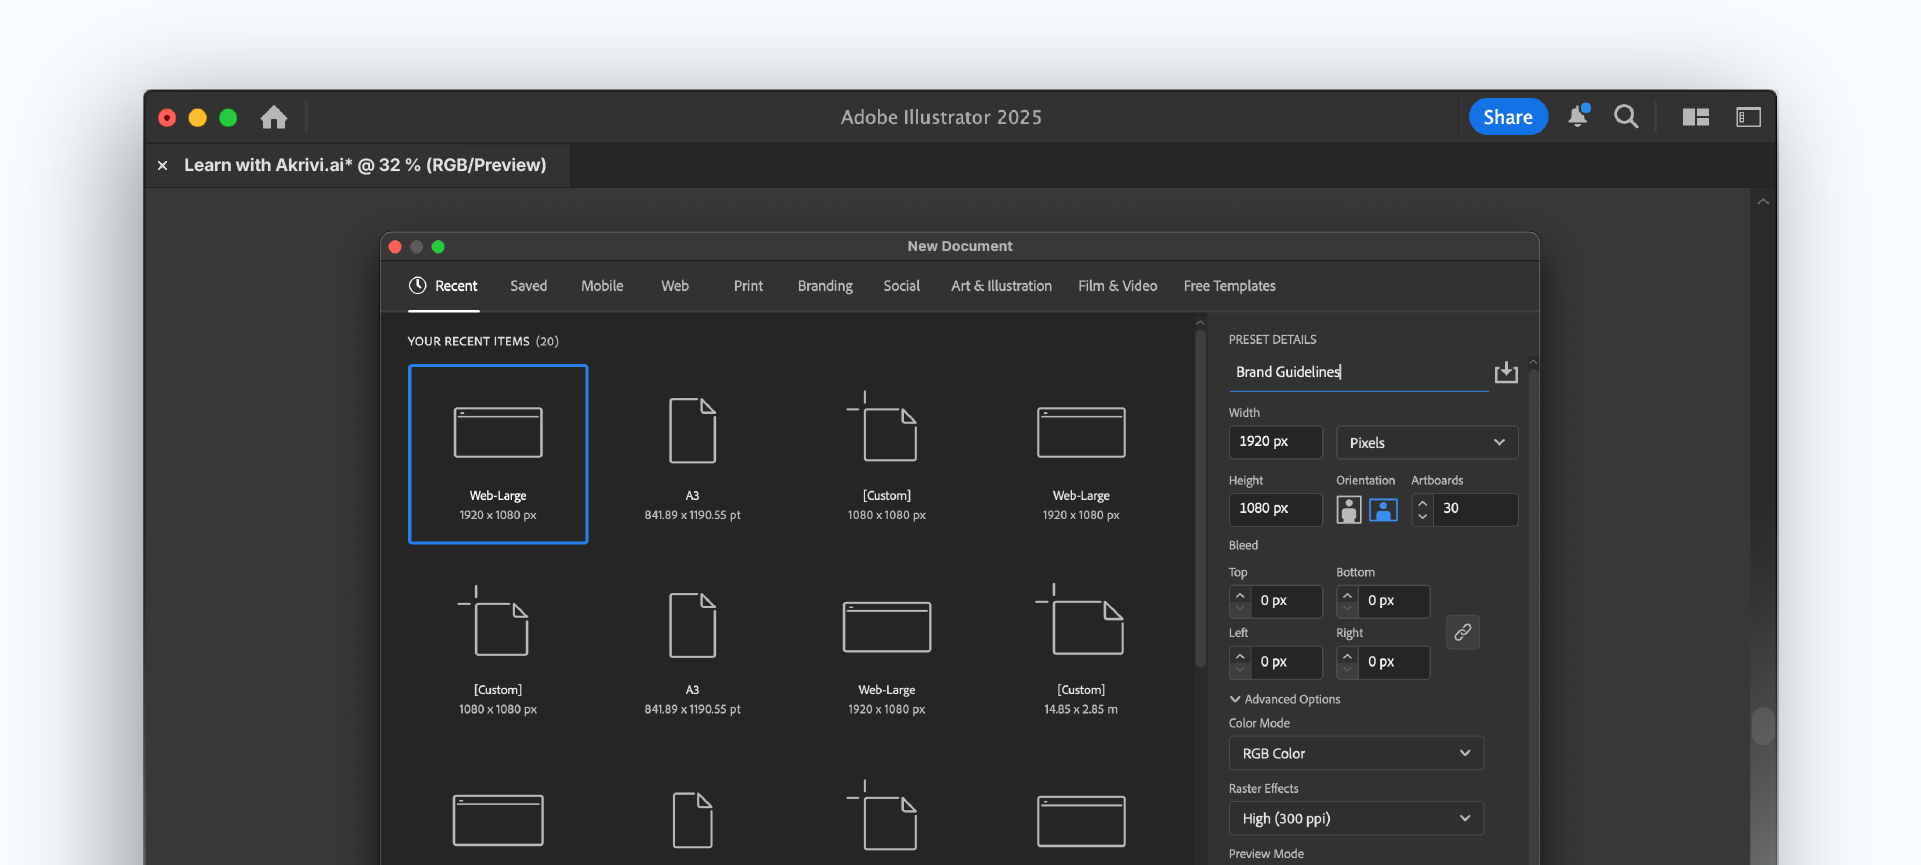
Step 1: Set Up Your Document
First, create a new document. I recommend using a dimension of 1920 x 1080 pixels. This is a standard 16:9 screen size, which is perfect for creating a horizontal document that you can easily present to your client on any screen.
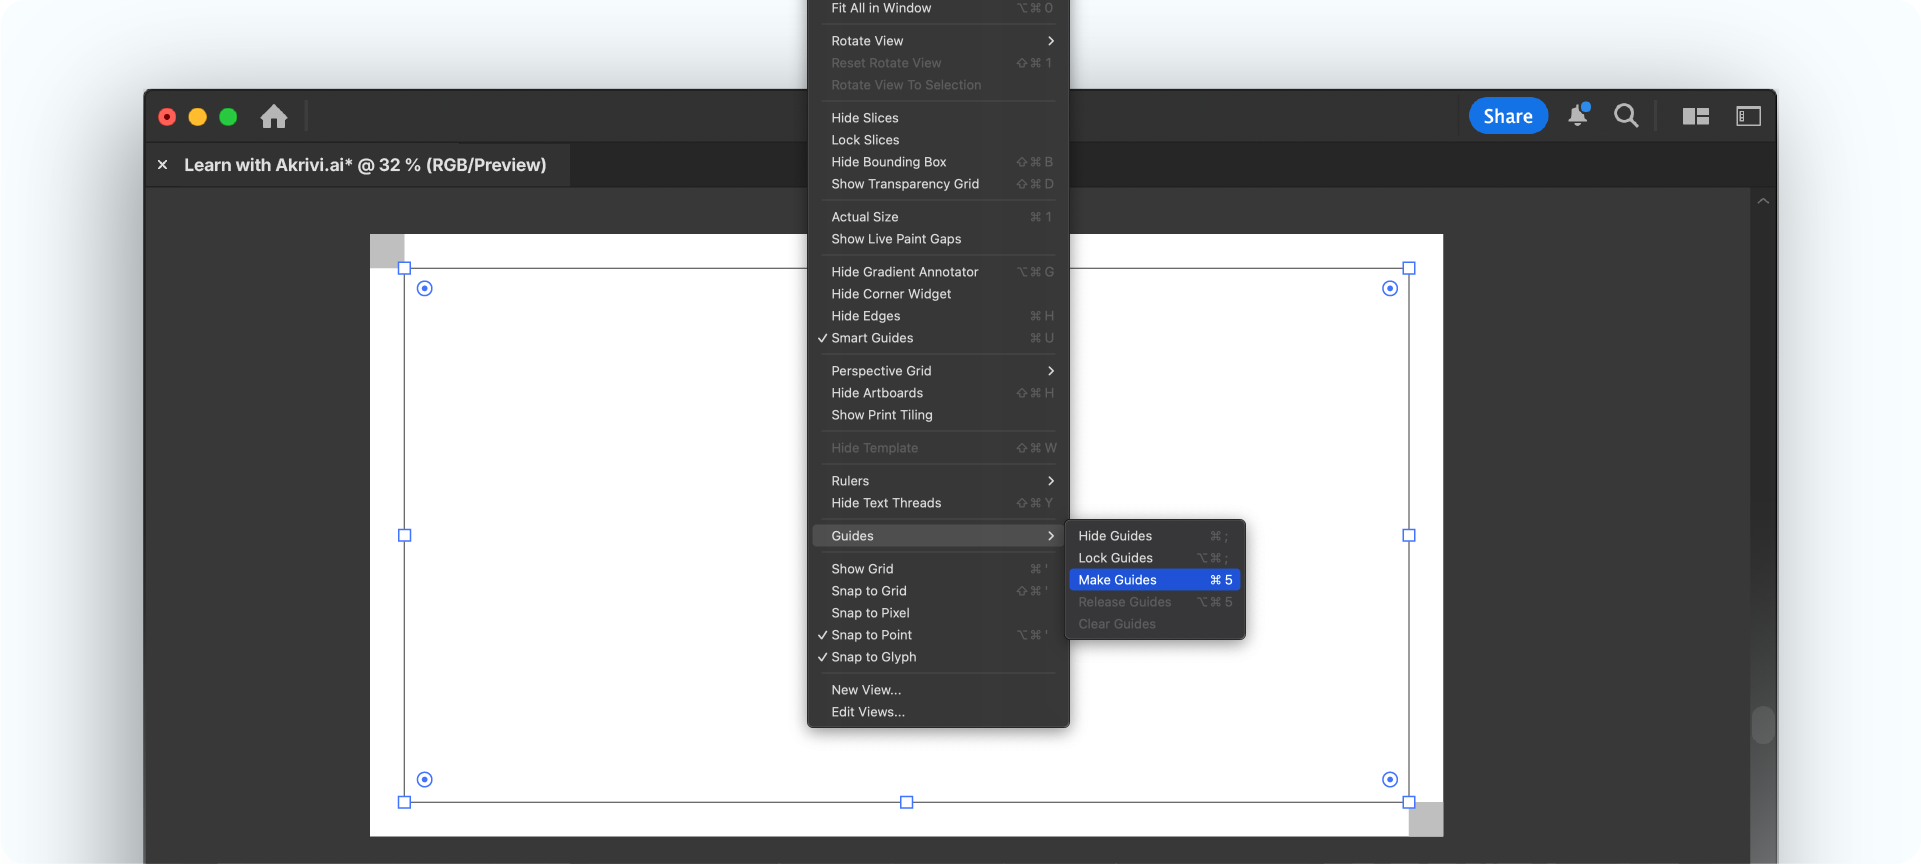
Step 2: Create a Master Margin
To ensure every page has a clean and consistent layout, you need to set up a master margin. Instead of dragging out guides manually, there’s a much more precise way to do it.
First, create a small square in the top-left corner and another in the bottom-right to define your spacing. Then, create a large rectangle that snaps to the inner corners of these two squares. Finally, select the rectangle, right-click, and choose Make Guides. This creates a perfect, locked margin that will be your foundation.

Step 3: Define Your Typographic Scale with the Golden Ratio
A clear typographic hierarchy is essential for a professional document. I always define four core text styles: a Header, Subheader, Body Text, and Microtext.
To create a mathematically balanced scale, I use the Golden Ratio (1.618). Start with a large size for your Header (e.g., 200pt), then divide that number by 1.618 to get the size for your Subheader. Repeat the process for your Body and Microtext. This simple system makes everything look harmonious and intentional.
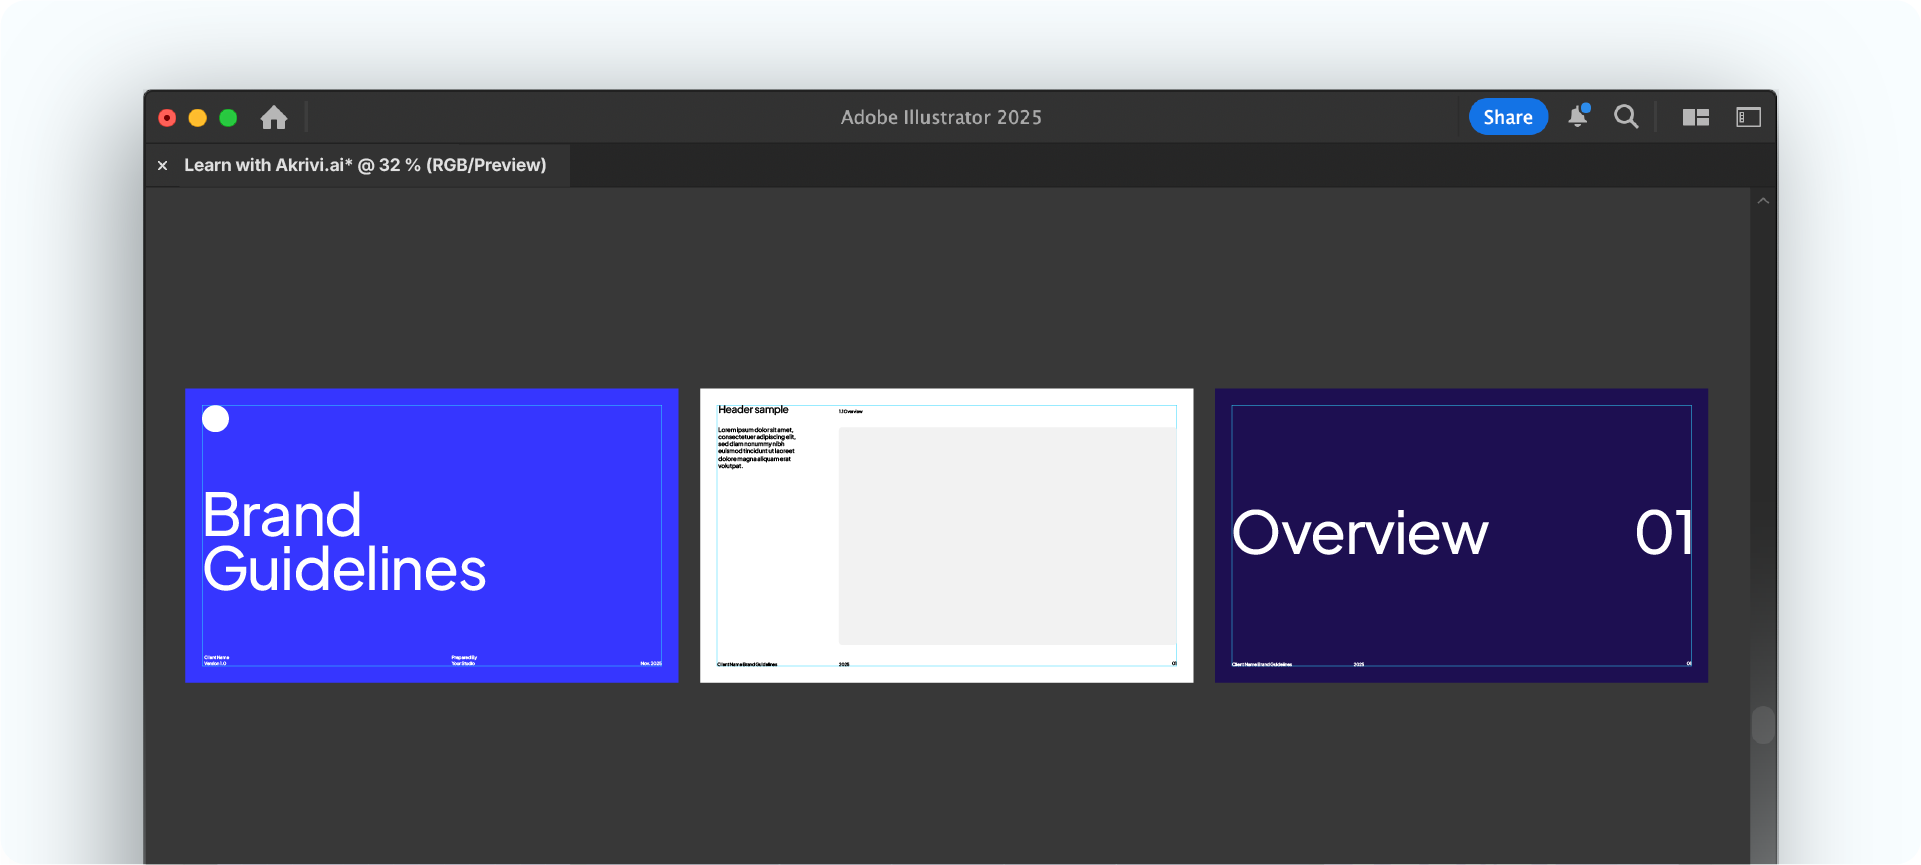
Step 4: Create 'Parent Pages' for a Consistent Layout
Instead of designing each page one-by-one, you should create a few master layouts or "parent pages" first. This workflow ensures that all your different page types look and feel consistent.
I recommend creating three parent pages:
- The Cover Page: The main title page for the document.
- Section Pages: Bold, simple pages to introduce new chapters (e.g., "Logo," "Typography").
- Content Pages: The main layout that will hold all of your detailed information.
On your content parent page, you should also add the footer elements. This includes the client's brand name and a placeholder for page numbers. Illustrator doesn't add page numbers automatically, but you can use a simple script to do it for you.
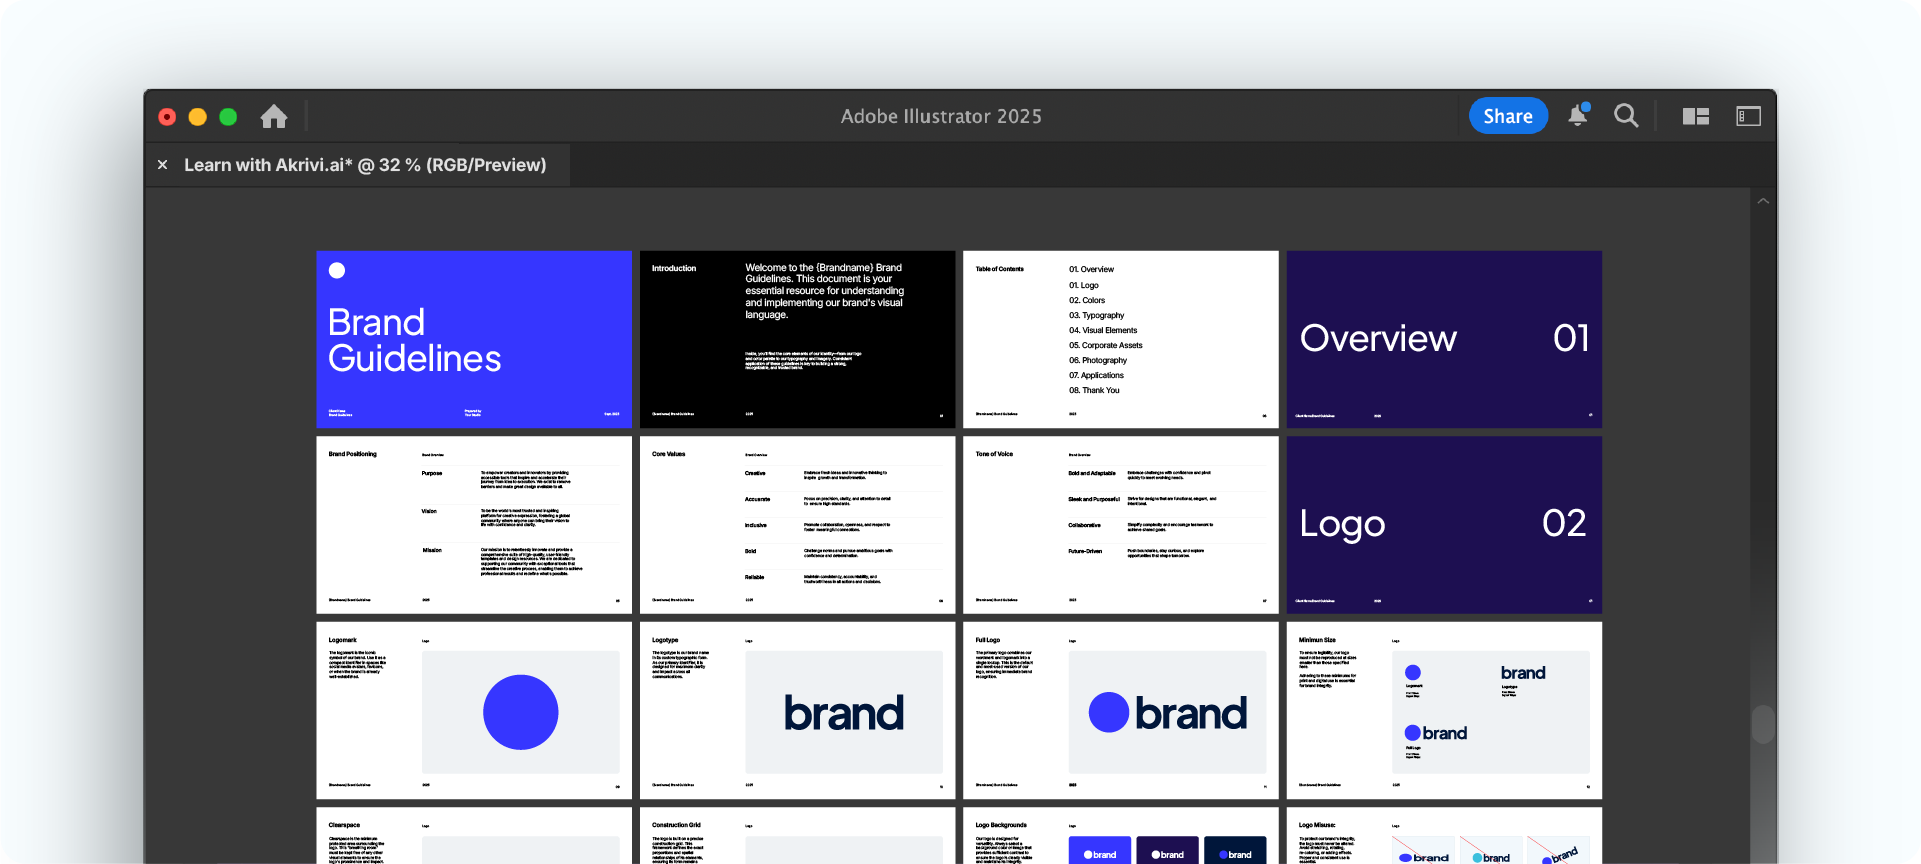
Step 5: Build and Populate Your Guidelines
With your parent pages designed, you can now build out the full document. Simply use the Artboard Tool (Shift + O) to duplicate your parent pages as many times as you need for each section.
From here, all that's left to do is populate the template with your content. Since the structure is already built, this part of the process becomes much faster and more organized. You can focus on dropping in your logos, colors, and text without worrying about the layout.
Want to Save Even More Time?
Now that you know how to build a professional template, you can create one from scratch for your next project.
But to help you get started immediately, I've done all the work for you.
I’ve created a set of free Brand Guideline templates, that you can download and use right away. They are professionally structured and come in a few different themes to match the brand you're working on.

Conclusion
Creating a well-structured brand guideline is a non-negotiable step for any professional brand designer. By setting up a consistent document with a clear typographic scale and master pages, you save time and deliver a polished final product. It’s how you protect the brand's future and deliver lasting value to your clients. Which is why I'm building Guideit to help designers automate this process.
Generate Brand Guidelines in Seconds
Ready to save hours on your next project? You don't need to build layouts manually.
Create professional brand guidelines in seconds, not hours, with Guideit. It handles the structure, colors, and typography automatically inside Adobe Illustrator.