Kwaku Amprako is a brand identity designer and founder of Akrivi — pioneering BIDA (Brand Identity Design Automation) to empower designers to create with more speed, precision, and less stress.
for your clients 10x faster

Automate your entire logo & brand identity workflow with Akrivi Studio.
How to Finalize a Logo with a Construction Grid (And Why It Matters)
Why designers add grids AFTER creating a logo and how you can too.
You’ve created a strong logo concept, but what turns a good design into a finished, professional mark?
Often, it’s the final step that many designers skip: a logo construction grid.
You use it after the logo is designed, like an x-ray, showing small mistakes like uneven lines or spacing you might not see at first.
It’s the final touch that gets your logo ready for a logo presentation with your client, or a case study on your portfolio.
Using this type of grid adds that final professional touch, turning your logo from good to great.
Let’s break down why it matters, and how to do it.
What is a Logo Construction Grid?
A logo construction grid is something you use after your logo is designed. It’s used for perfecting what you've already made, not for starting a new design.
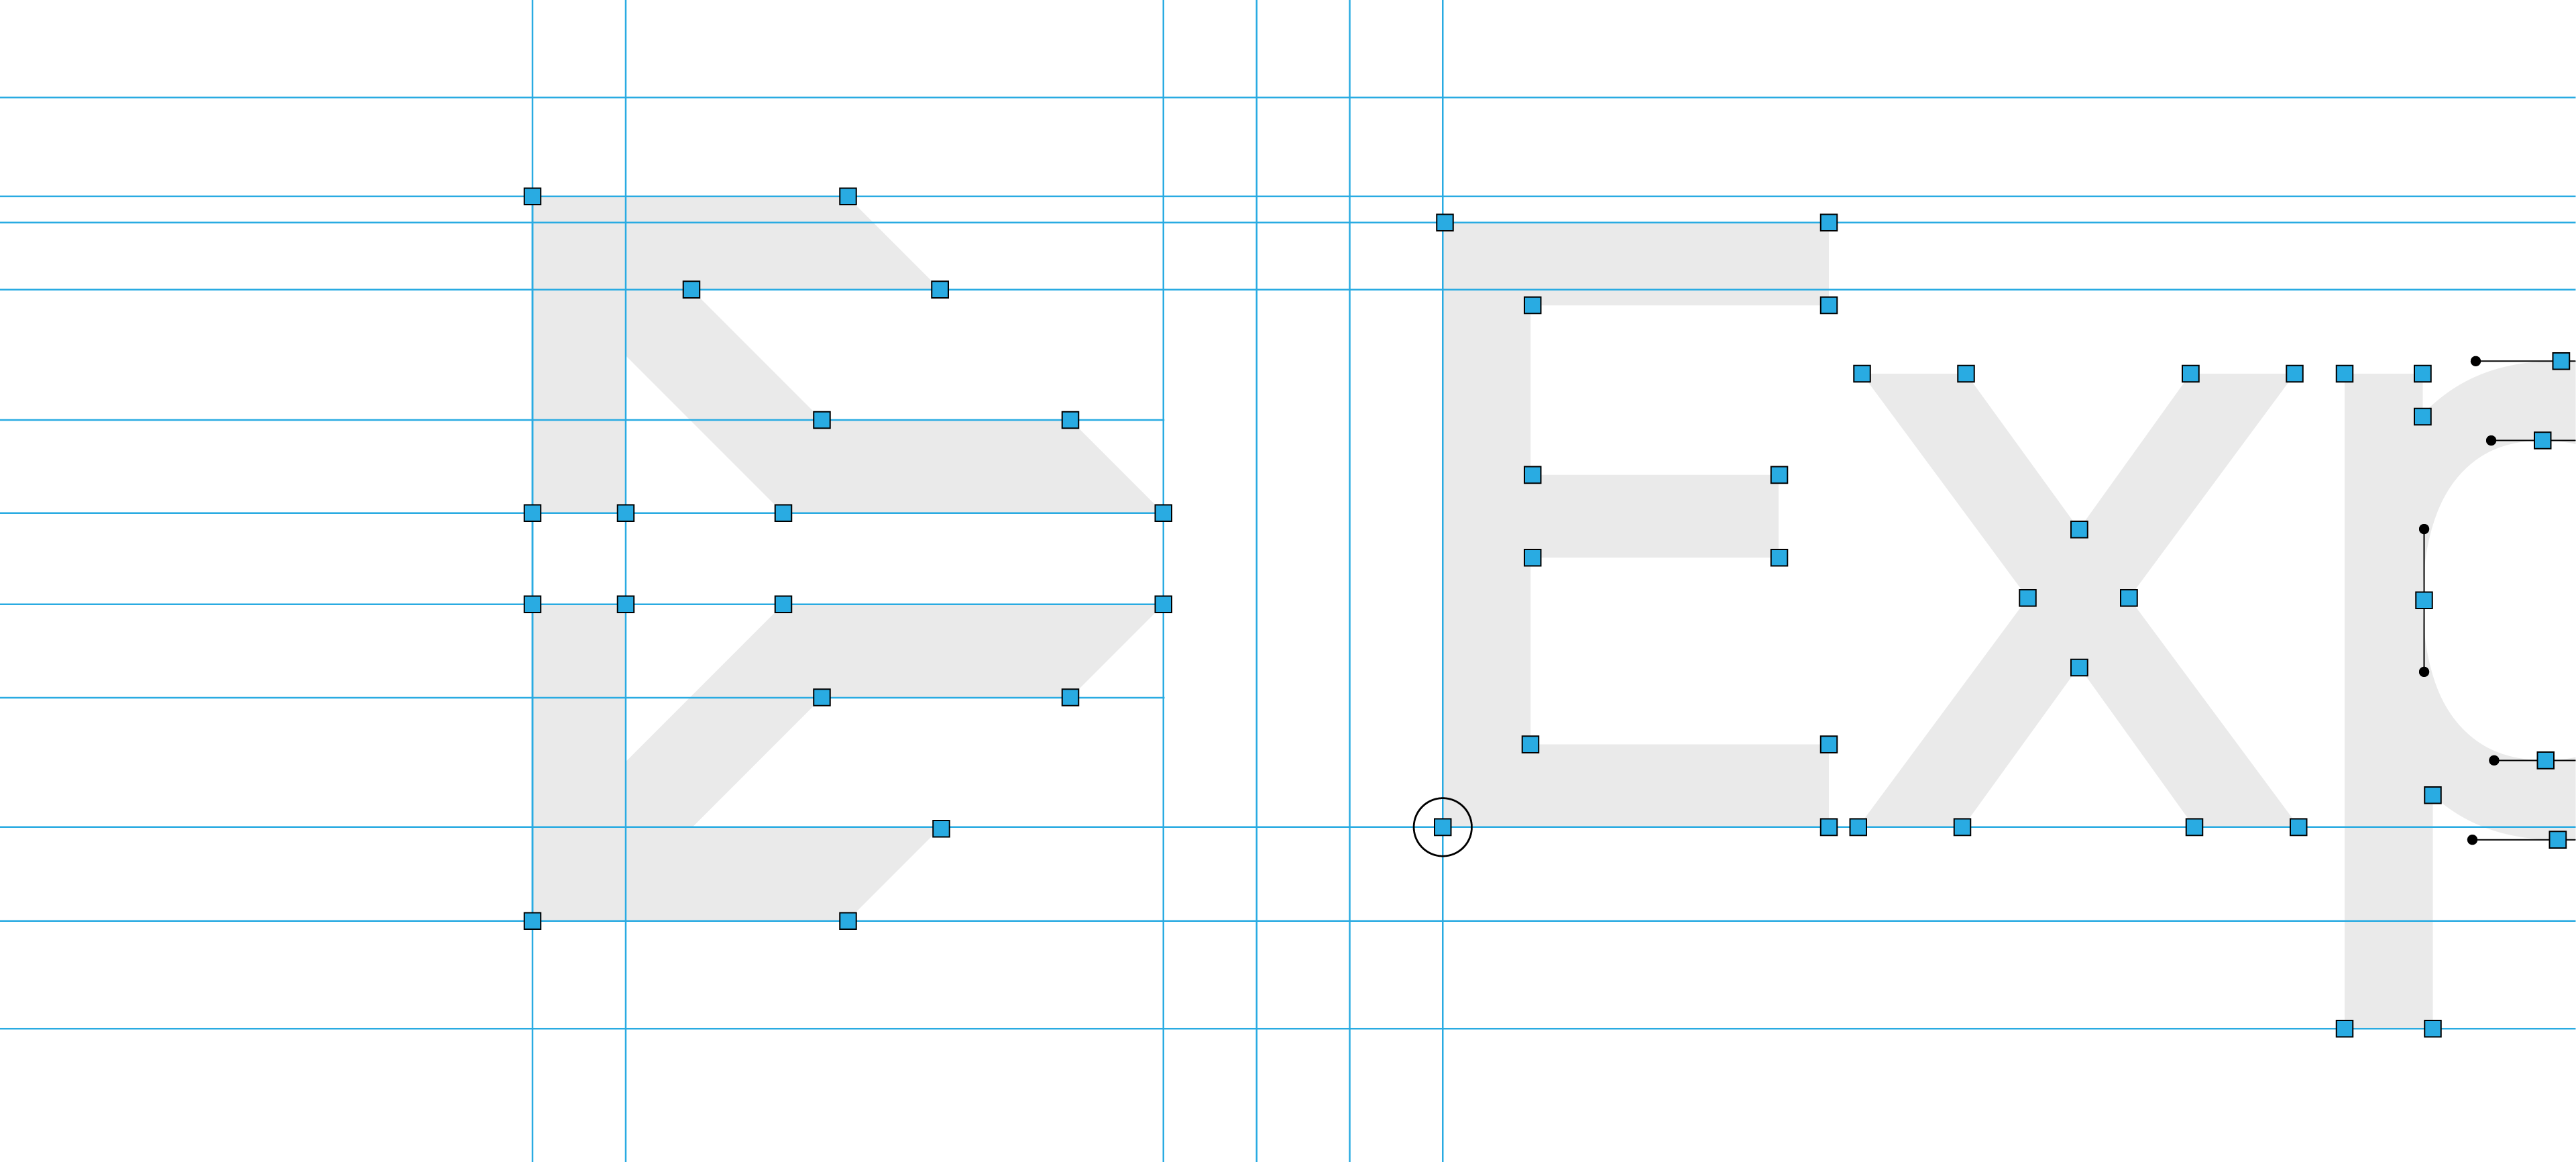
Think of it like an x-ray. It shows the small parts of your logo, like dots, curves, and lines, so you can find and fix tiny mistakes.
Designers use it to make sure everything is aligned, smooth, and ready to show. My Logo Grid Generator create this grids instantly.
It’s the final step before presenting your logo.
Earlier, I explained the 4 types of logo grids. Construction grids usually come after base grids.
Why a Construction Grid Matters for Finalizing Your Logo
A construction grid is vital for designing a flawless logo. Here’s why it's so important:
- Exact and Perfect: Our eyes can miss tiny errors. A construction grid shows even the smallest misalignments. It makes sure all curves are smooth and lines are sharp. This gives your logo perfect edges.
- Looks Balanced and Trustworthy: What looks perfect on paper might not feel right to the eye. Grids guide you to make smart visual changes. A logo made with great care shows skill. This builds trust with clients.
- Consistent Everywhere: A logo finished with a construction grid works for anything. It ensures your logo looks the same everywhere, from small digital icons to big printed signs. This avoids any bad surprises.
If you want to know more about why grids are essential in logo design, I've explained in depth here.
How to Create a Logo Construction Grid: Step-by-Step
There are two ways to create a construction grid.
Option 1: Do it manually in Adobe Illustrator. If you enjoy zooming in 800% and dragging anchor points for 45 minutes.
Option 2: If you value your time (and sanity), use Logo Grid Generator™, an Illustrator plugin I created that builds your construction grid instantly. One click, done.
For this example, we will go with the latter, becuase its the most reliable and efficient method.
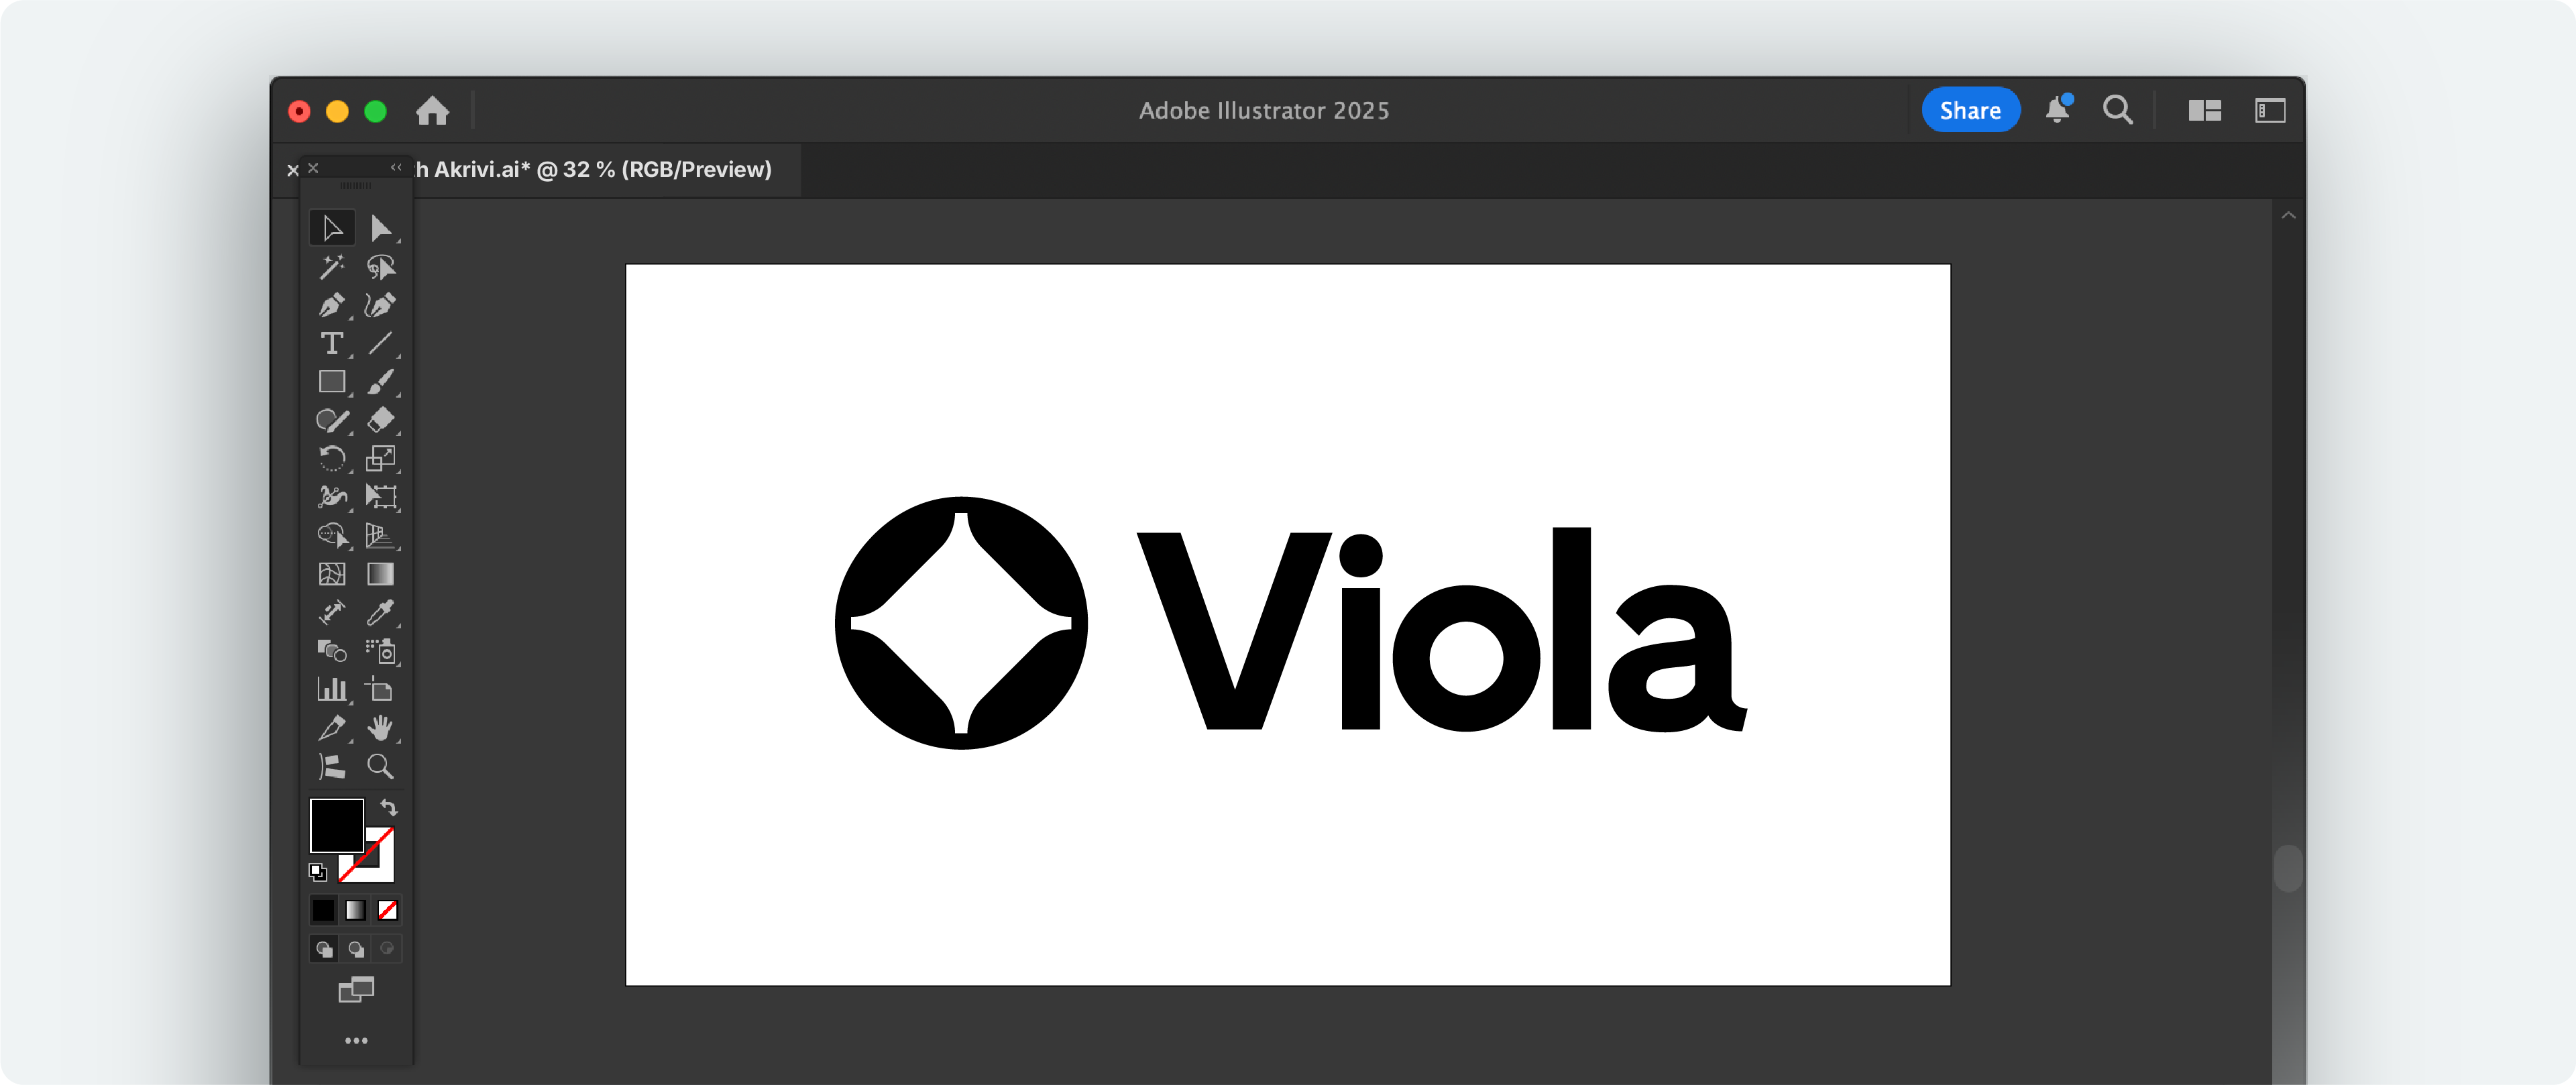
Step 1: Get Your Logo Ready
Start with your finished logo in Adobe Illustrator. Make sure all its parts are grouped.
I’ve put together a step-by-step guide on how to use grids in your logo process, so make sure your logo is built on a solid grid from the start with the use of a base grid.
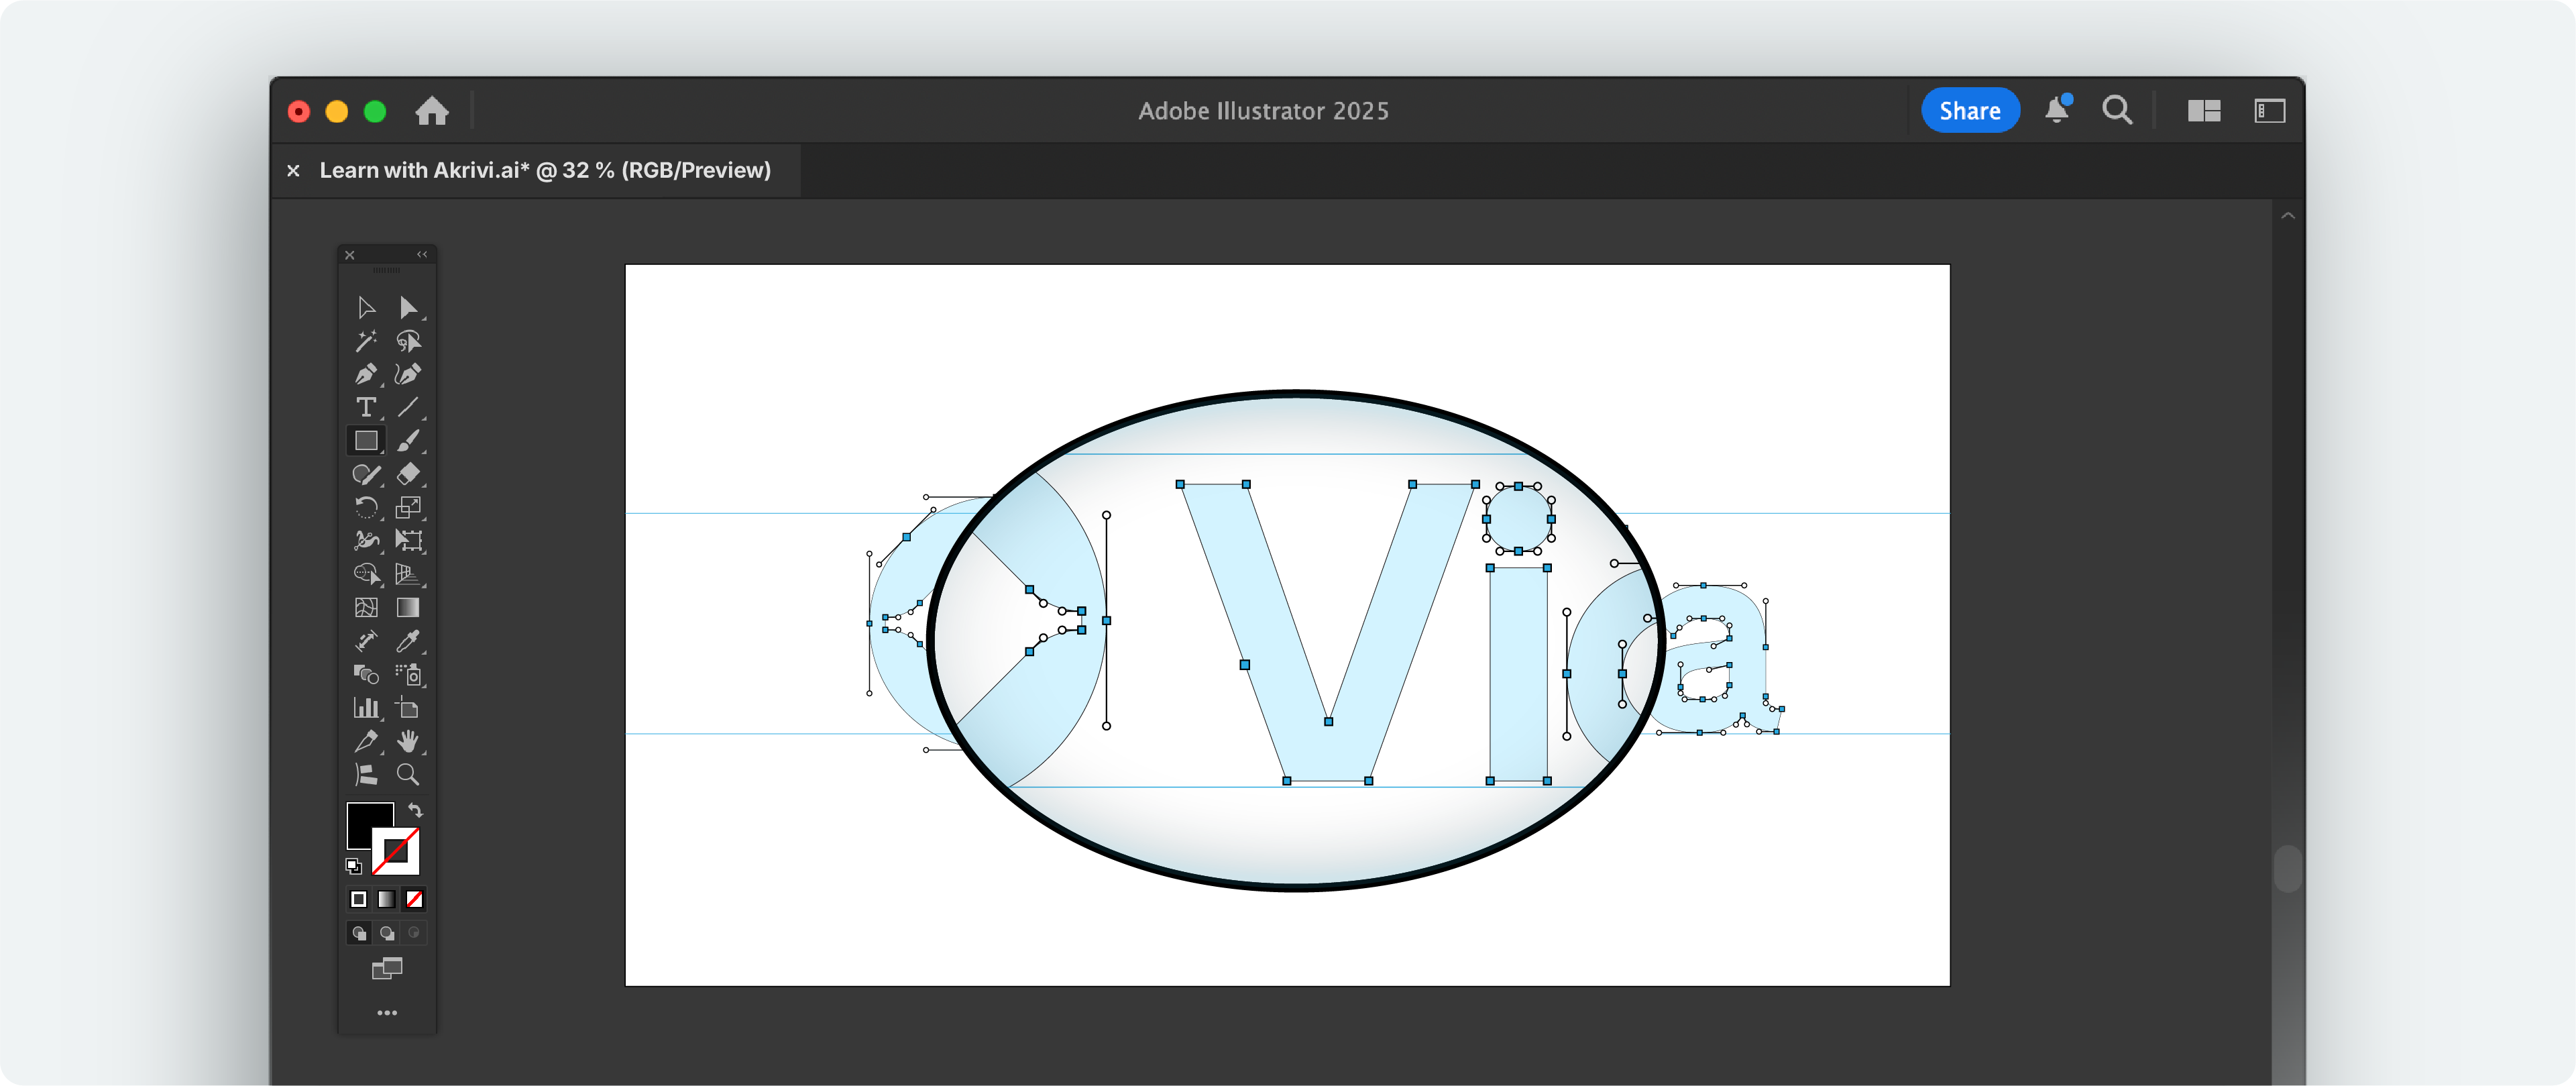
Step 2: Generate the Construction Grid
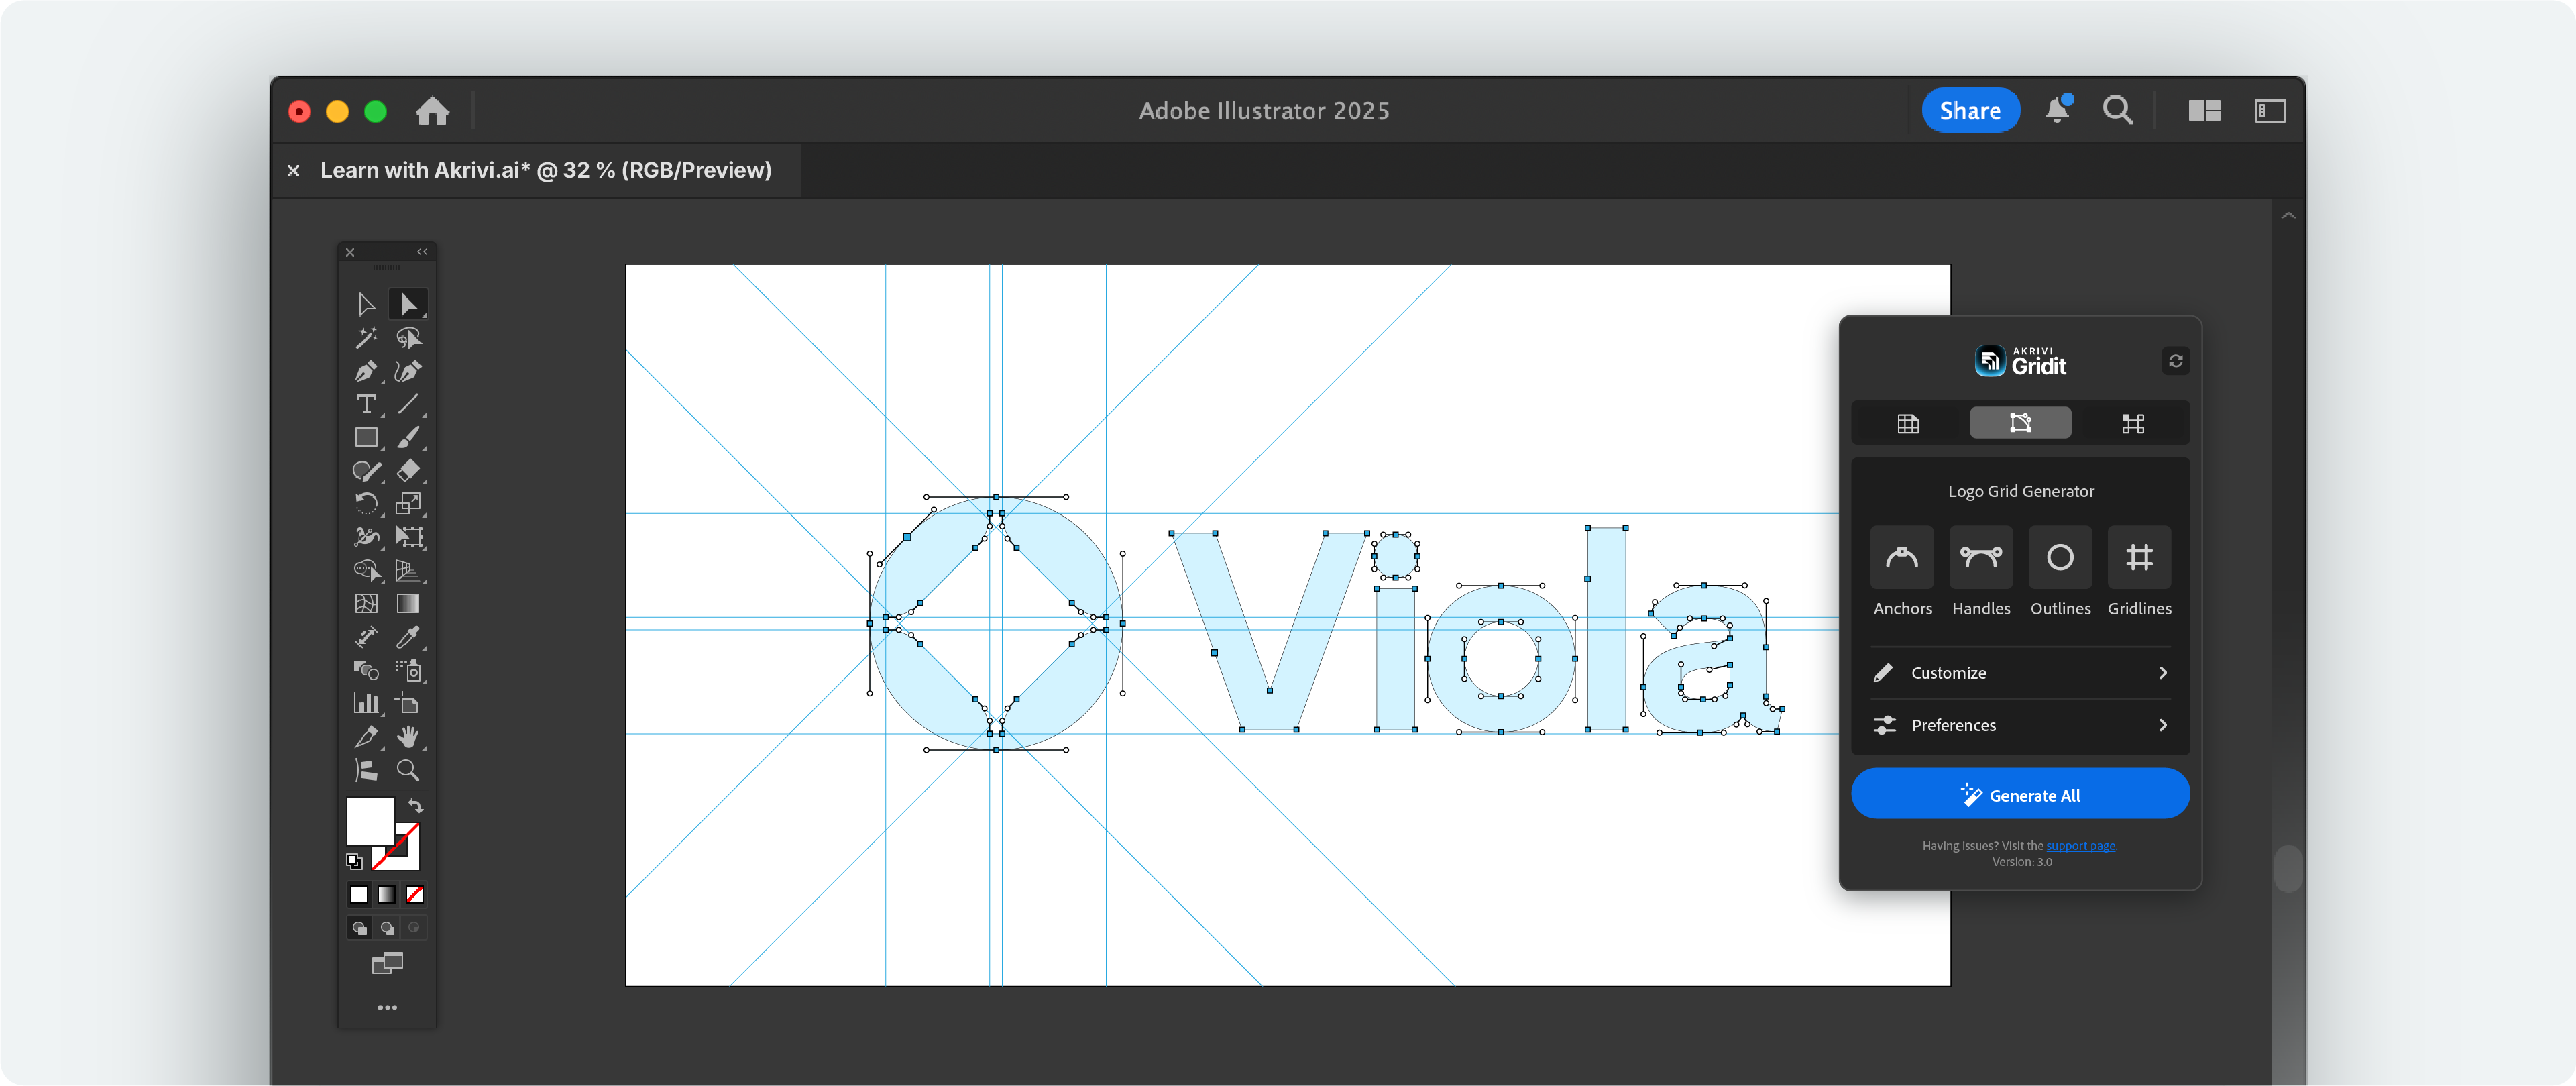
- Use Logo Grid Generator: Open the Adobe illustrator plugin. Select individual grid components or generate all at once.
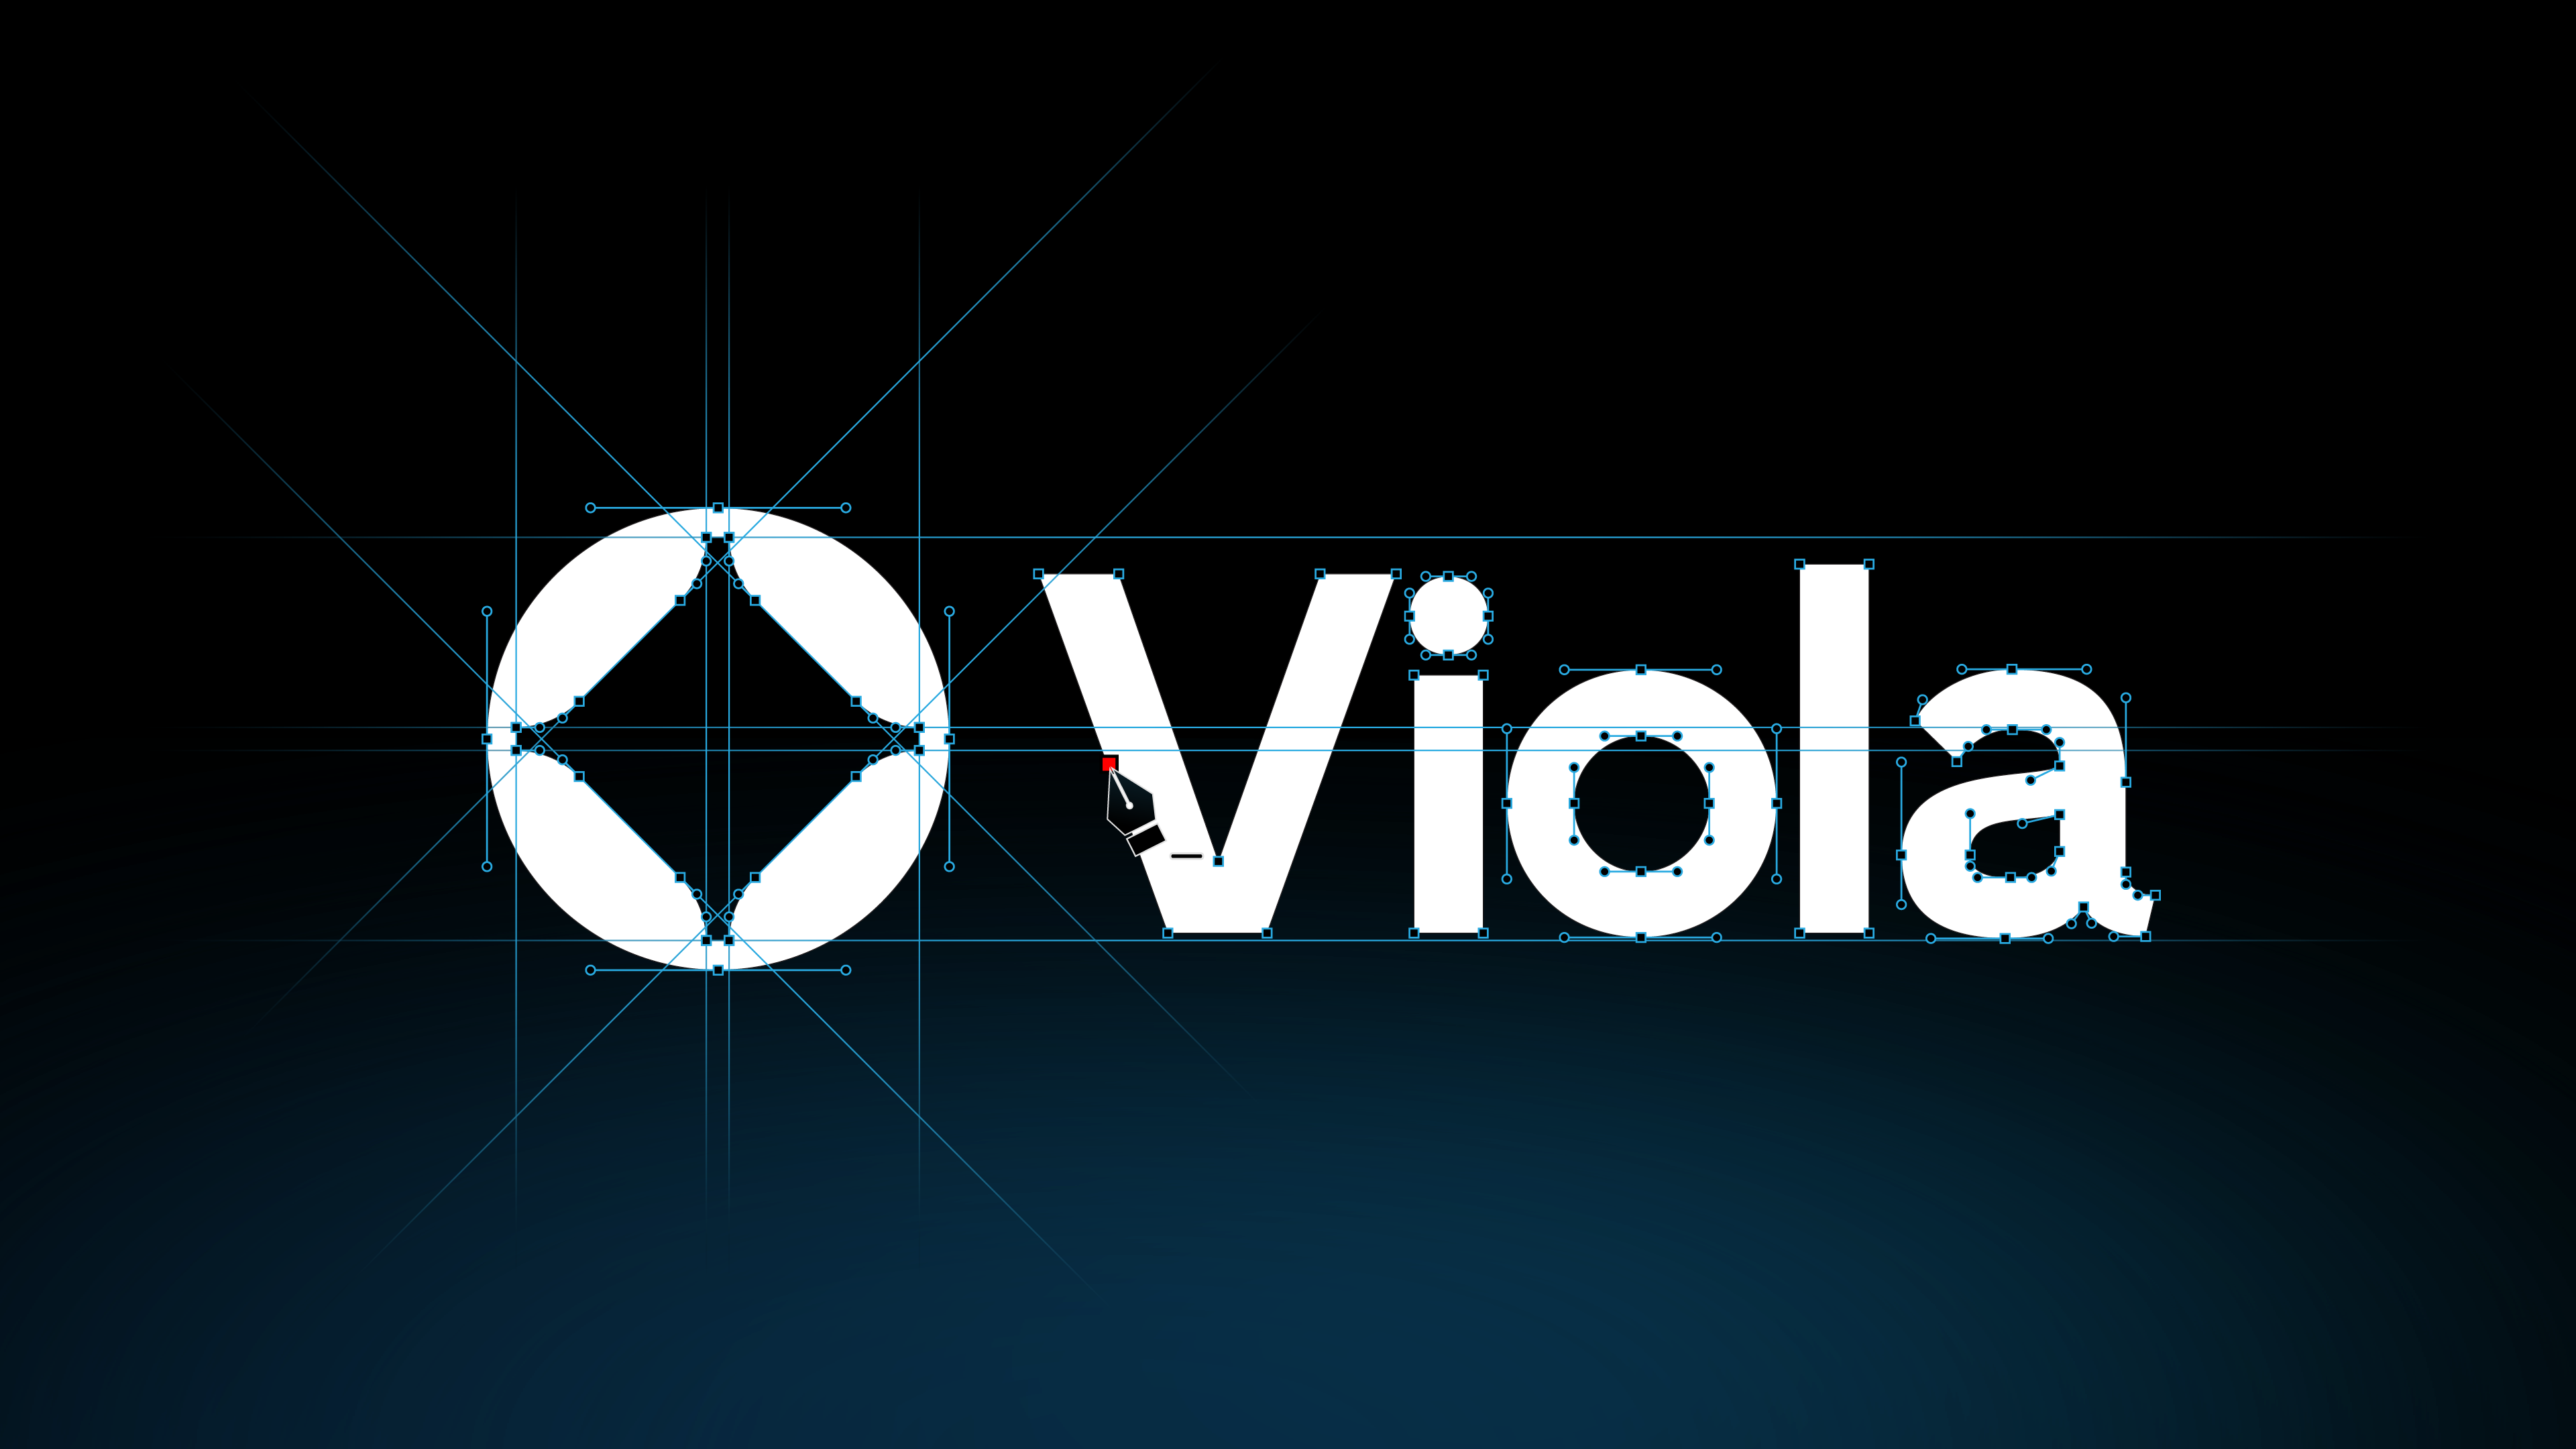
- Review the Details: The plugin will automatically create a detailed vector construction of your logo above. Revealing the anchor points, bezier handles, outlines, and gridlines of your logo.
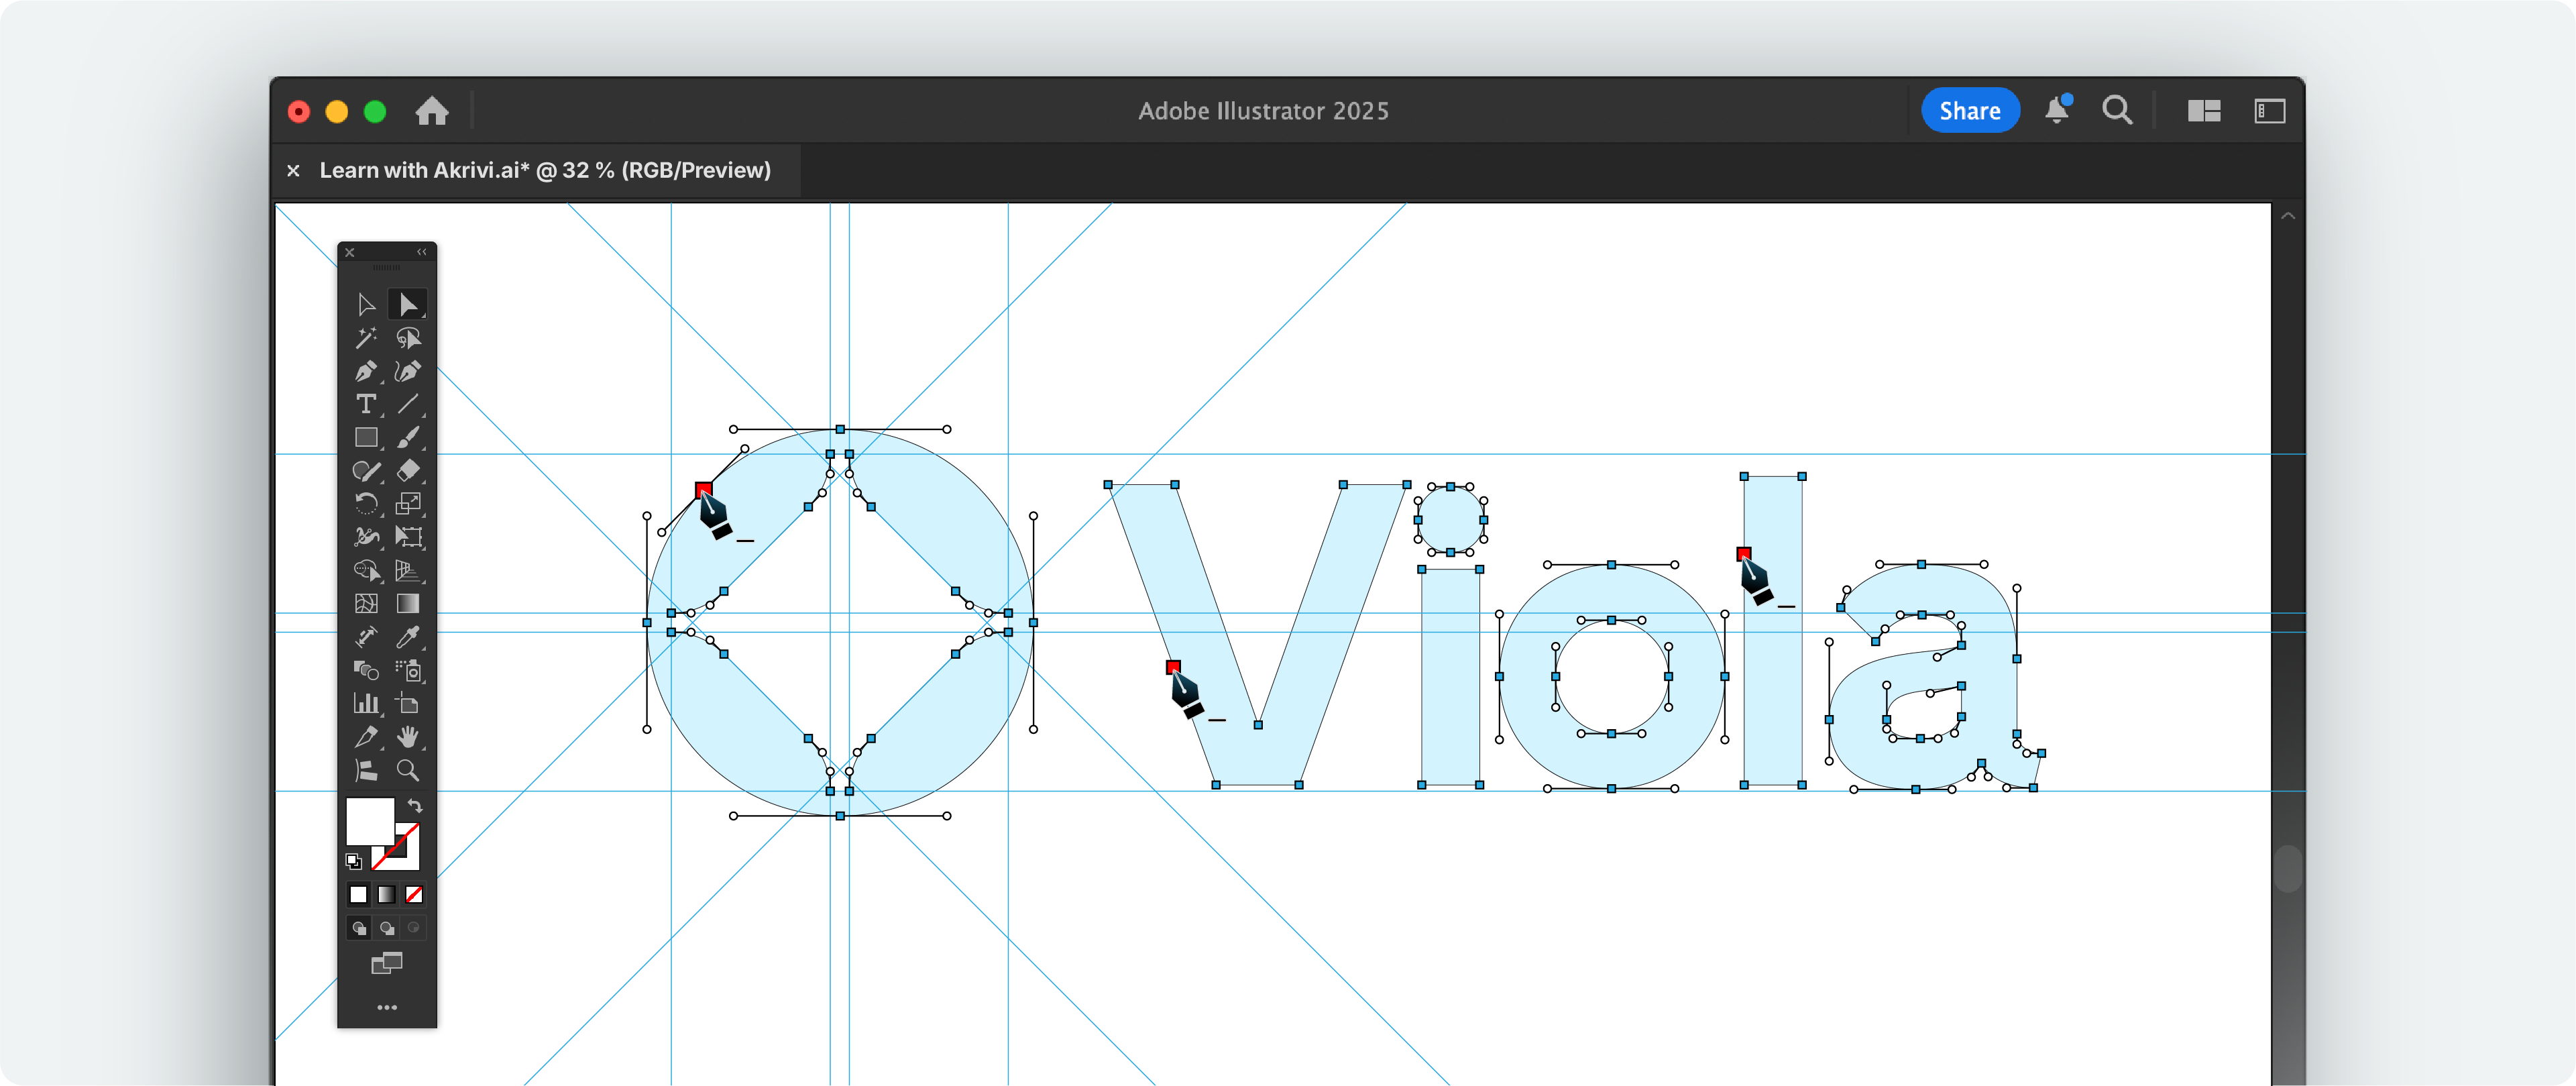
Step 3: Refine Your Logo
This is where you make your logo perfect by cleaning up and adjusting your vectors
- Clean Up: Hide your construction grid layers and delete any unwanted anchor points using the 'Delete Anchor Point Tool'
- Adjust Parts: Go to View > Overprint Preview and adjust bezier handles if necessary. Make sure horizontal and vertical lines are straight and curves are perfectly smooth.
Step 4: Check How It Looks (Optical Balance)
Exact math is important, but how it looks is key.
- Look From Far: Step back from your design. Does your logo feel balanced?
- Visual Fixes: Because of how eyes see things, small changes might still be needed. Trust your eye, even if you move something a tiny bit off a math line.
Step 5: Finish and Save
Once your logo is perfect, get it ready to use.
- Prepare: Take off the construction grid (or keep it if you want to use it for your logo presentation, in this case watch this video).
- Save: Save your finished logo as a main file. This is your final, perfect version.
Gridit for Automated Logo Grids
Logo Grid Generator™ was built to make this final step easy and way less painful. It lets you quickly apply a precise construction grid to your logo, so you can spot and fix any issues in seconds.
As mentioned earlier, doing it manually can take 30–60 minutes (or longer, if you’re a perfectionist with a shaky mouse hand). Save yourself the time (and sanity), grab Logo Grid Generator™ and get it done in one click.
Download Your Free Templates
I've put together a FREE logo grid template. It also includes an ebook, all about mastering logo grids inside Adobe Illustrator.
Conclusion
Using construction grids at the end of your logo design process is compolusory.
It’s the key to making a logo truly outstanding. This grid ensures precision, and reduces mistakes before your client spots them.
By using it, you're ensuring your logo is a finished design - not a rough draft. Something your proud to present to your in a logo presentation and your portfolio. Start automating your grids today.