Kwaku Amprako is a brand identity designer and founder of Akrivi — pioneering BIDA (Brand Identity Design Automation) to empower designers to create with more speed, precision, and less stress.
for your clients 10x faster

Automate your entire logo & brand identity workflow with Akrivi Studio.
How to Design a Logo Using Grids Step-by-Step Tutorial (+ Free Logo Grid Template)
Learn How to Design a Logo Using Grids
Ever seen a logo that looks perfectly balanced?
The secret is often a logo grid. Grids are not just lines, they are your blueprint for building timeless, iconic symbols.
This logo grid tutorial will make the process clear. You will learn how to integrate a grid system into your logo design process, for optically balanced and 'professional' results.
Here's a video I created, showing step-by-step on how to create design a logo using grids in illustrator.
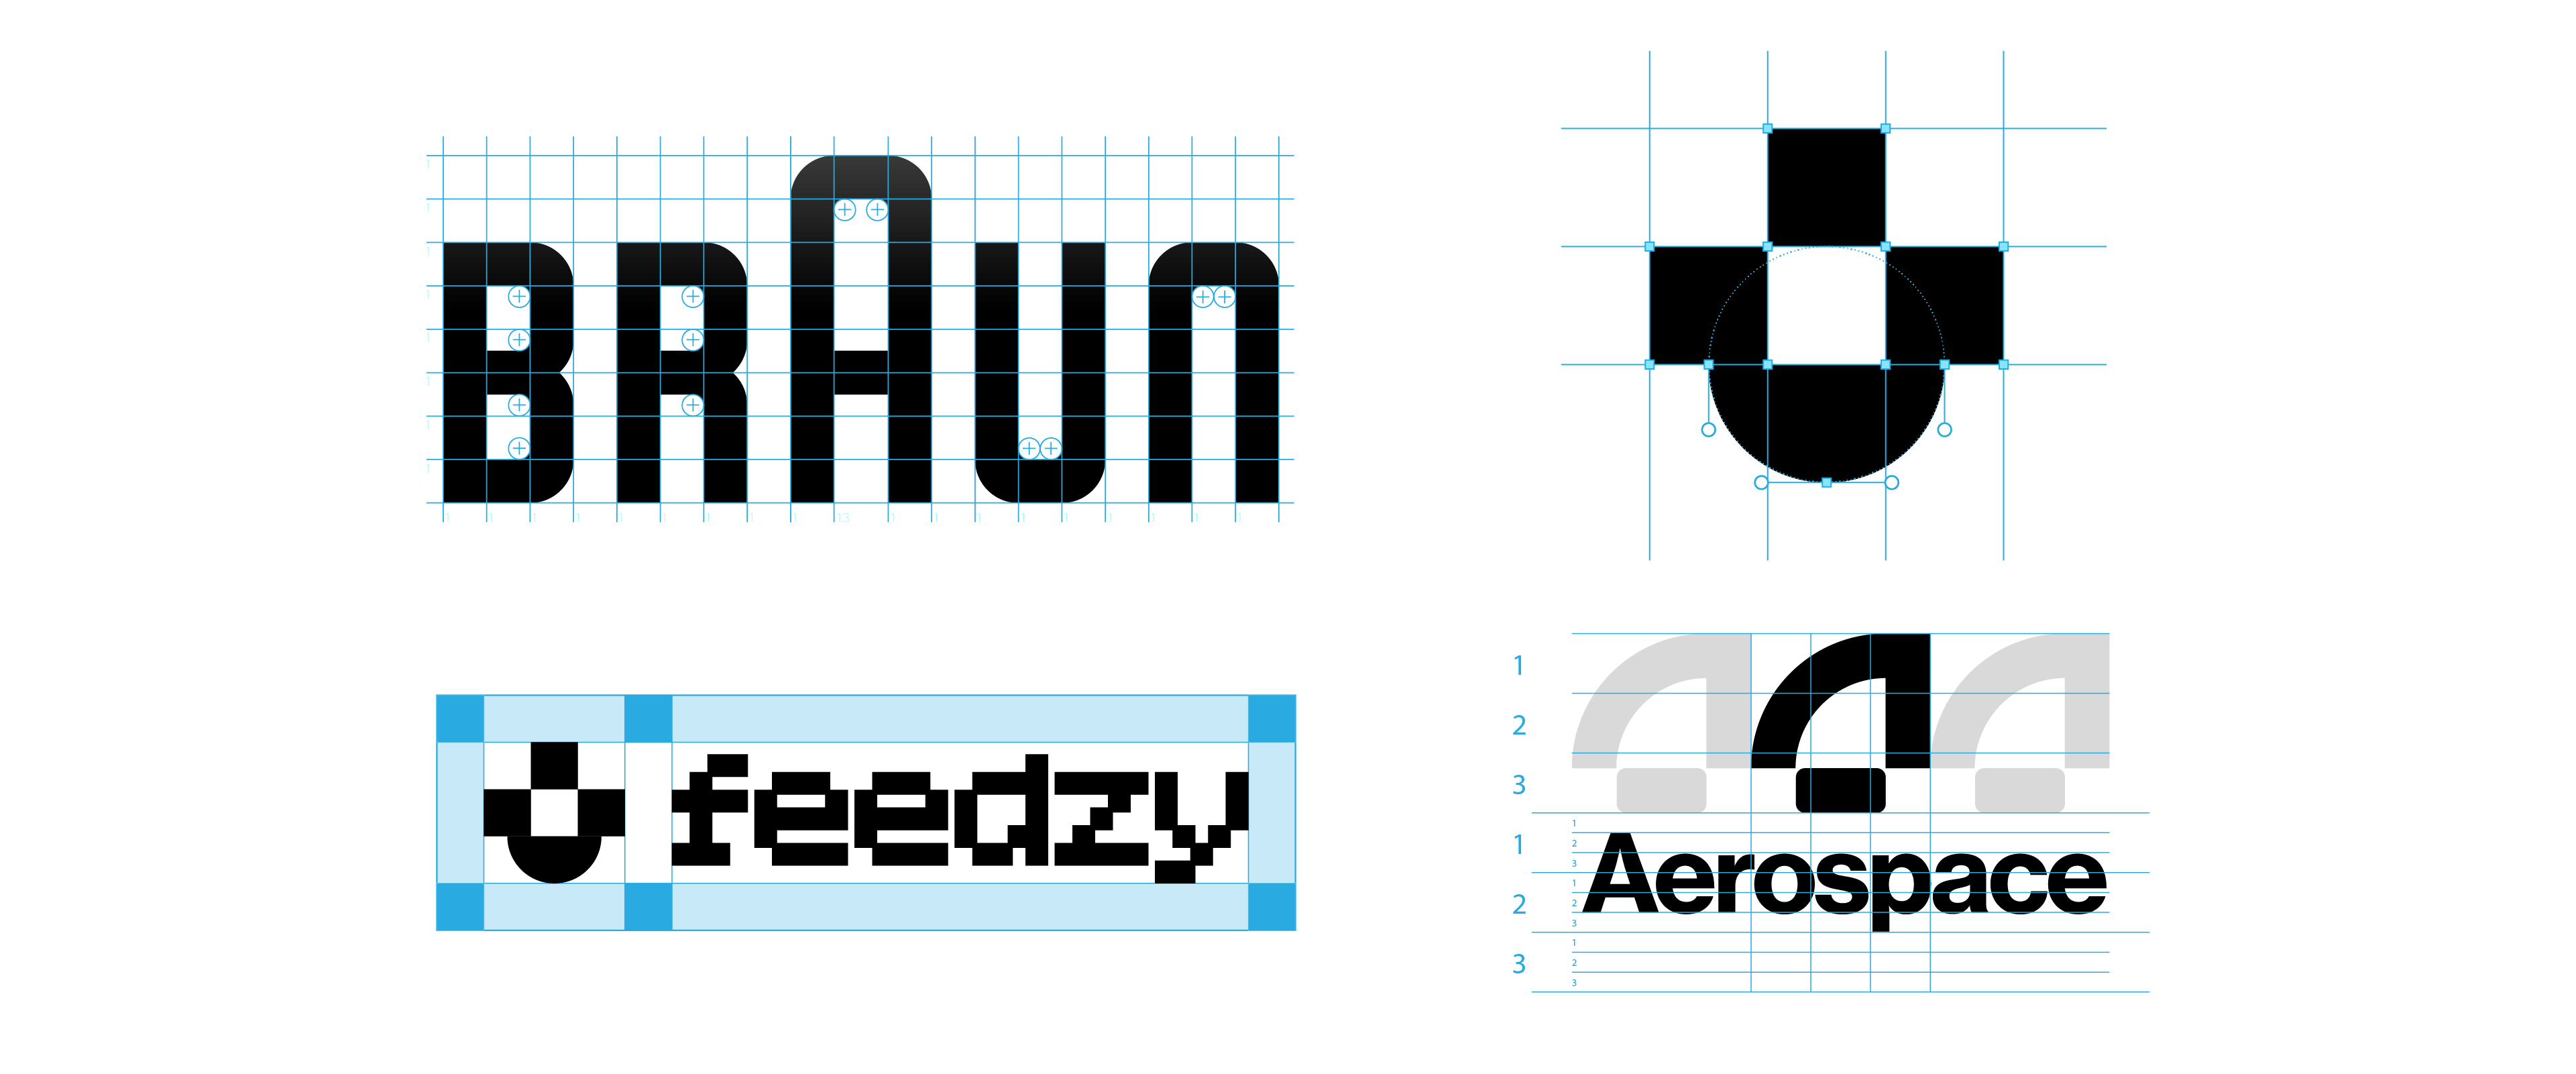
What is a Logo Grid?
First, let’s define our tool. A logo grid is a framework. It helps designers make logos balanced, well-proportioned, and consistent. Every part of your logo is placed on purpose, not by guess.
For fellow design nerds, I’ve written a detailed article to what logo grids are.
Why Use Logo Grids?
Using a grid within your logo design process brings serious benefits to your design work, and noticeably:
- Optical Balance: Your logo will feel perfectly weighted and centered.
- Scalability: Your logo will look great at any size.
- Precision: Every curve and line is guided for a perfect finish.
These benefits lead to designs that are professional and timeless, which is why I build my automation tools.
I've also explained why it's crucial for designers to use logo grids in this previous blog.
How to Use Logo Grids
Now for the fun part! We’ll jump into Adobe Illustrator and start with building a base grid.
I’ve explained the different types of logo grids in detail, covering base, construction, clearspace, and lockup grids.
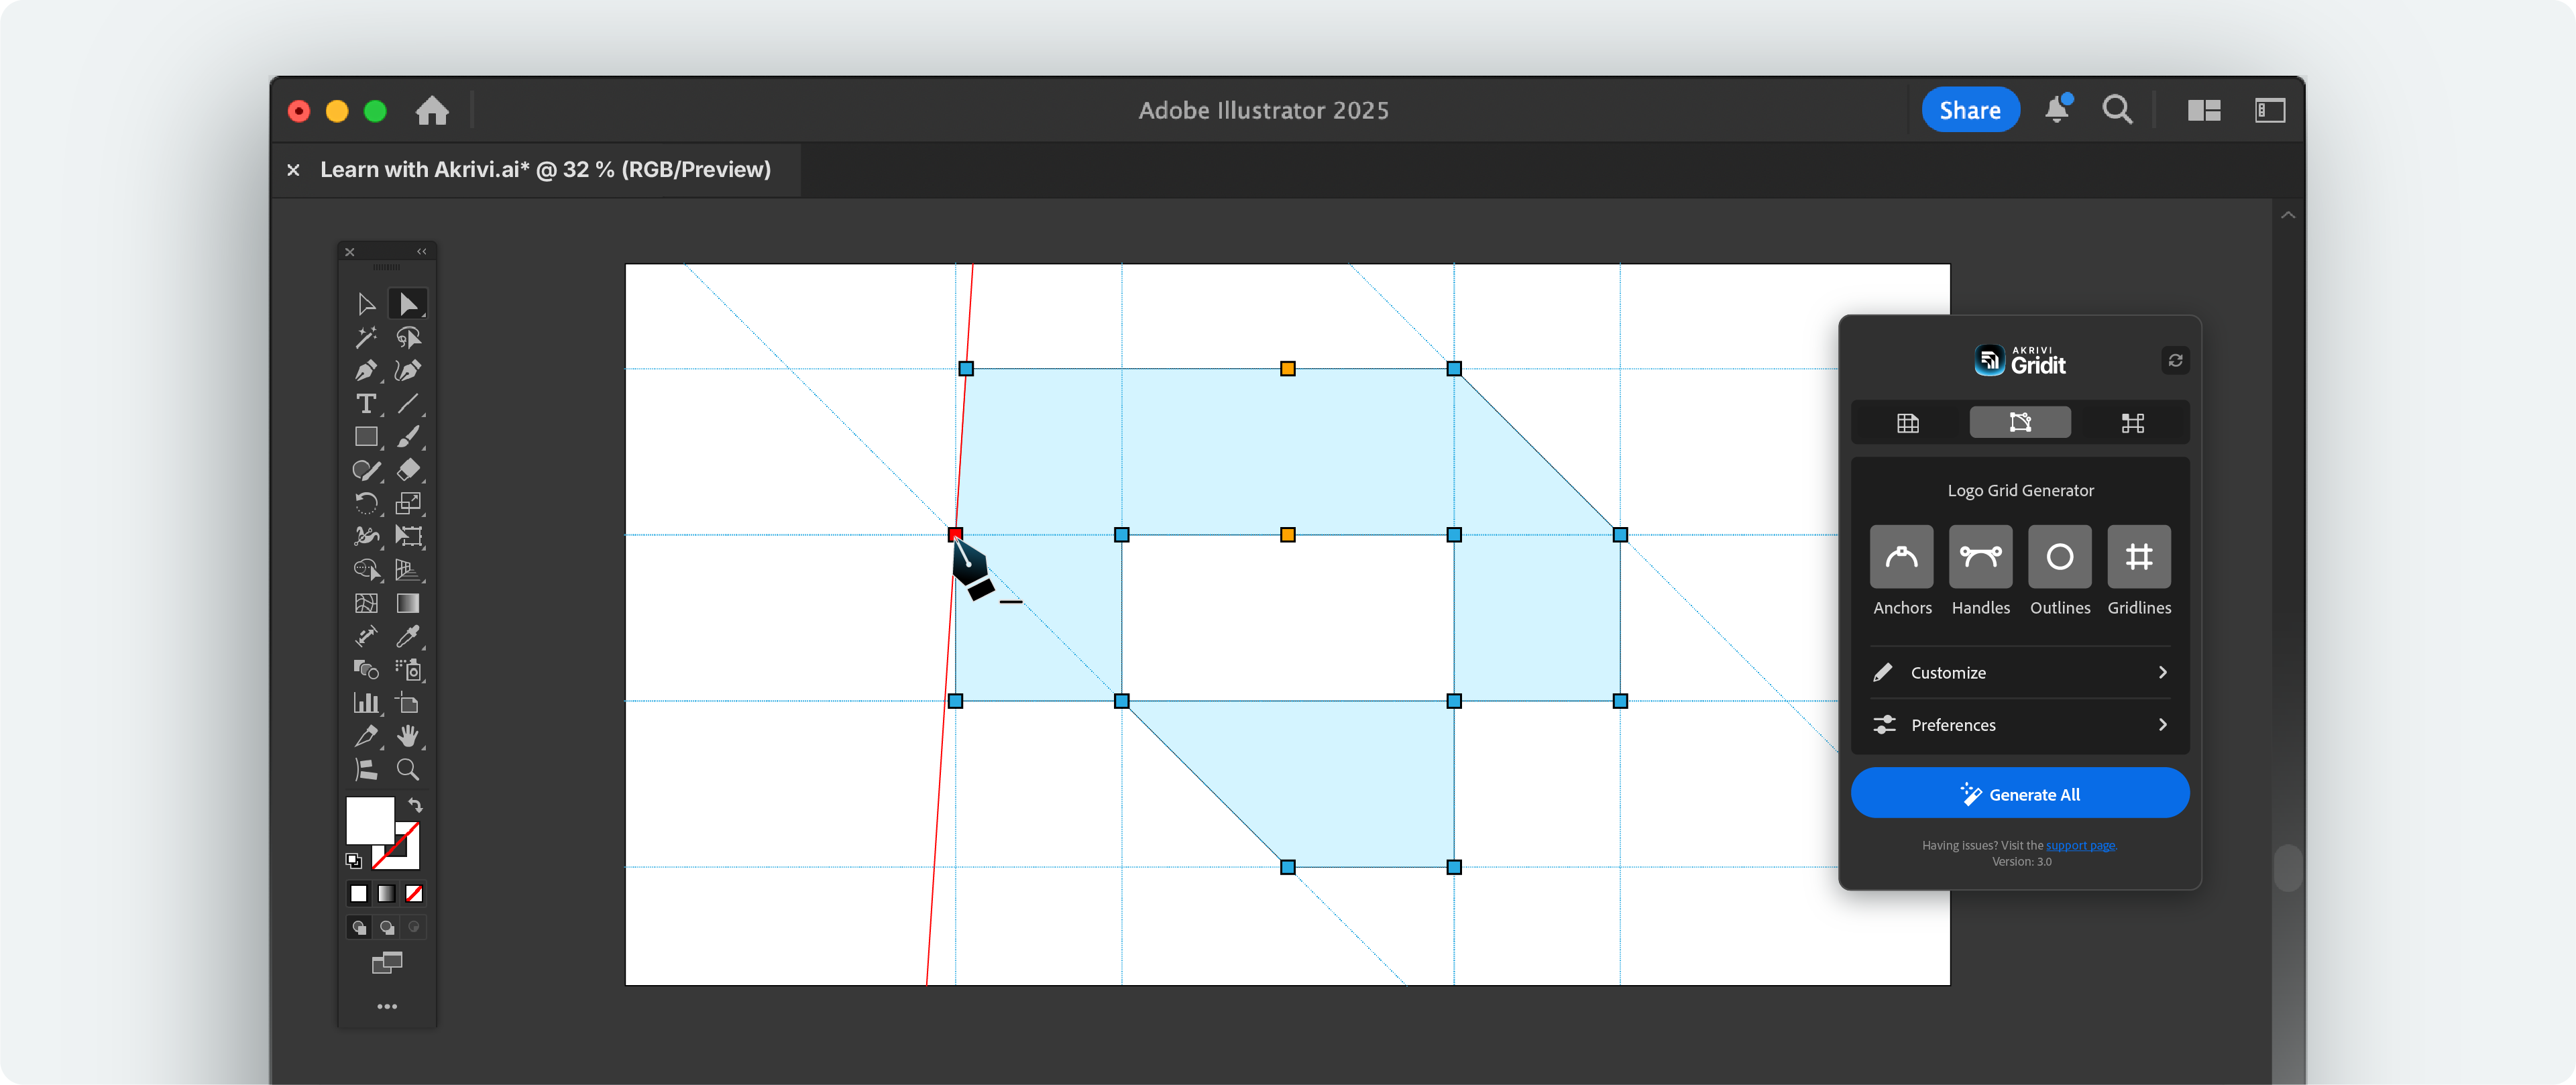
Step 1: Lay Your Foundation With a Base Grid
Every great logo needs a strong start. This is where your base grid comes in.
- Start in Illustrator: Open Adobe Illustrator. Create a new document.
- Draw Your Area: Use the Rectangle Tool (M). Draw a square or rectangle. This shape sets the overall size for your logo.
- Add a Base Grid: Use a simple grid (like a square or golden ratio grid). This helps your first logos stay in proportion.
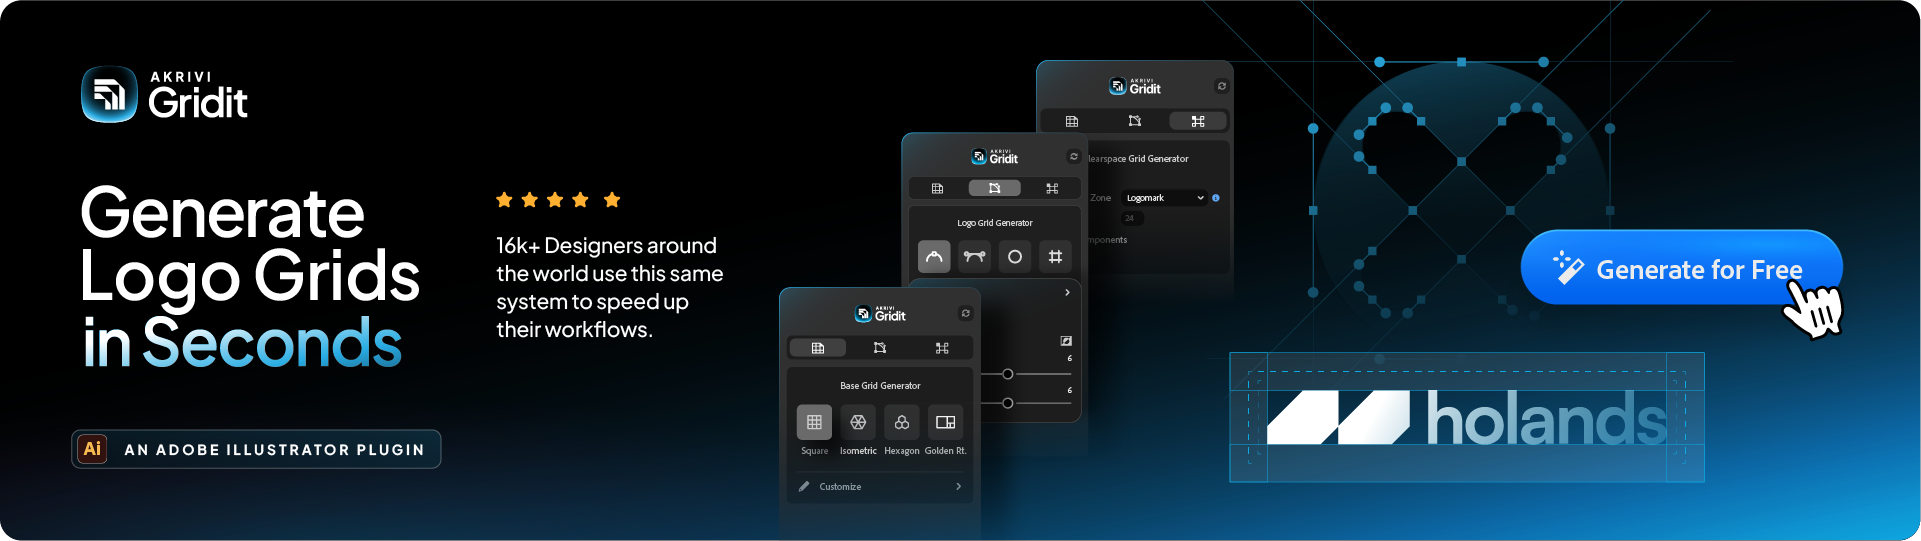
- Tip: Our Base Grid Generator™ tool can instantly create these grids in Illustrator. This saves you setup time.

Step 2: Design within the Grid
With your base grid ready, start designing your logo idea.
- Adjust your Grid Settings: Turn on Snap to Point and Smart Guides so your shapes stick to the grid.
Go to View > Snap to Point and View > Smart Guides in Illustrator.
- Create Your Logo: Use tools like the Pen Tool or Shape Tool to draw your logo inside the grid.
Let the grid lines guide the placement of your shapes.
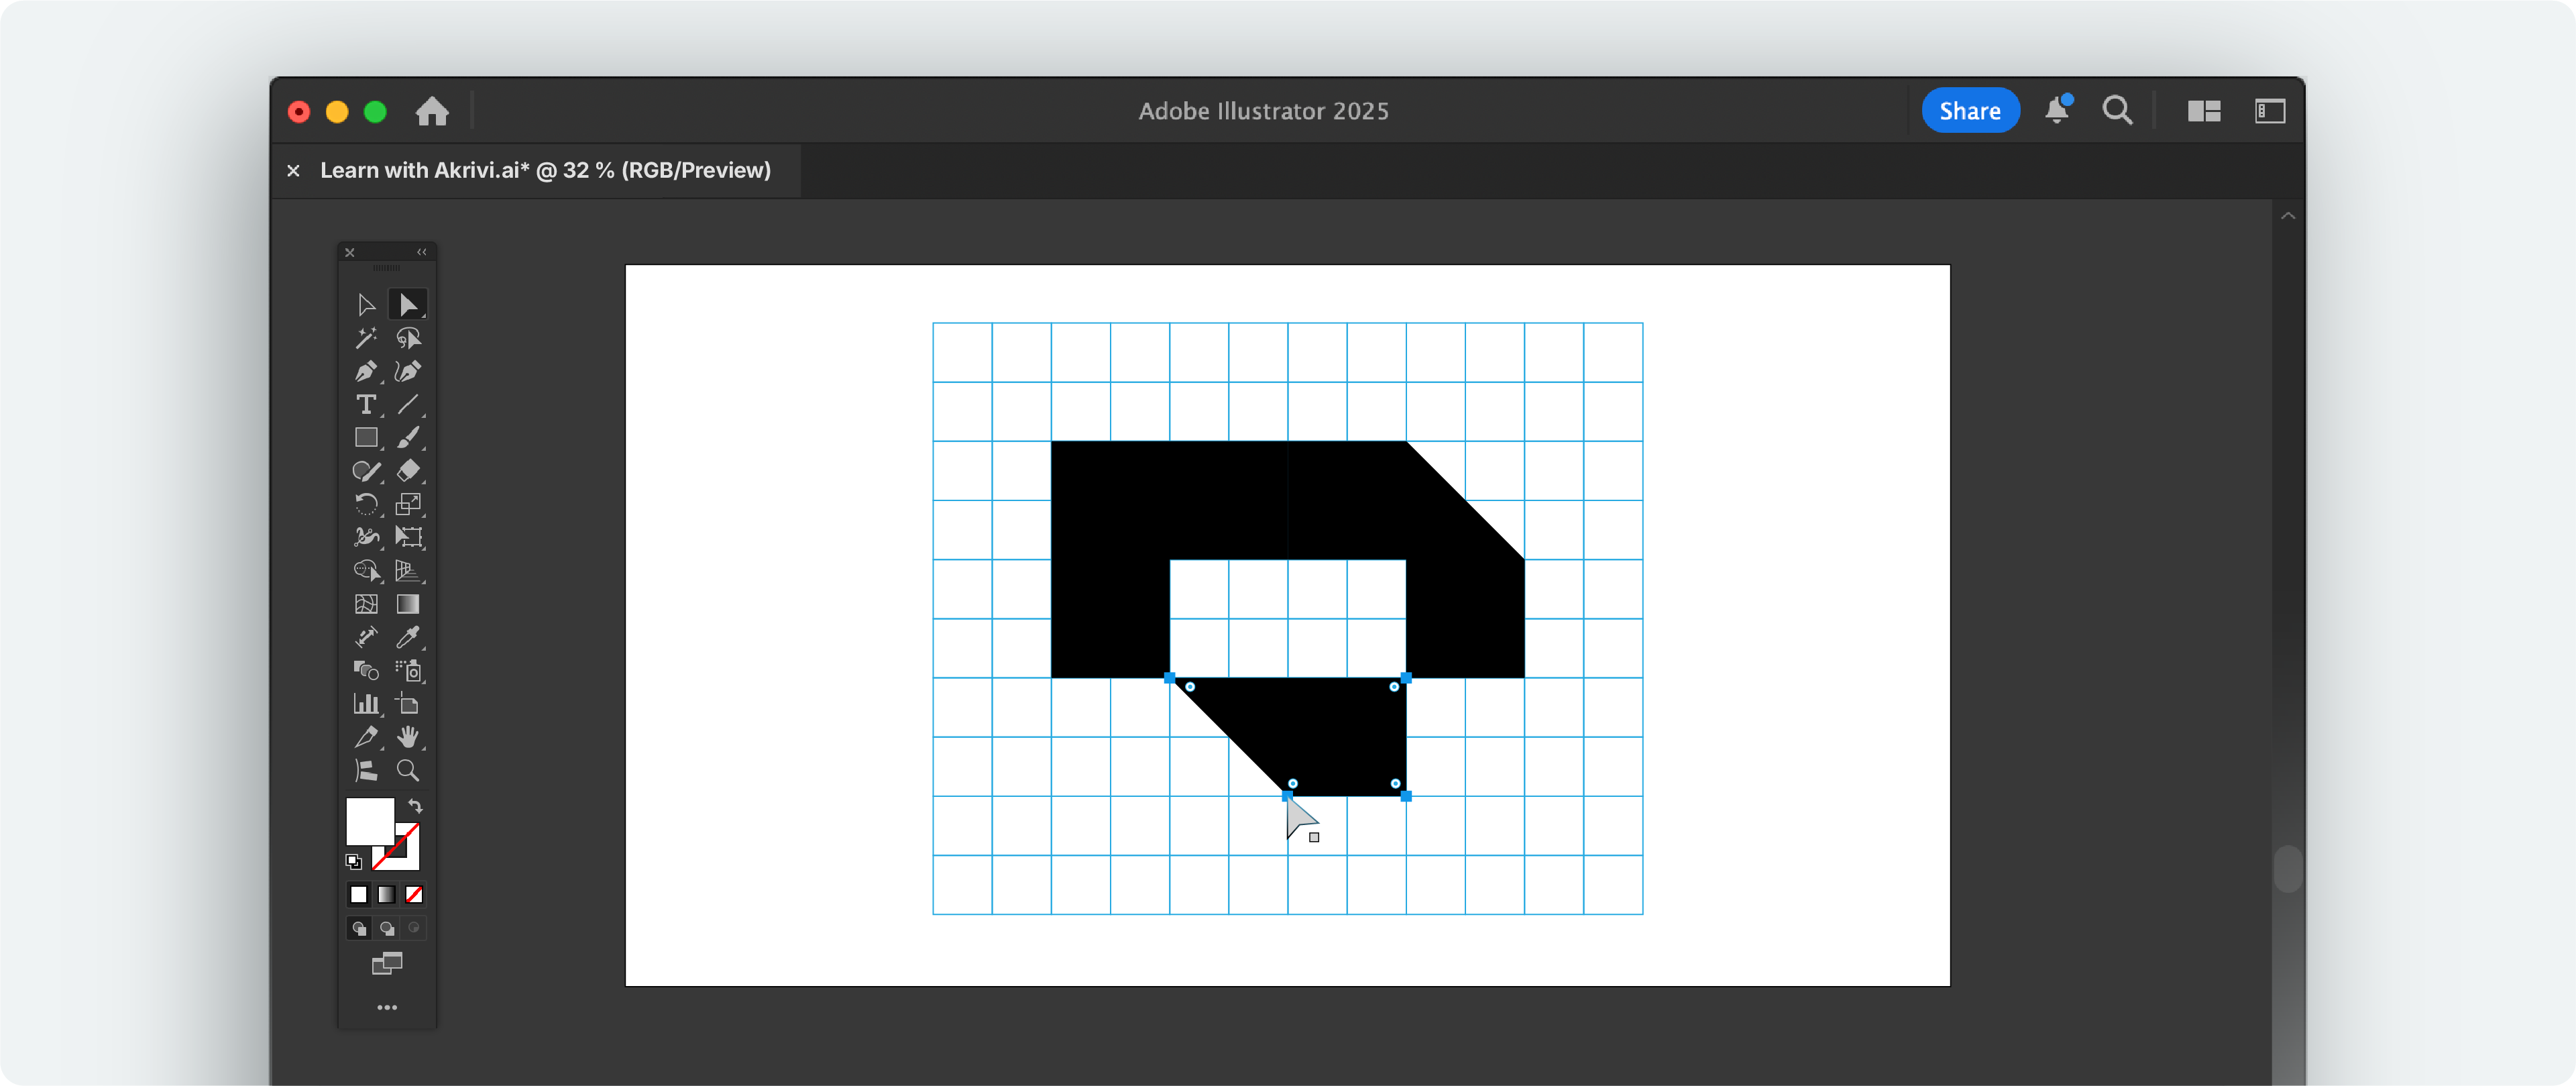
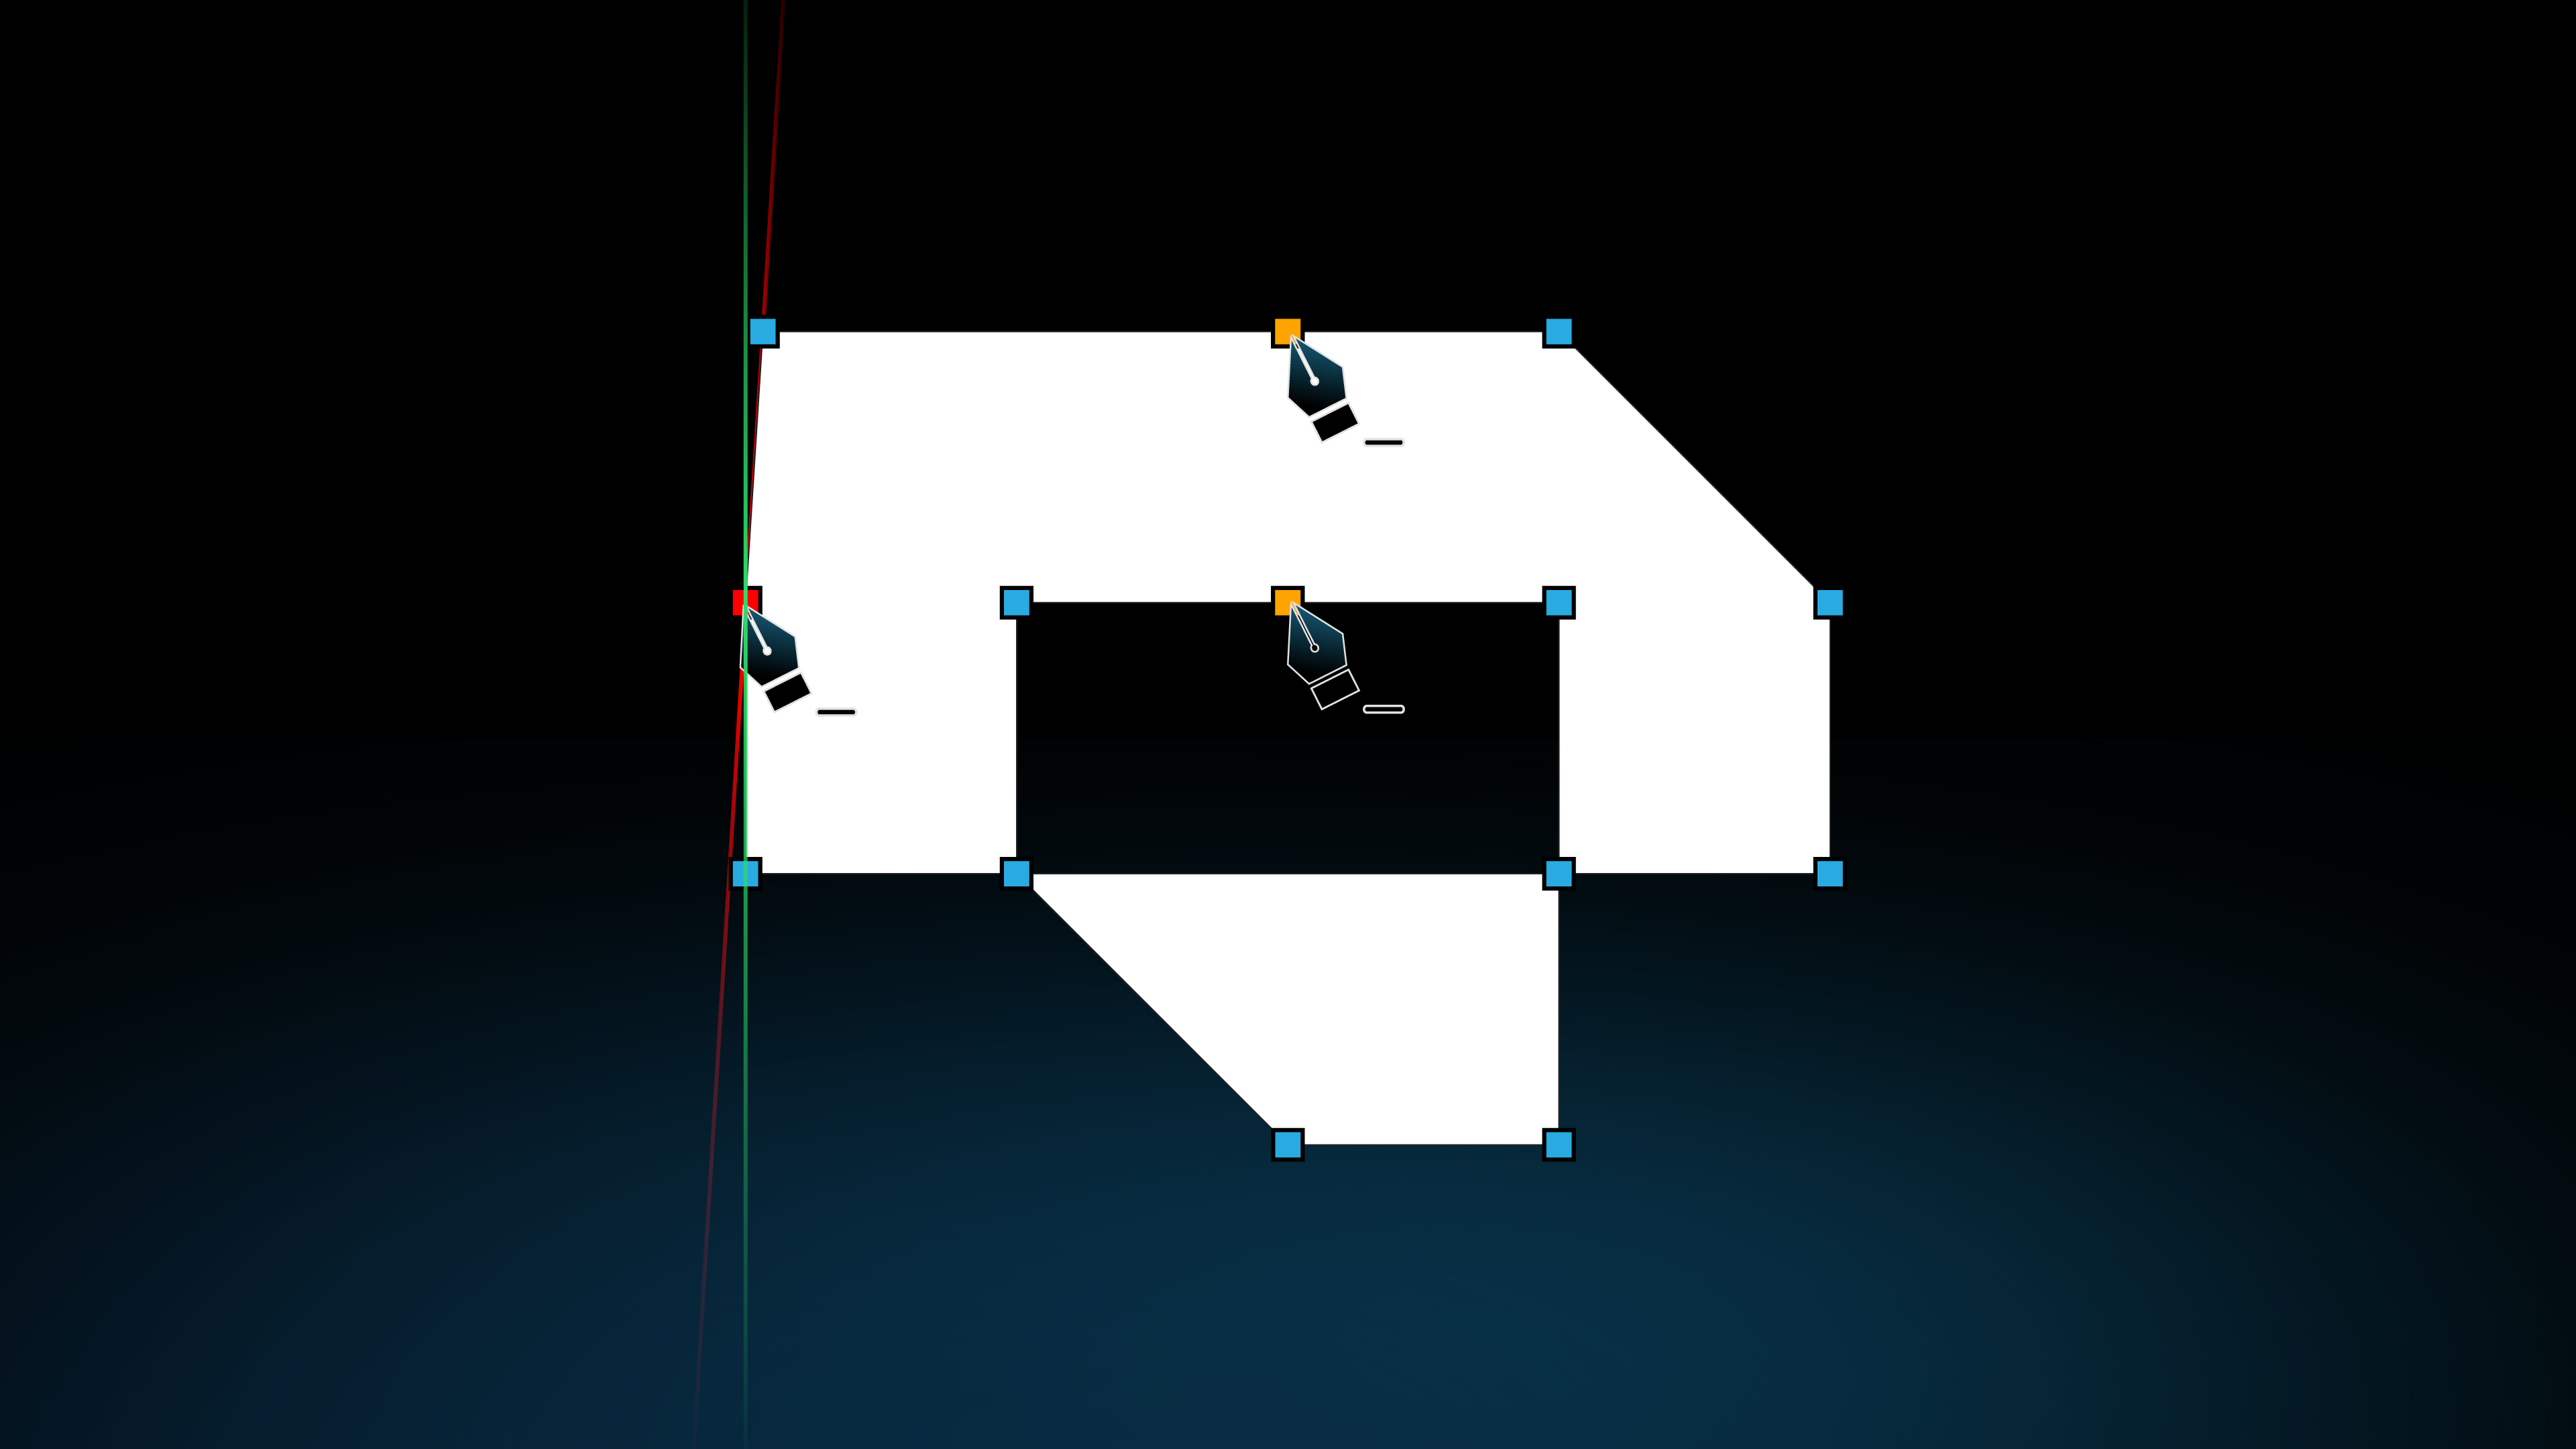
Step 3: Refine with a Construction Grid
Once your logo concept is strong, use a logo construction grid to make it perfect.
- Create a Construction Grid: This grid shows the exact anchors, handles, outlines, and gridlines of your logo. It helps you find tiny flaws.
- Fine-Tune Details: Adjust paths and smooth curves. Make sure all elements line up perfectly. This is how you get a pixel-perfect finish.
- Tool: The Logo Grid Generator™ is very helpful here. It makes precise construction grids 100x easier with 1 click creation.
- Check Accuracy: This step is important for fixing uneven lines or parts that are slightly off. We also cover how to finalize a logo in detail in another blog.
Step 4: Define Spacing with a Clearspace Grid
After your logo is finished, set its protected area using a clearspace logo grid.
- Set Clearspace: This grid shows the minimum empty space around your logo. It stops other designs from crowding it.
- Keep it Readable: Clearspace keeps your logo clear and strong in all uses. It's often found in brand guidelines to ensure consistent use.

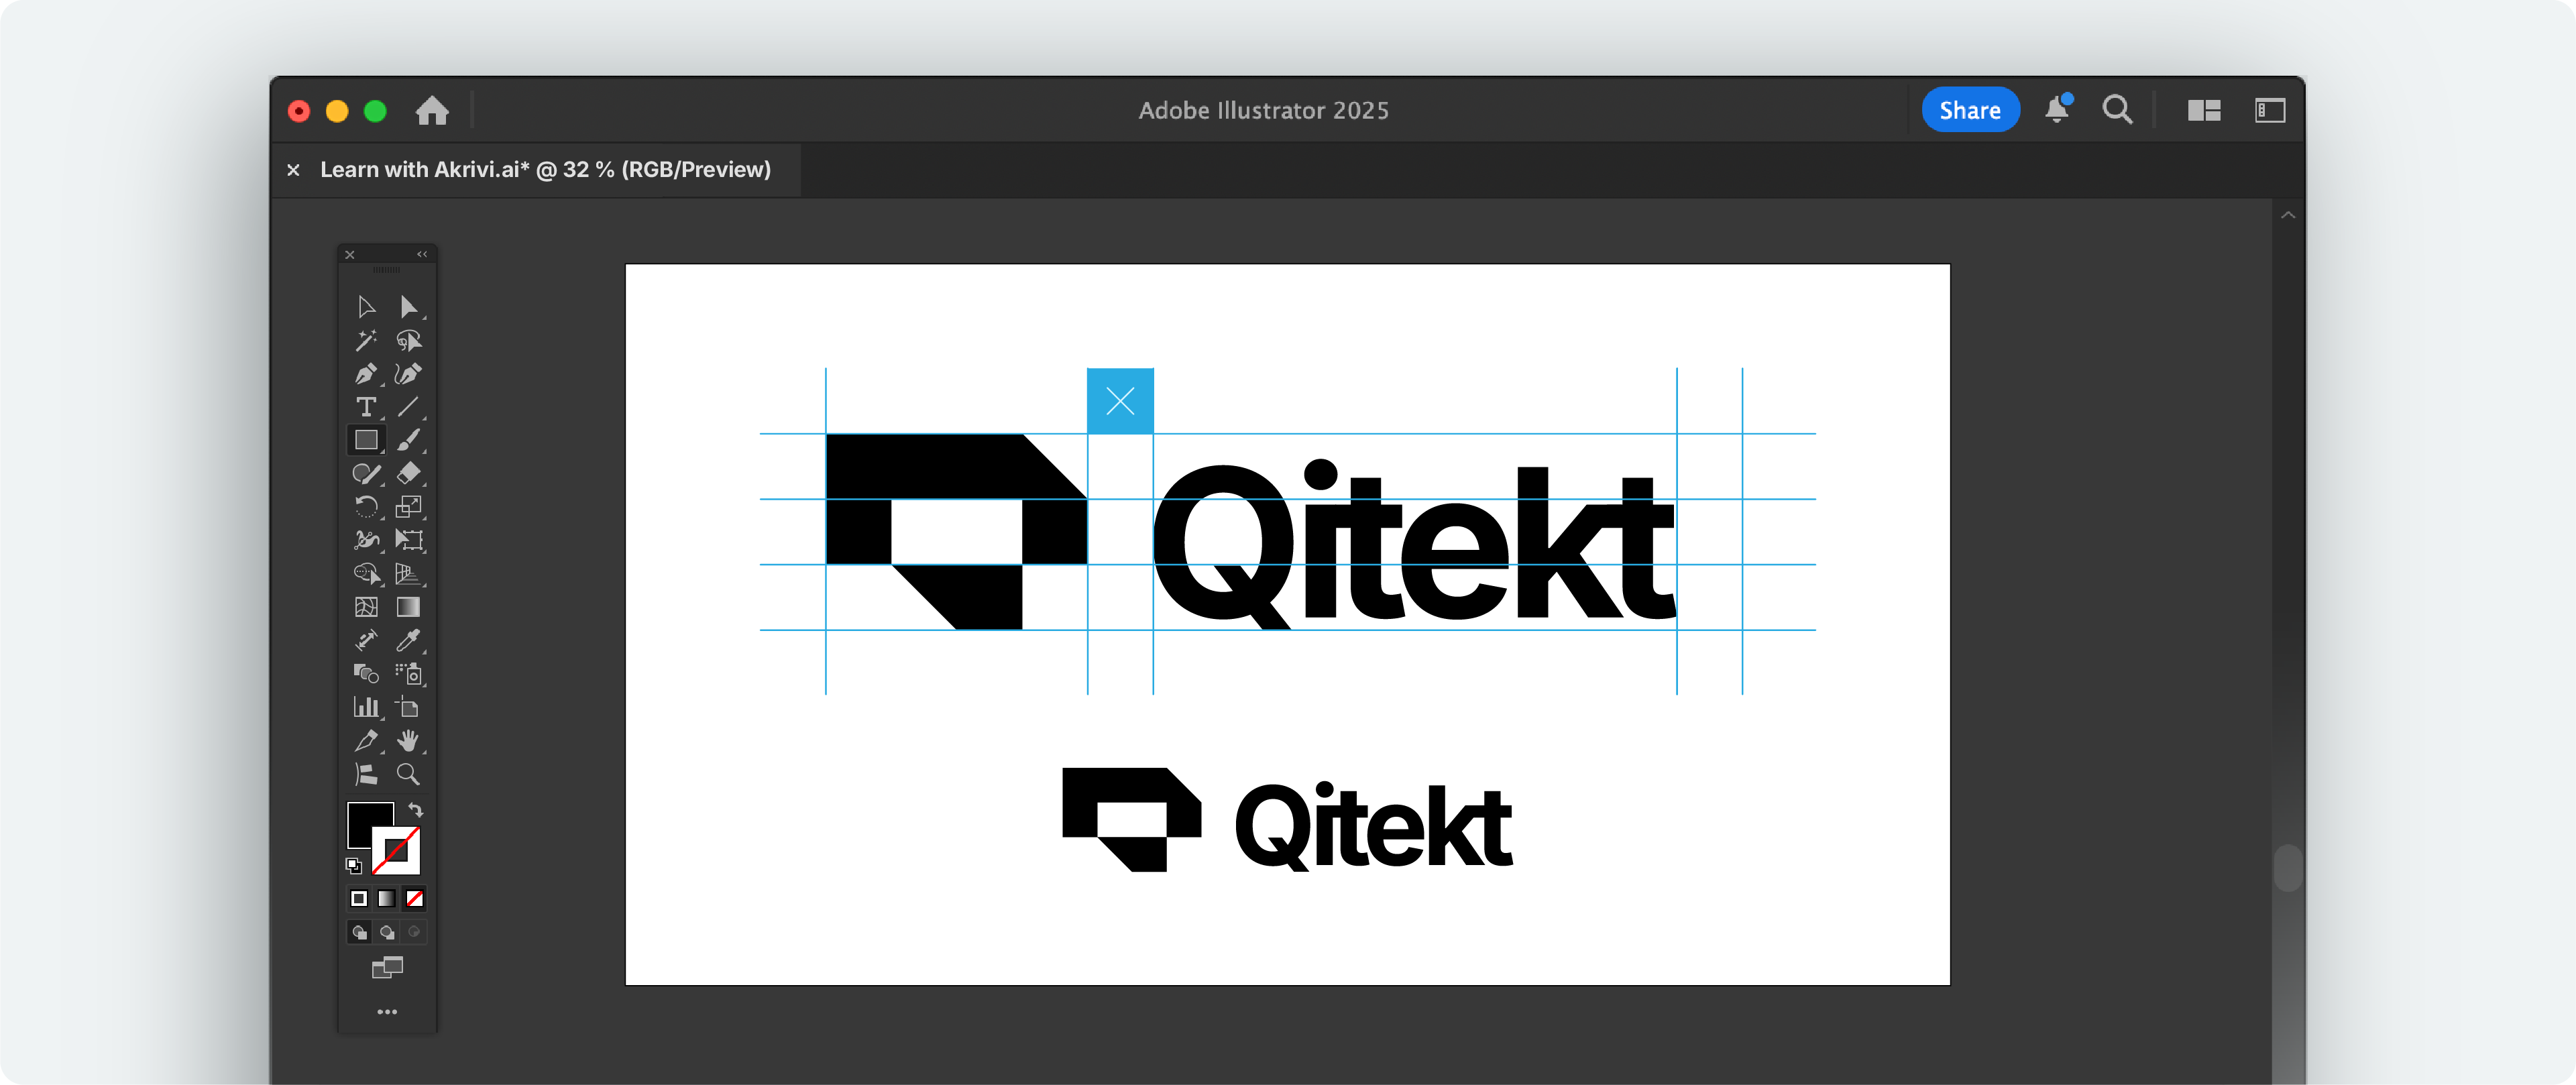
Step 5: Balance The Logomark & Logotype with a Lockup Grid
If your logo has multiple parts like an icon and text (and maybe even a tagline), a lockup grid ensures they work well together.
- Arrange Elements: Put your logo parts (logomark, logotype, tagline) where you want them.
- Add Lockup Grid: Use a lockup grid to align and space these parts exactly. This ensures all your logo versions are consistent.
- Tool: The Logo Grids Script Pack is perfect for this. Adobe illustrator scripts, that automate logo lockups grids.
Watch the Full Logo Design with Grids Process
I've create an in-depth tutorial for you, showing you how I create each logo grid system in the logo design process. Check it out here:
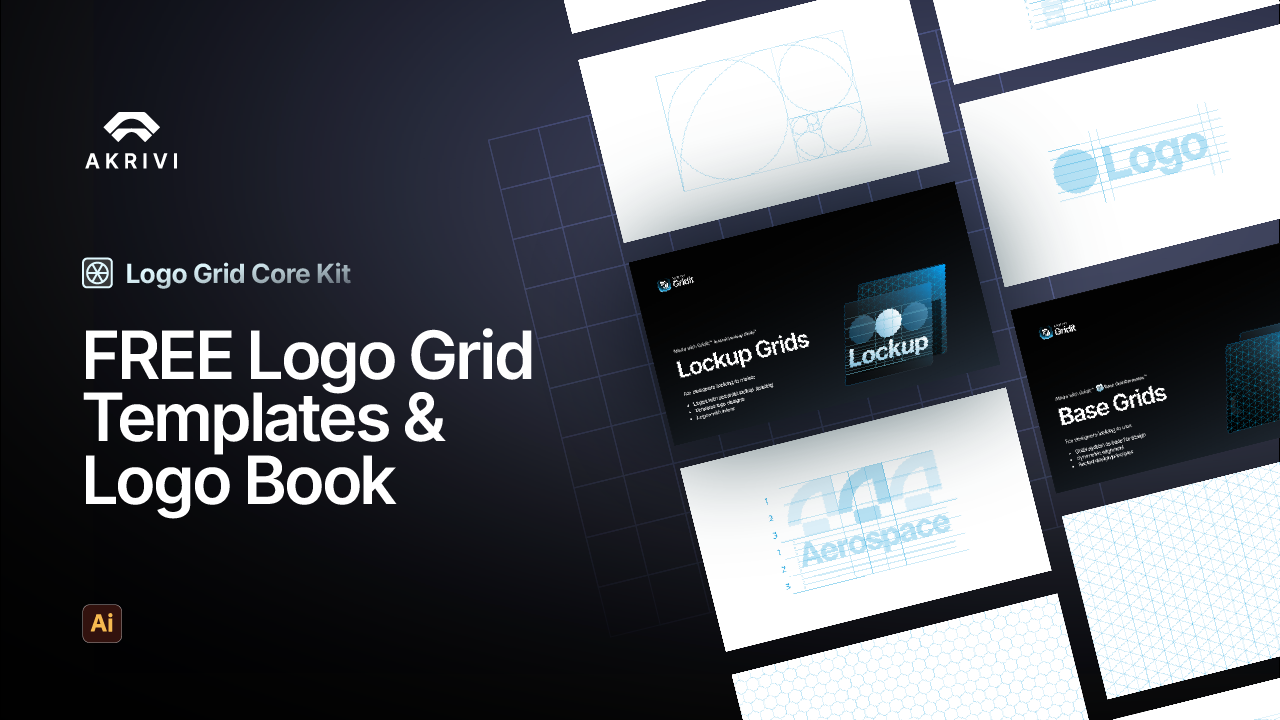
Download Your Free Templates
Ready to use what you've learned?
Here's your FREE logo grid template to get you designing more professional logos right away!
The Logo Grid Core Kit includes an ebook, all about mastering logo grids inside Adobe Illustrator.
Conclusion
Mastering how to use logo grids is a fundamental skill. By using different grid types, from base grids for initial structure to construction, clearspace, and lockup grids for refinement , you make your logos visually appealing, strong, and consistent.
- For Automated Logo Grids: Used by 20k+ designers, Gridit helps instantly builds flawless logo grids. Check out the Adobe Illustrator plugins, scripts and extensions for automated grids.