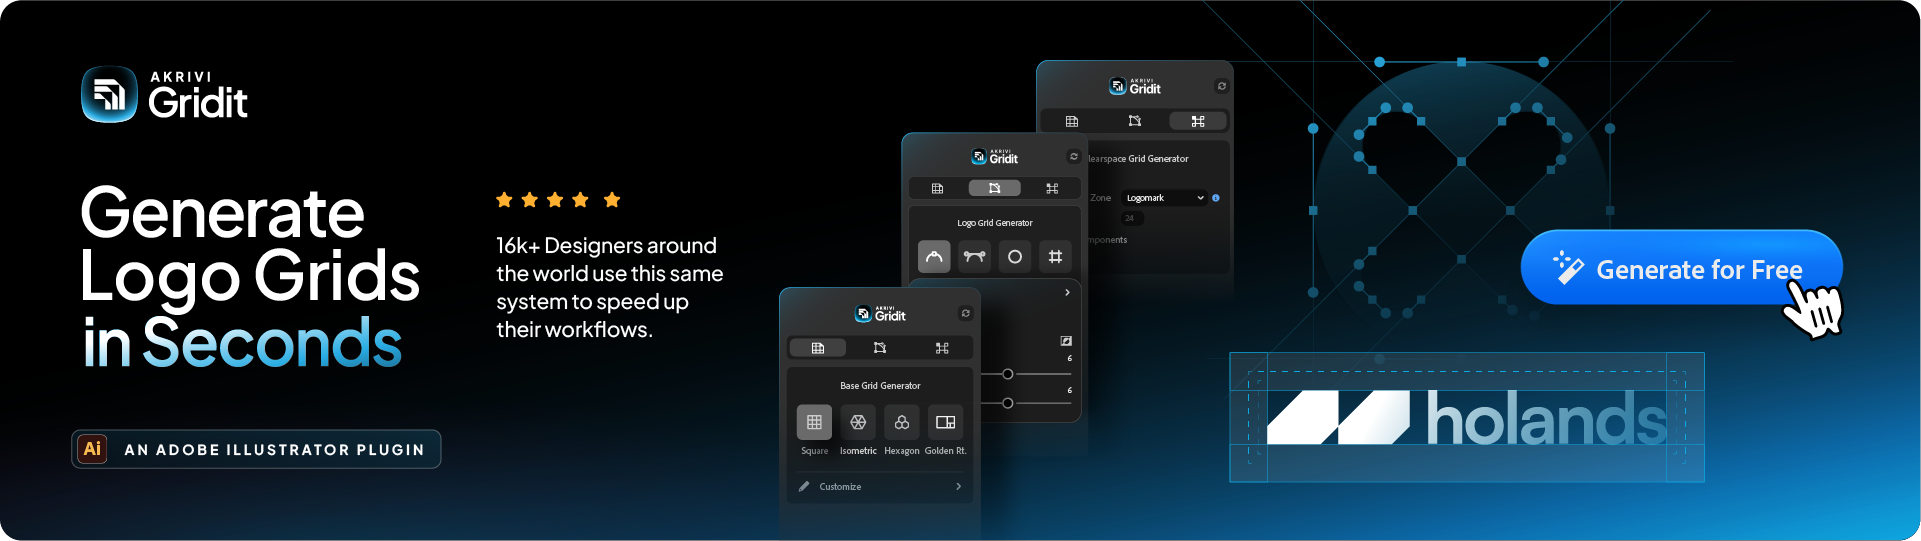
The all-in-one automation suite for brand identity designers
Deliver flawless
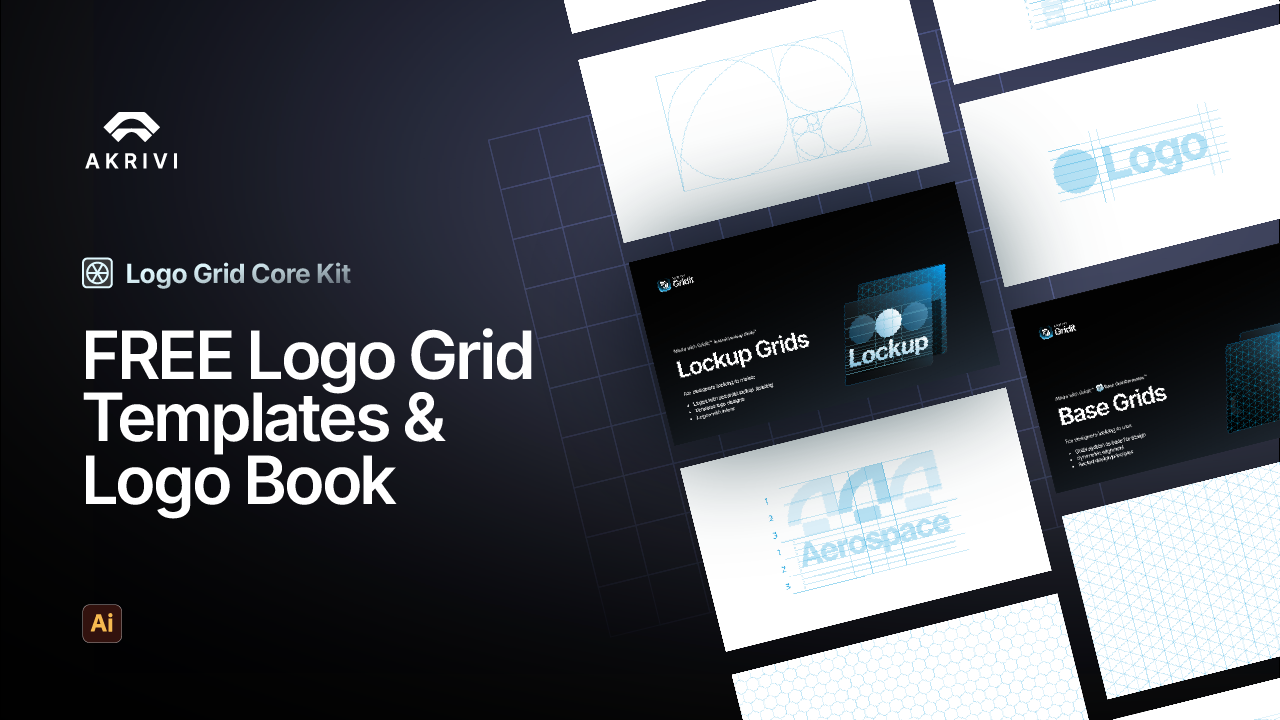
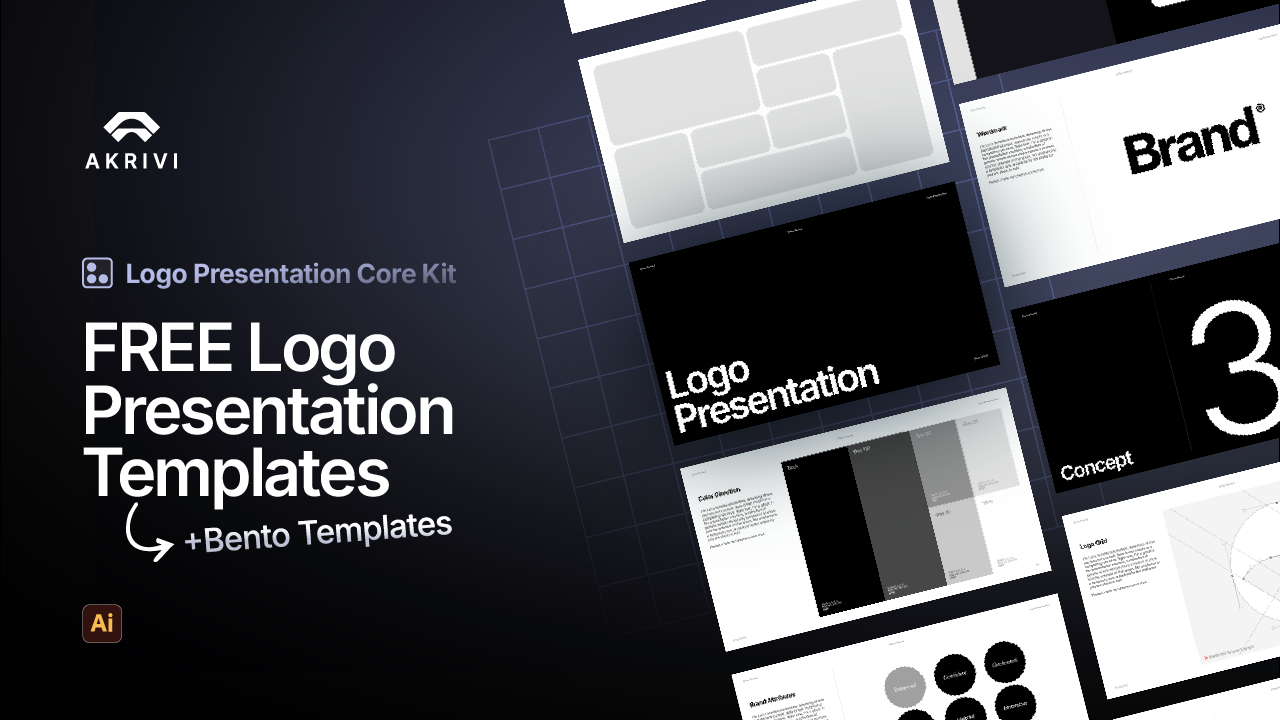
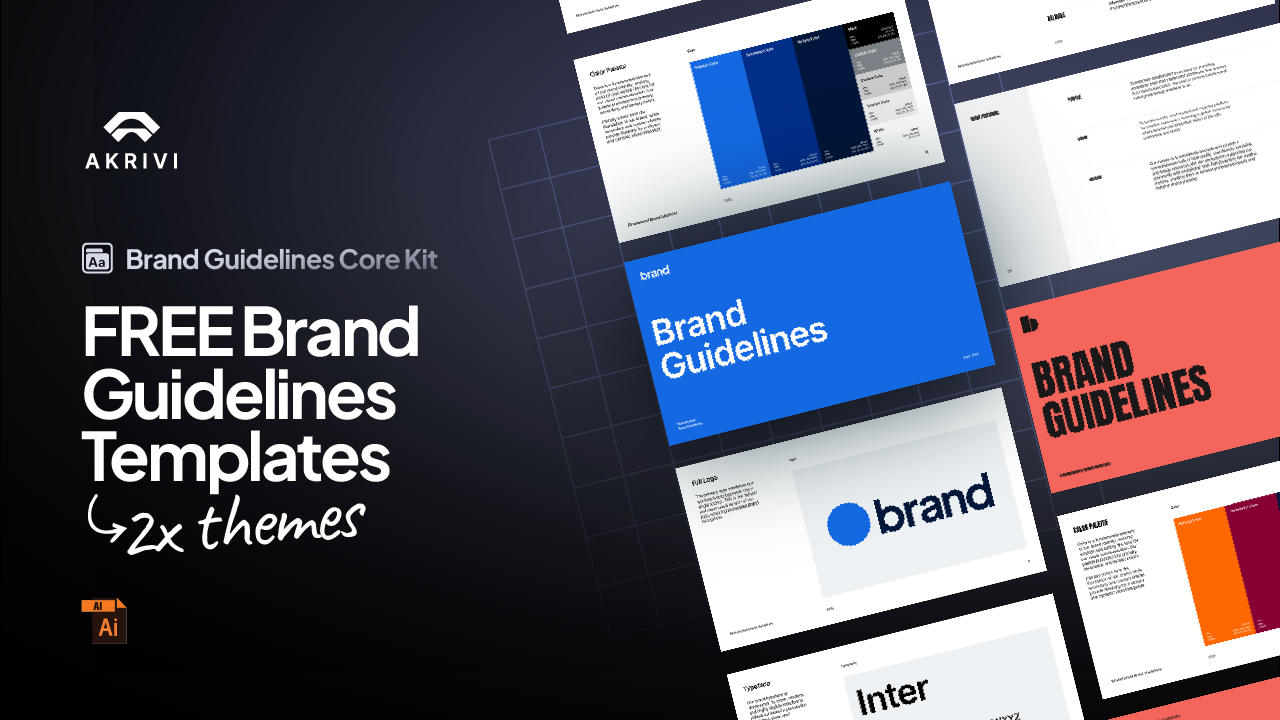
Everything you need, in one poweful suite


How to Present Logos to Clients Using Gridit Logo Grid Generator
Learn how to use GridIt to create professional construction grids that demonstrate logo perfection to clients
When you present a logo to a client, you aren't just selling a graphic; you are selling a professional asset. The difference between a nice logo and a premium brand identity often comes down to how you show the engineering behind the work.
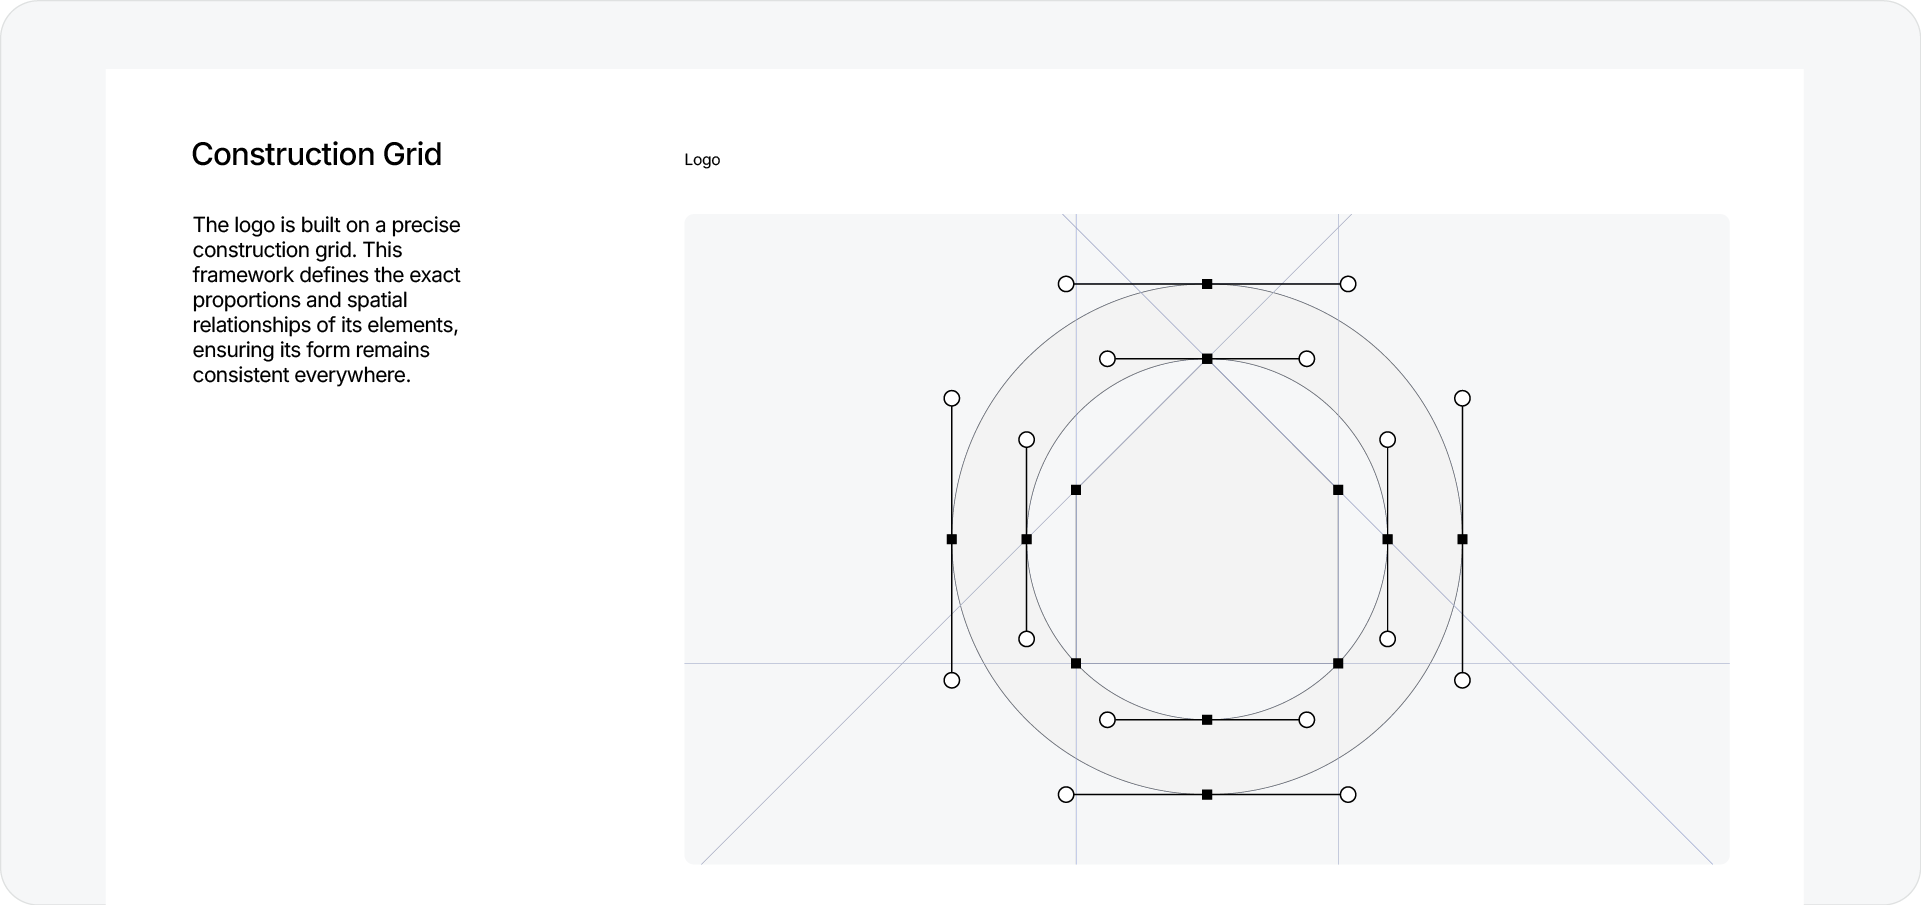
One of the most effective ways to demonstrate this precision is by including a construction grid in your presentation deck.
This grid acts as the blueprint of your design. It reveals the geometric relationships, the alignment, and the careful thought that went into every anchor or curve. It signals to the client that this work is built to last.
In this guide, I’ll show you how to use the new Gridit V3 to generate these grids instantly, and how to use the new customization features to make them look stunning for your presentations.
Why Use Gridit for Client Presentations?
Creating a construction grid manually used to be a tedious chore. Tracing every radius and extending every line could take longer than the actual design phase.
That’s why I built the Logo Grid Generator™ inside Gridit™. It automates the heavy lifting, instantly mapping out the geometry of your logo.
But for a client presentation, raw data isn't enough. The grid needs to be beautiful. It needs to communicate clarity and intent. We aren't just making a grid; we are creating a piece of visual storytelling.
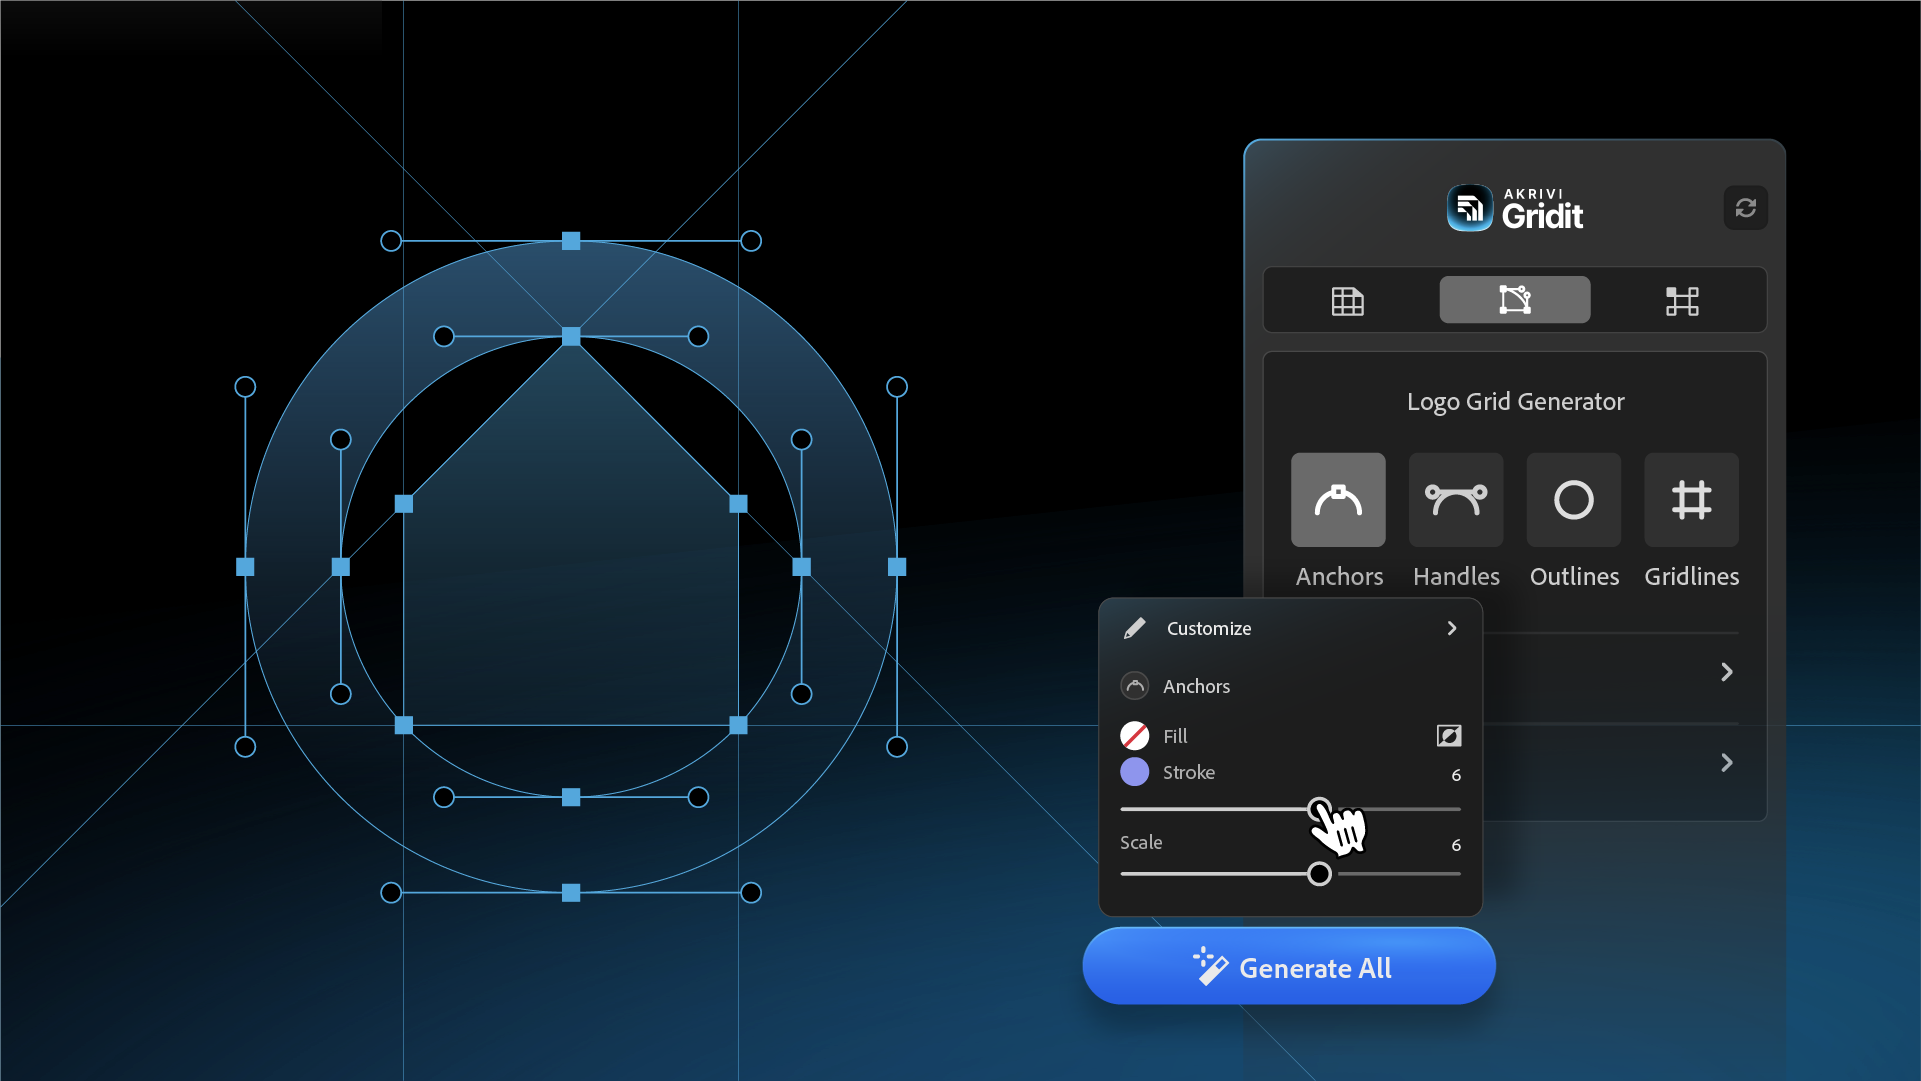
Step 1: Generating the Grid Structure
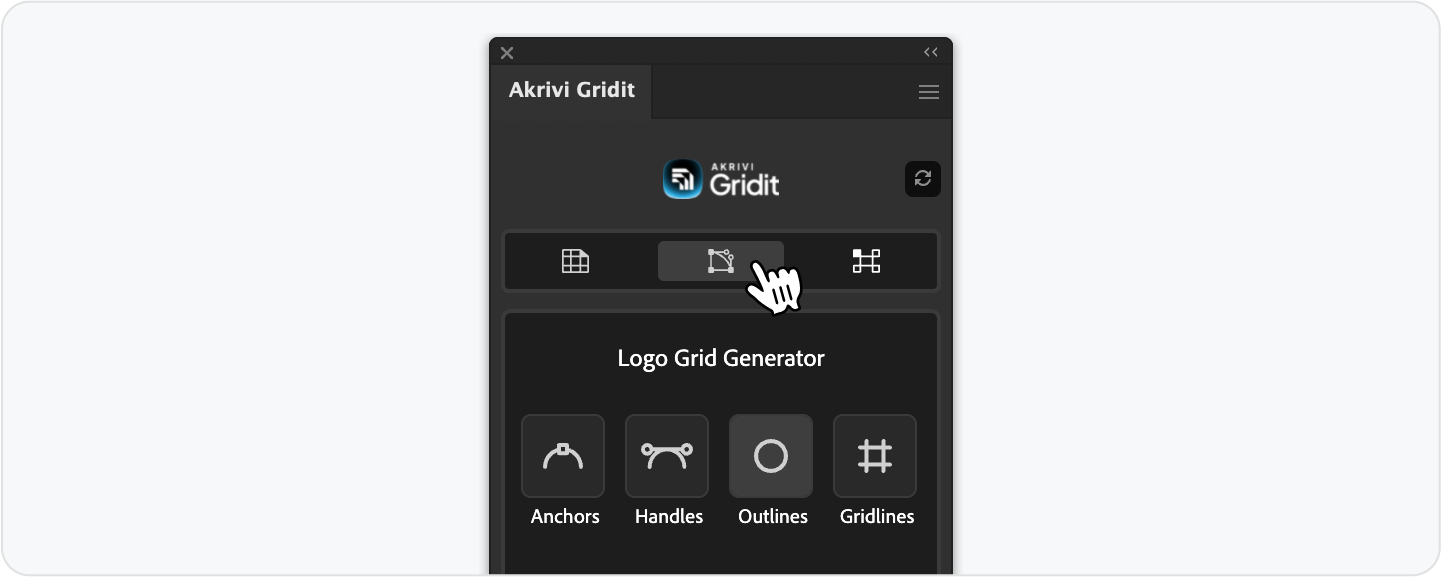
Once your logos are grouped, open the Guideit panel (Window > Extensions > Akrivi Gridit).
With the new Gridit V3 interface, the process is faster than ever.
Depending on what you need, there are two ways to generate your grid:
Option 1: The Fastest Way (Generate All)
Hit the blue Generate All button to instantly create the complete grid system, Anchors, Handles, Outlines, and Gridlines, in one click.

Option 2: The Custom Way (Select Parts)
For a cleaner look, toggle only the parts you need (like just Outlines and Gridlines) and click Generate. This is perfect if you want to hide technical details like anchors.
Step 2: Styling for a Professional Look (Using V3 Sliders)
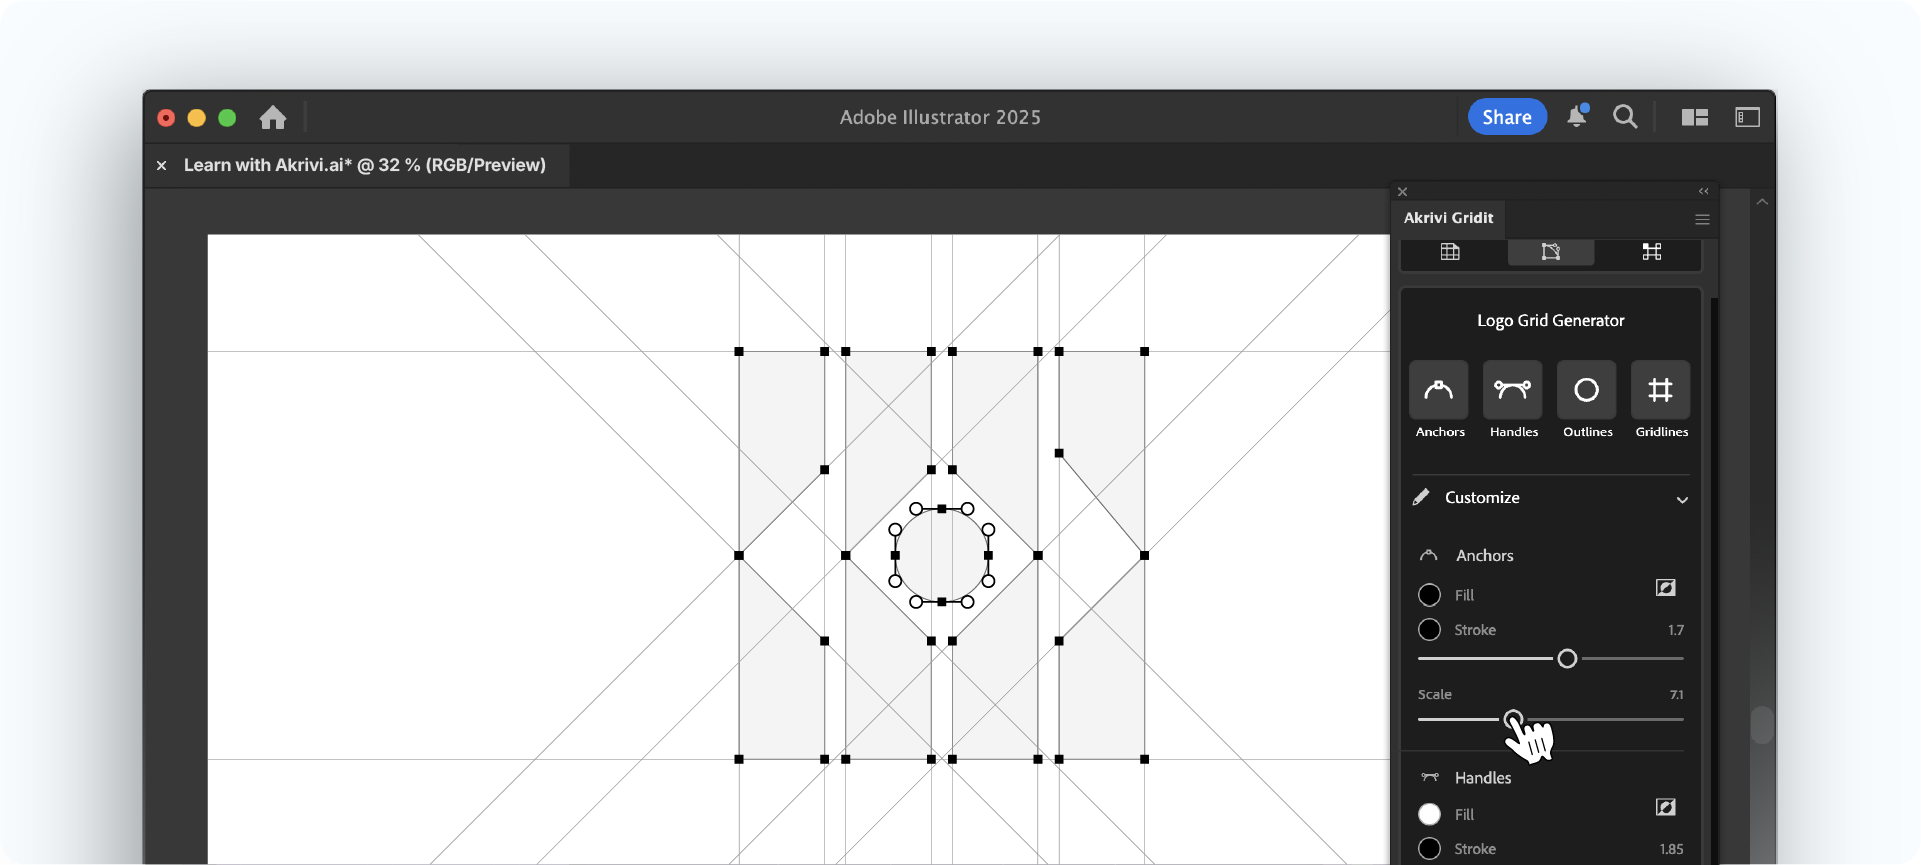
A default grid can sometimes look too heavy. To make it client-ready, you need to refine the styling so the grid supports the logo rather than overpowering it.
In Gridit V3, we’ve added Live Sliders under the Customize dropdown that make this incredibly easy.
- Fine-Tune Line Weights
Use the Stroke slider to make gridlines thin and subtle. This keeps the focus on the logo, not the lines. - Adjust Anchors & Handles
Large points create clutter. Use the Scale slider to reduce them until they are unobtrusive but still clear. - My Personal Pro-Tip
Set anchors to a white fill with a dark stroke. This high-contrast look feels like a technical blueprint rather than a default software screenshot.
Step 3: Managing Visual Complexity

Gridit is powerful enough to map every single curve using Circular Trajectories. However, for a client presentation, you want to avoid visual noise.
If you are working with a highly organic logo, generating every single circle can create a "spiderweb" effect that might confuse the client.
My advice: Only turn on circular trajectories for geometric logos where those circles clearly define the primary shape. If the grid starts to look cluttered, simply toggle them off. The goal is to show the logic of the design, not just lines for the sake of lines.
Watch the Full Walkthrough
I recorded an in-depth video showing this entire workflow from start to finish.
Ready to Professionalize Your Presentations?
A polished construction grid elevates your work. It builds trust and shows the client exactly what they are paying for: precision, expertise, and attention to detail.
Don't waste hours drawing lines manually. You can try the Logo Grid Generator inside Akrivi Studio today.
Generate for Free Akrivi Studio.
Conclusion
Presenting a logo is about confidence. By including a styled construction grid in your slide deck, you prove that your work is intentional. It’s a small addition to your process that makes a massive difference in how your professionalism is perceived.