The all-in-one automation suite for brand identity designers
Deliver flawless
Everything you need, in one poweful suite


How to Use a Logo Grid
Learn how to use different types of logo grid systems throughout your design process.
Many designers think a logo grid is just one thing, a complex web of lines you slap on top of a logo at the end to make it look cool on Instagram.
The reality is that a logo grid is not a single tool; it is a system. There are four distinct types of grids, and you need to use specific ones at specific stages of the design process to get a professional result.
In this guide, I will explain exactly how to use each grid type, from the first draft to the final file handoff.
For a deeper definition of the fundamentals, check out my article on what is a logo grid?.
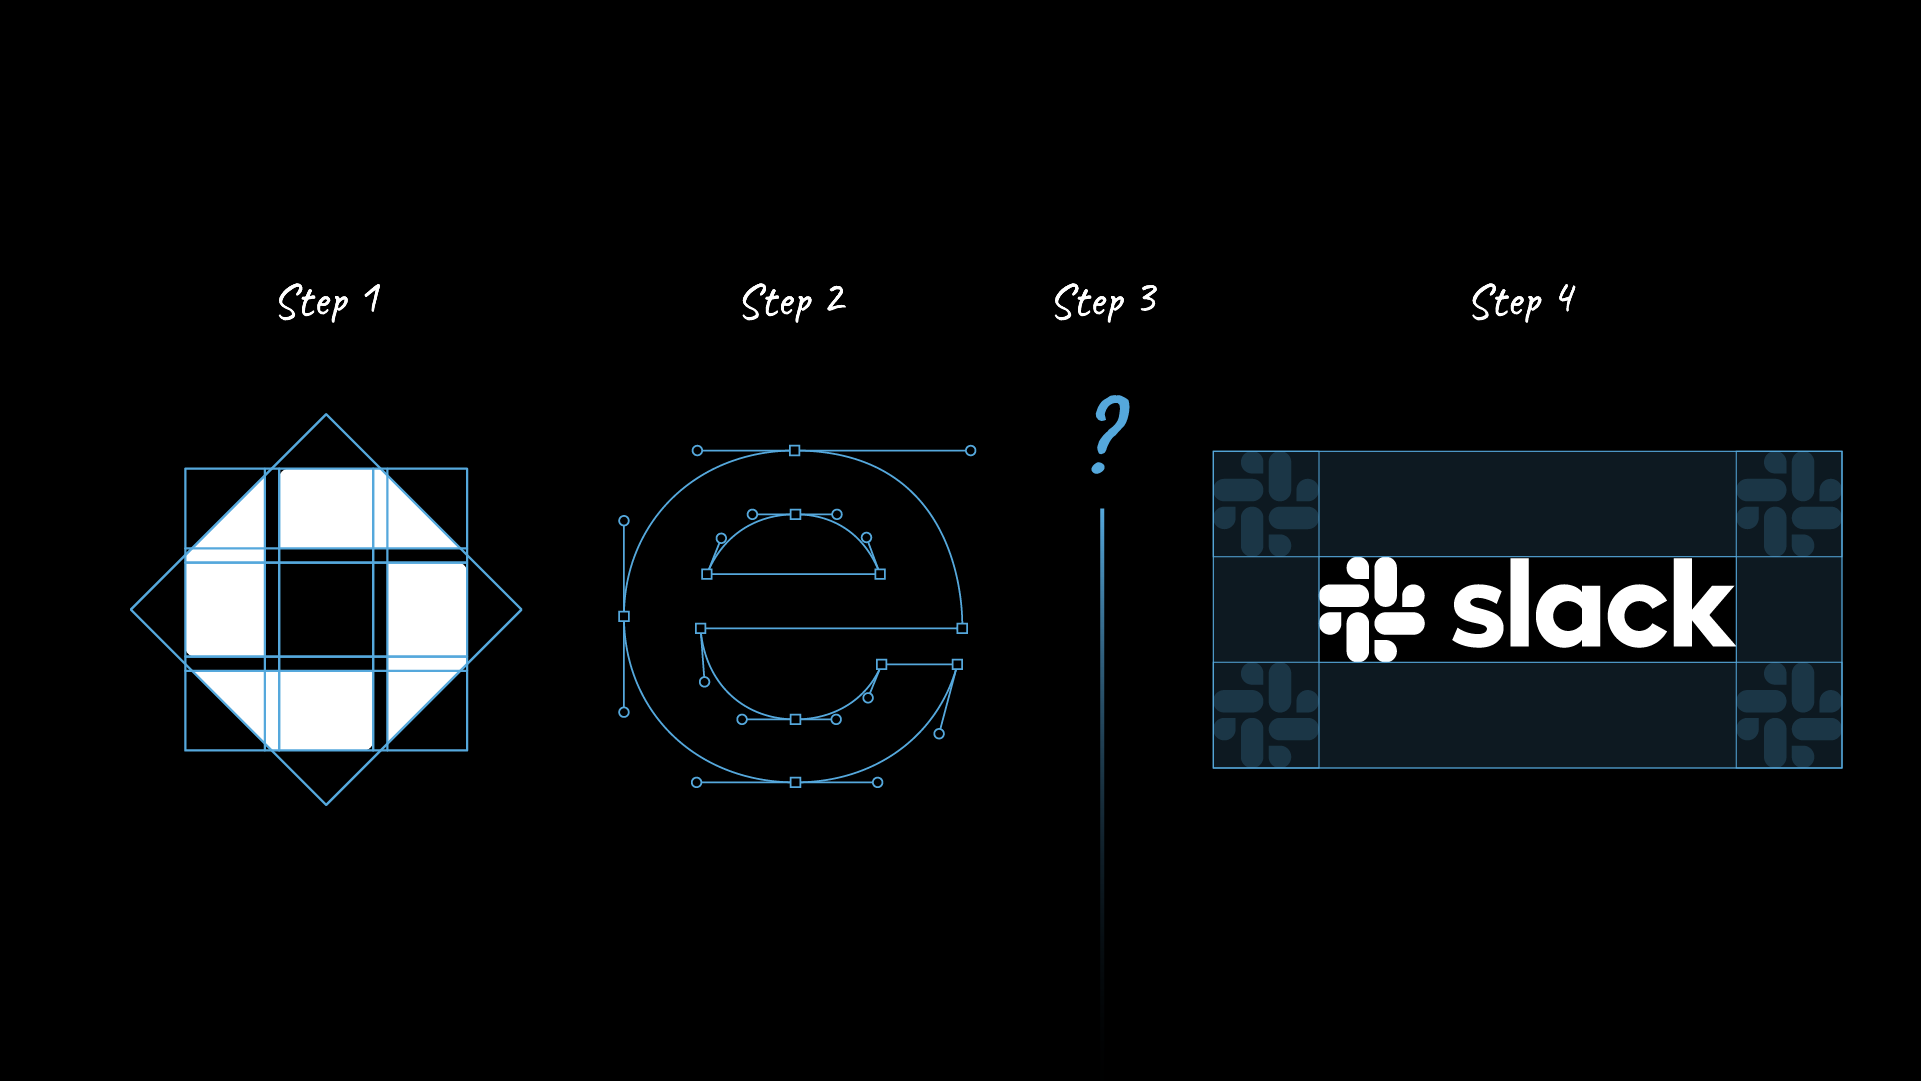
Step 1: Use a Base Grid for Structure
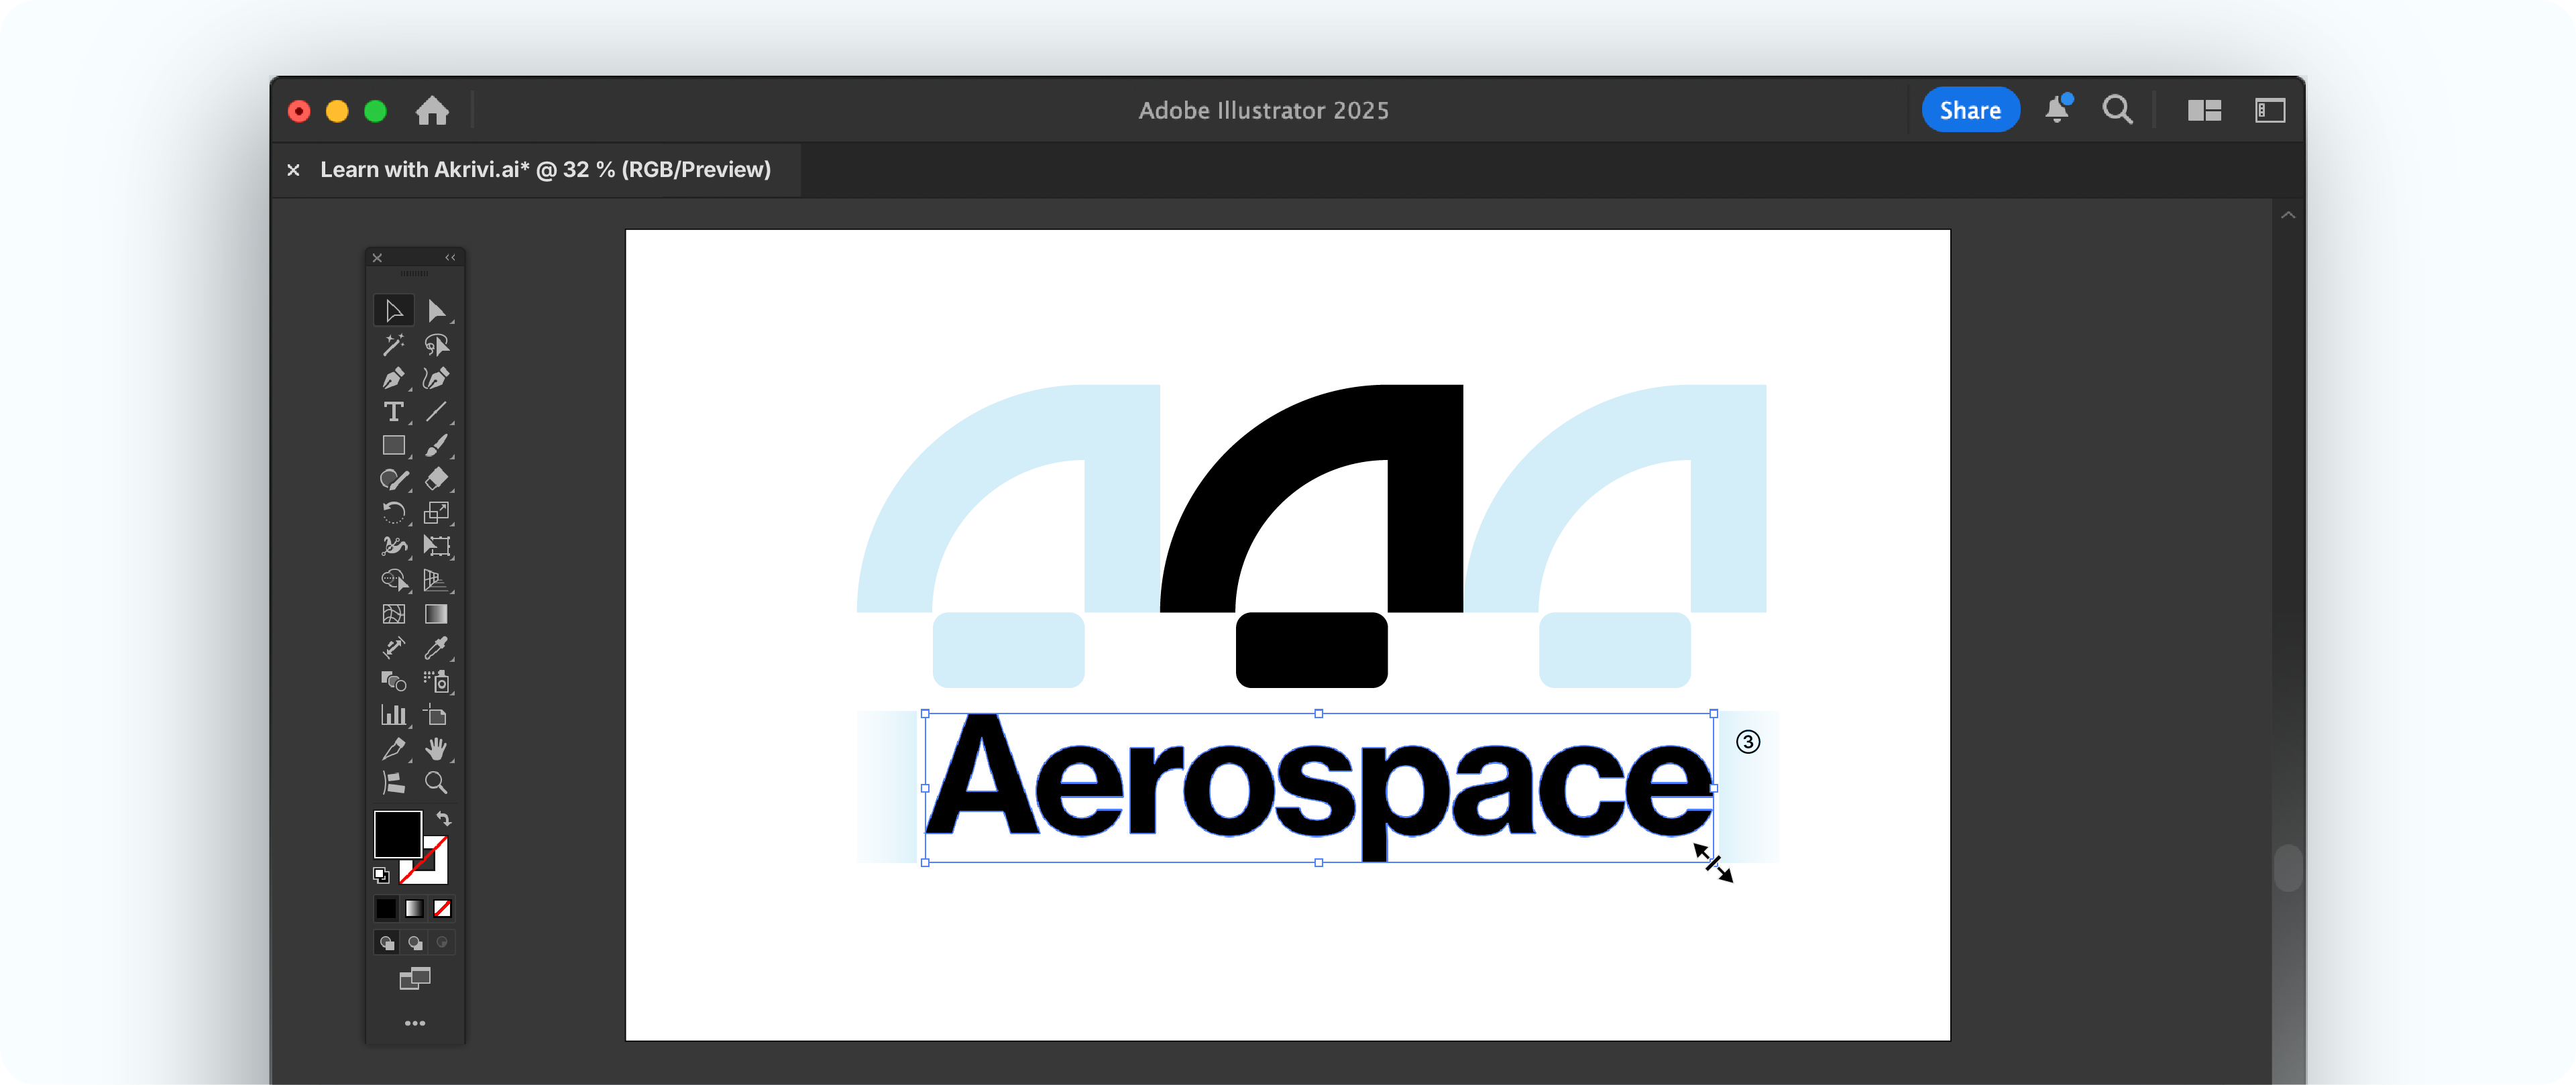
You should use a Base Grid at the very beginning of your workflow, during the drafting phase in Adobe Illustrator. This grid acts as your geometric foundation to ensure consistency before you even draw a shape.
- Establishing Structure: Use a base grid to set up the fundamental geometry of your design.
- Drafting Concepts: Use this to guide your initial drawings, to ensure proportions are consistent from the start.
You can learn exactly how to make a logo grid in Illustrator in my step-by-step guide.
Step 2: Use a Construction Grid for Refinement
Once you have a solid concept drafted, you move to the refinement stage using a Construction Grid. You don't use this grid system to design; you use it to clean up.
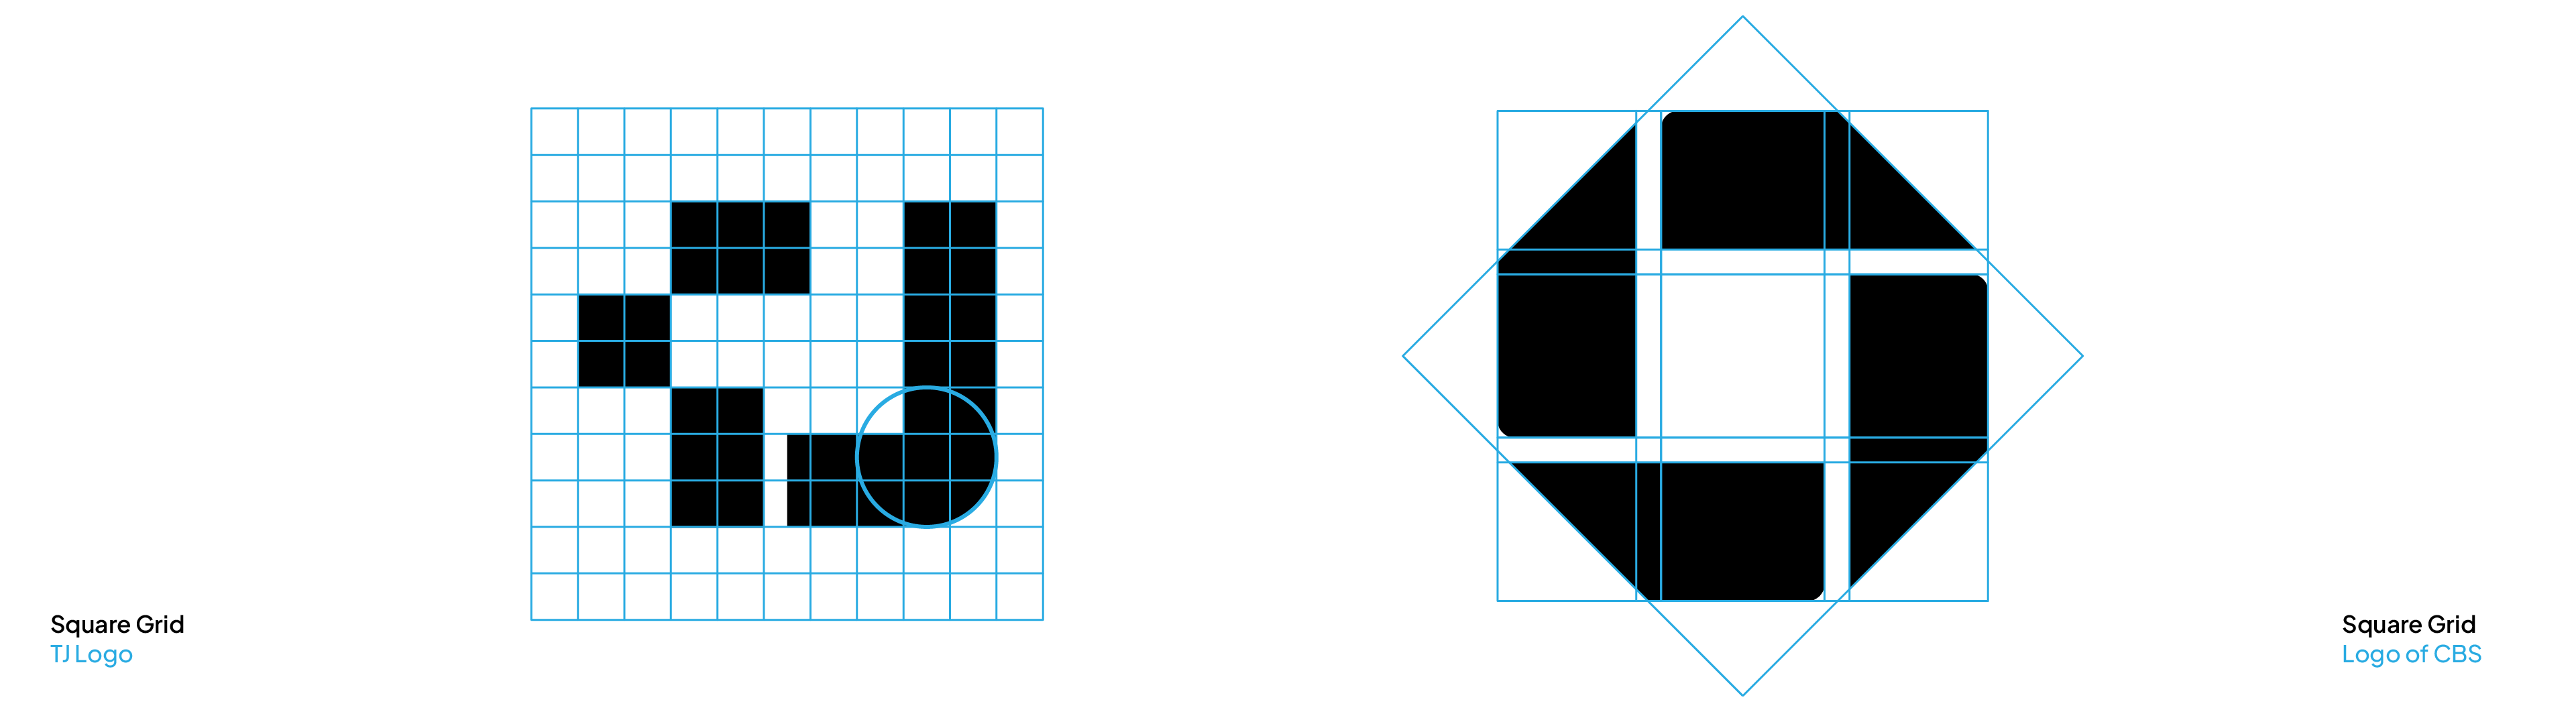
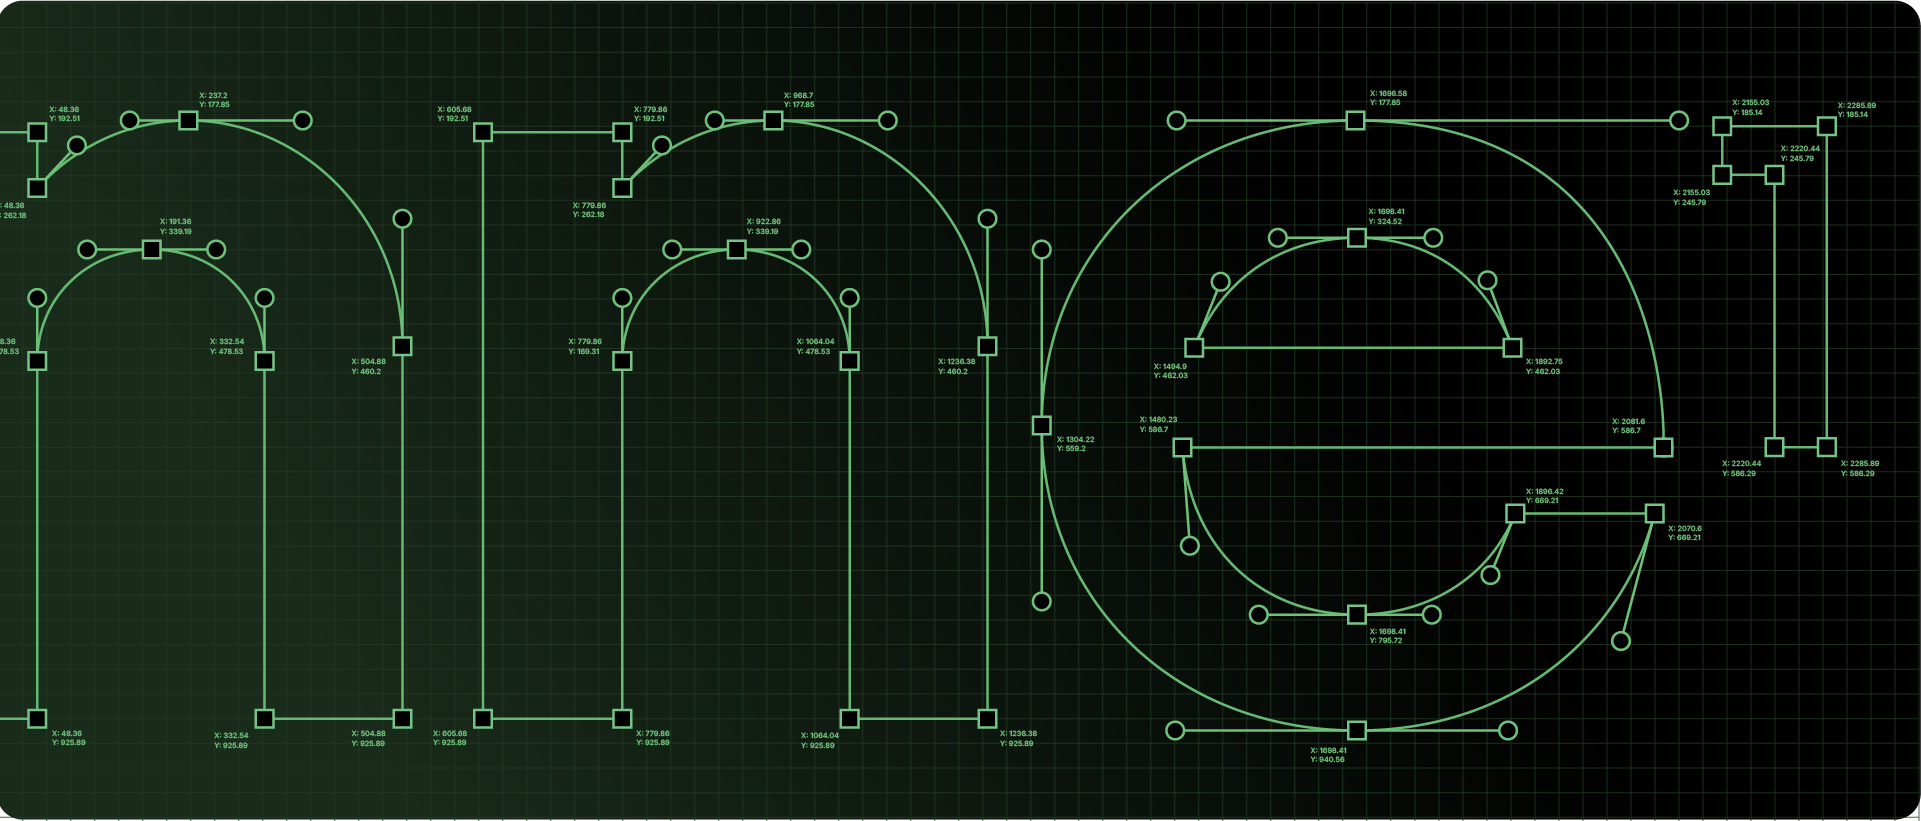
- Checking Alignment: Use a construction grid to verify that you don't have excess anchor points or bad crossings.
- Geometric Precision: Use this to ensure the overall logic of the logo is mathematically sound, like how angles within the logo should be repeated.
I explain this process in detail in my post on how to finalize a logo with a construction grid.
Step 3: Use a Lockup Grid for Balance
After the logo is refined, you use a Lockup Grid. This is used during the layout phase to combine your elements.
- Balancing Relationships: Use a lockup grid to define the spacing between the logomark and logotype, which can be horizontal or vertical.
Step 4: Use a Clearspace Grid for Protection

The final grid is used at the very end of the project to prepare your files for delivery.
- Defining Safe Zones: Use this to create a protective boundary that keeps other graphic elements away from the logo.
I cover all these details in my post on the 4 types of logo grid systems.
Use Case Summary
Start with Free Template
I’ve also created pre-made base grids and lockup grids you can use to start creating flawless logo designs, which can be downloaded here – Logo Grid Templates.
Conclusion
Using a logo grid isn't about restricting your creativity; it's about knowing which grid to apply at which stage. By moving from a Base Grid for drafting to a Construction Grid for refinement, you ensure your final work is precise, professional, and ready for delivery.