The all-in-one automation suite for brand identity designers
Works with Adobe Illustrator 2021 - 2026
Deliver flawless
Everything you need, in one poweful suite

Try Akrivi Studio, includes automated templates that generates layouts for you
How to Export High Resolution Logos in Adobe Illustrator

Learn how to export logos with the best settings in Illustrator for sharp, high-quality results
You finish a logo in Illustrator and export it. The preview looks fine. The client opens it and the PNG looks soft on their retina screen, or the printer says the resolution is too low. The problem is not the logo. It is the export settings.
This guide covers exactly how to export high resolution logos in Adobe Illustrator, what PPI means and why it matters, and the correct settings for every file format.
What is PPI and why does it matter for logo exports?

PPI stands for Pixels Per Inch. It describes how many pixels are packed into each inch of a raster image. The higher the PPI, the more detail is captured in the same physical space, and the sharper the image appears on screen or in print.
Related Reading: For a full breakdown of every logo file format and what each is used for, read the Ultimate Guide to Logo File Formats 2026.
72 PPI vs 300 PPI
These are the two most common export resolutions and they serve completely different purposes.
72 PPI is the standard resolution for screen and digital use. Most monitors display at 72 to 96 PPI, so a 72 PPI image looks sharp on a standard display. It produces smaller file sizes, which makes it better for web performance.
300 PPI is the standard resolution for professional print. Print presses require far more pixel density than screens to reproduce a sharp image because ink on paper does not emit light the way a screen does. At less than 300 PPI, printed images will look soft or pixelated.
72 vs 300 PPI: which to use?
Why PPI does not apply to vector files
PPI is a raster concept. Vector files (AI, PDF, SVG, EPS) are built from mathematical paths, not pixels. They have no resolution and scale to any size without any loss of quality. When you export a logo as a PDF for print, the PPI setting is irrelevant because the file is not made of pixels.
PPI only matters when exporting raster files: PNG and JPG.
Related Reading: For a deeper look at how vector and raster files behave differently, read Vector vs Raster Logos: What Designers Need to Know.
How to export high resolution PNG logos in Adobe Illustrator

PNG is the primary raster format for digital use. Here is the correct export process for a high resolution PNG in Illustrator.
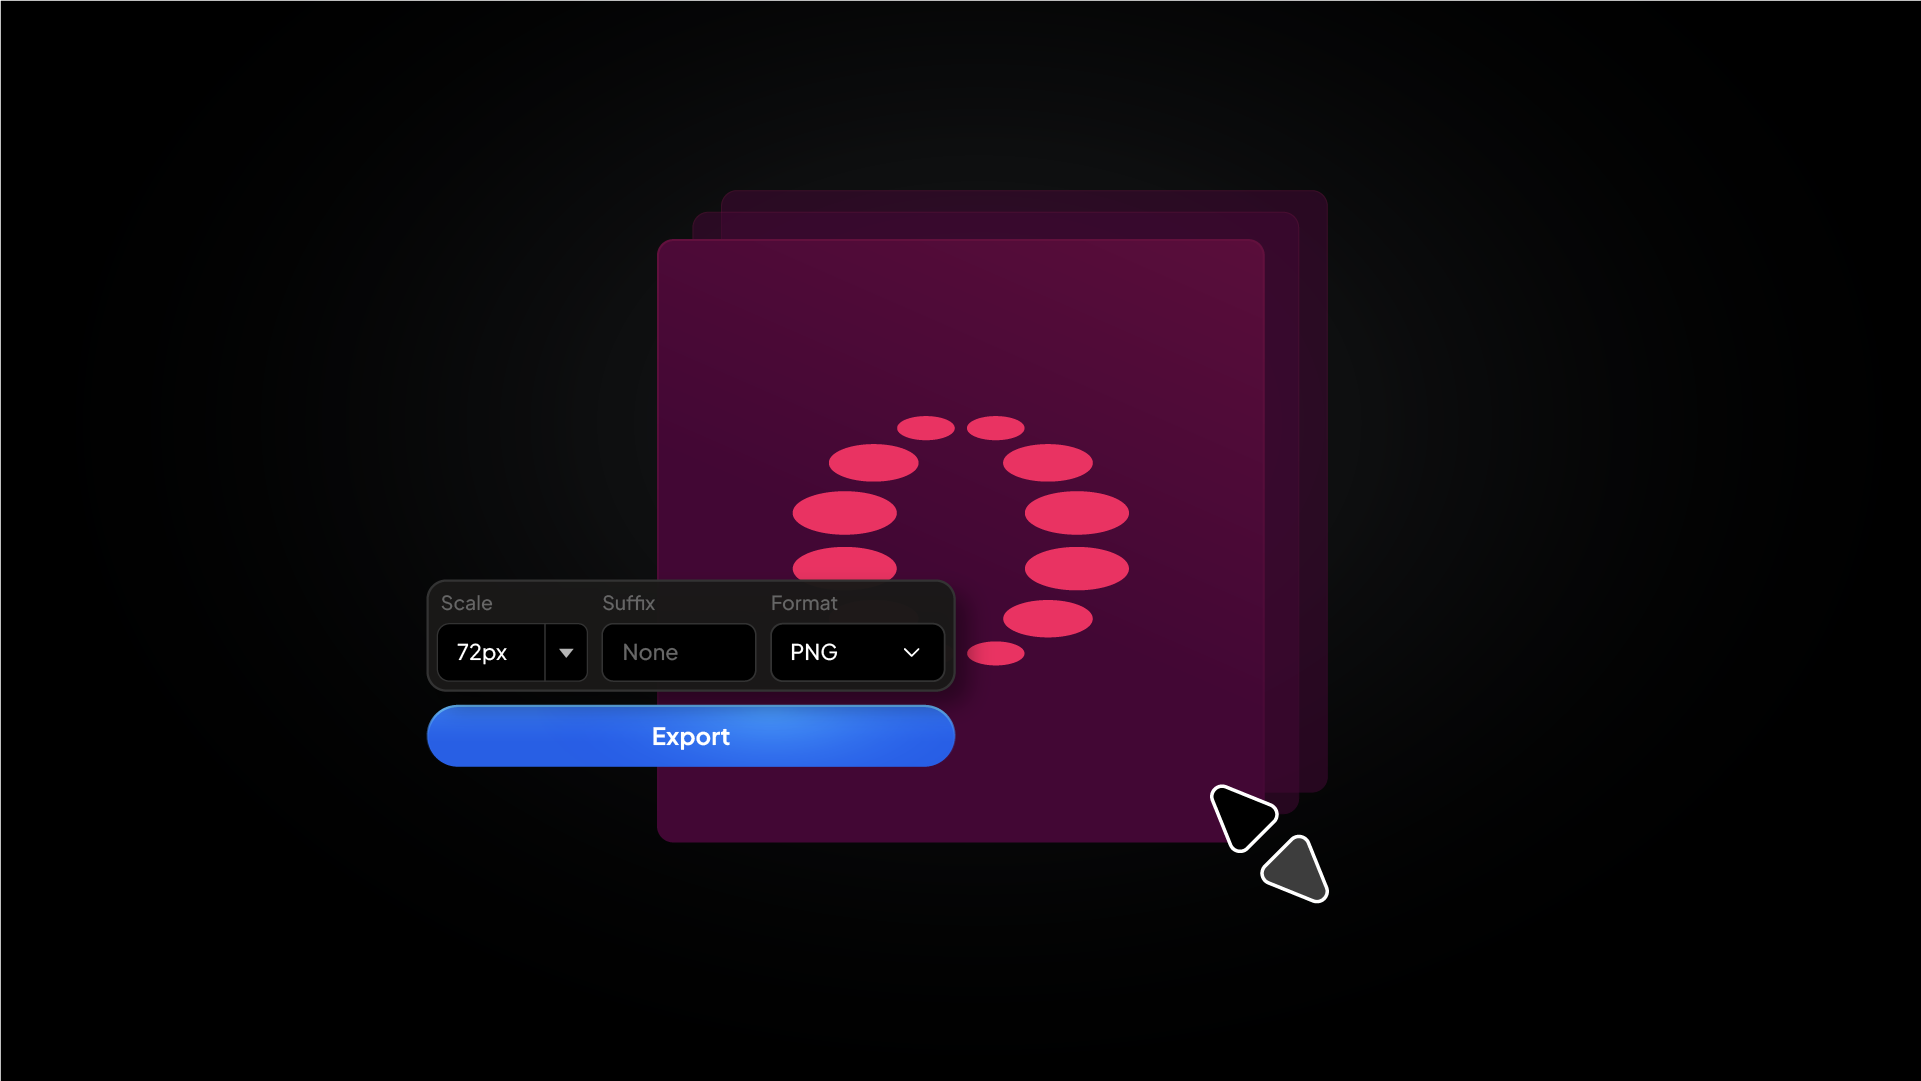
Using Export for Screens
Go to File > Export > Export for Screens. This is the recommended method for PNG exports as it gives you full control over scale, size, and resolution in one step.
Step 1: Set up your artboards
Make sure each logo variation is on its own named artboard. Use Object > Artboards > Fit to Artwork Bounds to snap the artboard tightly to the logo with no extra white space.
Step 2: Select artboards to export
In the Export for Screens dialog, select all artboards you want to export from the left panel.
Step 3: Set the format to PNG
Under Formats, set the format to PNG. Make sure the background is transparent. Check that no white rectangle sits behind the logo on the artboard.
Step 4: Set your export sizes
Add multiple scales to cover every digital context:
- 0.008x at suffix
@16pxfor favicon (16px output) - 0.25x at suffix
@512pxfor social media - 0.5x at suffix
@1024pxfor general digital use - 1x at suffix
@2048pxfor high-res and retina
Alternatively, switch to Width and enter the pixel dimension directly for each size.
Step 5: Export
Click Export Artboard. Illustrator generates all sizes in one run and saves them to your chosen folder.
How to export high resolution logos for print
For print, always export a vector file, not a raster. Vector files scale to any size at any resolution without quality loss, which is why they are the professional standard for print production.
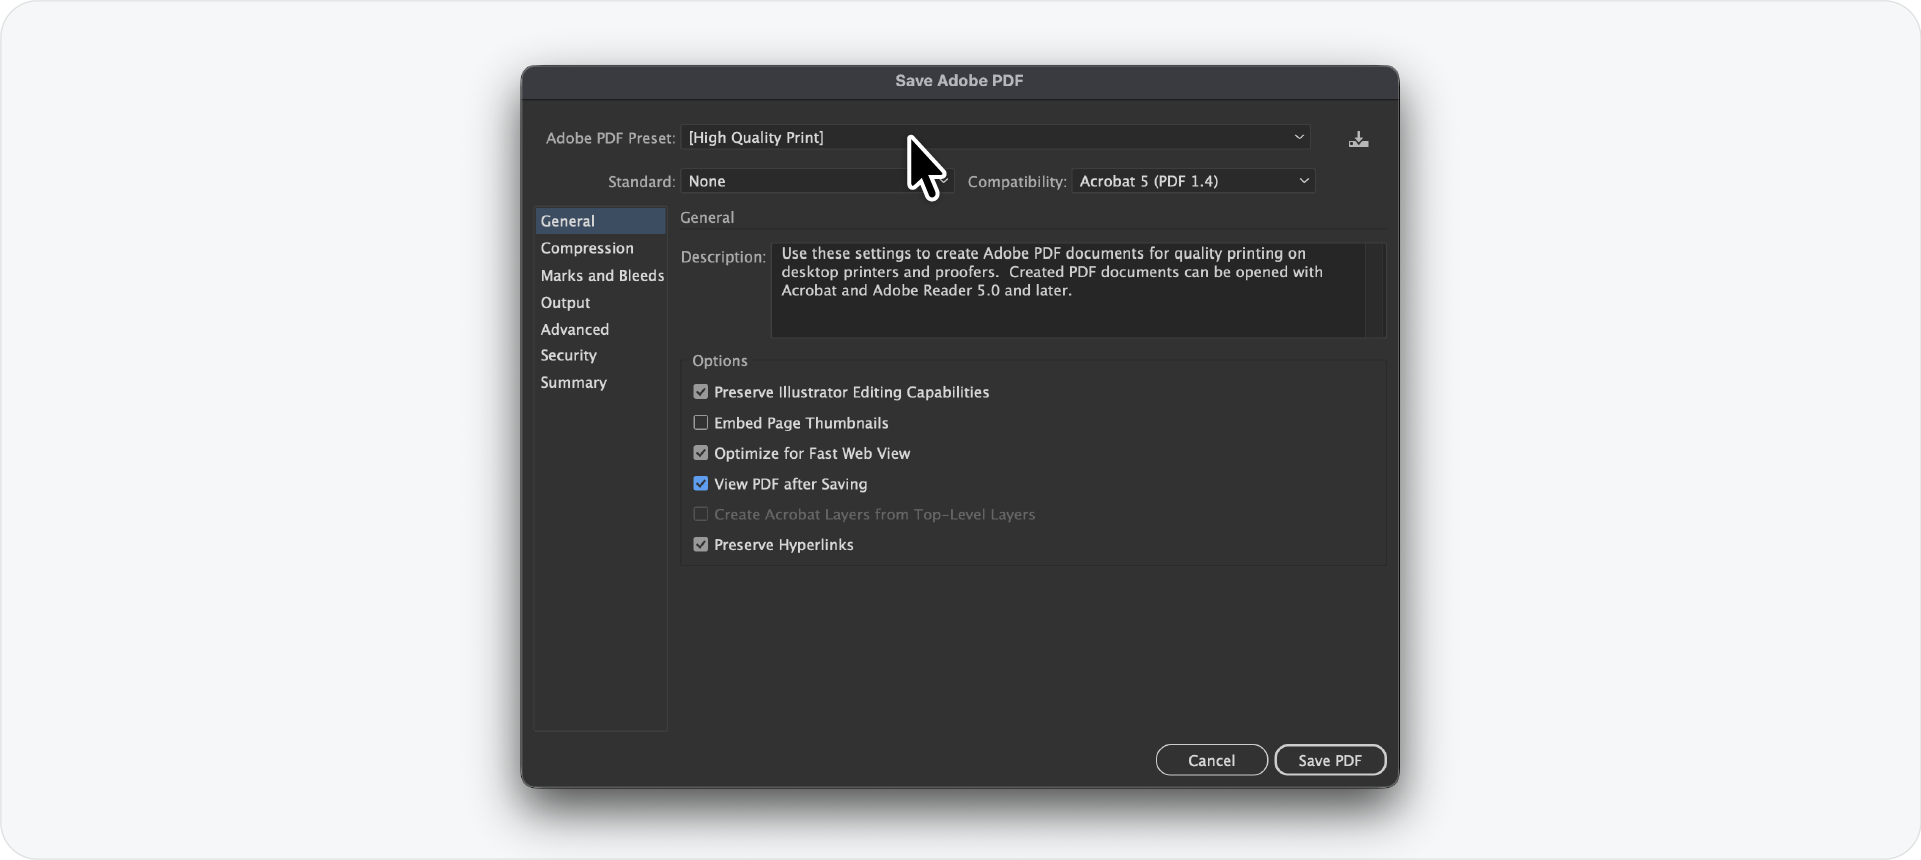
PDF for print
Go to File > Save a Copy and select Adobe PDF. In the Adobe PDF Preset dropdown, select High Quality Print or PDF/X-1a for standard print or PDF/X-4 for print with transparency. Both flatten the file correctly for press workflows.
Under Output, make sure the colour space is set to CMYK. Do not export a print PDF in RGB.
EPS for print
Go to File > Export > Export As and select EPS. Set compatibility to Illustrator 8 for maximum compatibility with older print supplier software. Convert all fonts to outlines before saving.
Best export settings summary
Common mistakes to avoid
Exporting PNG at 72 PPI and sending it to a printer. A 72 PPI PNG will look soft in print. Always send a vector PDF for print production.
Exporting a small PNG and expecting the client to scale it up. Raster files cannot be scaled up without losing quality. Always export at the largest size needed and let the client scale down.
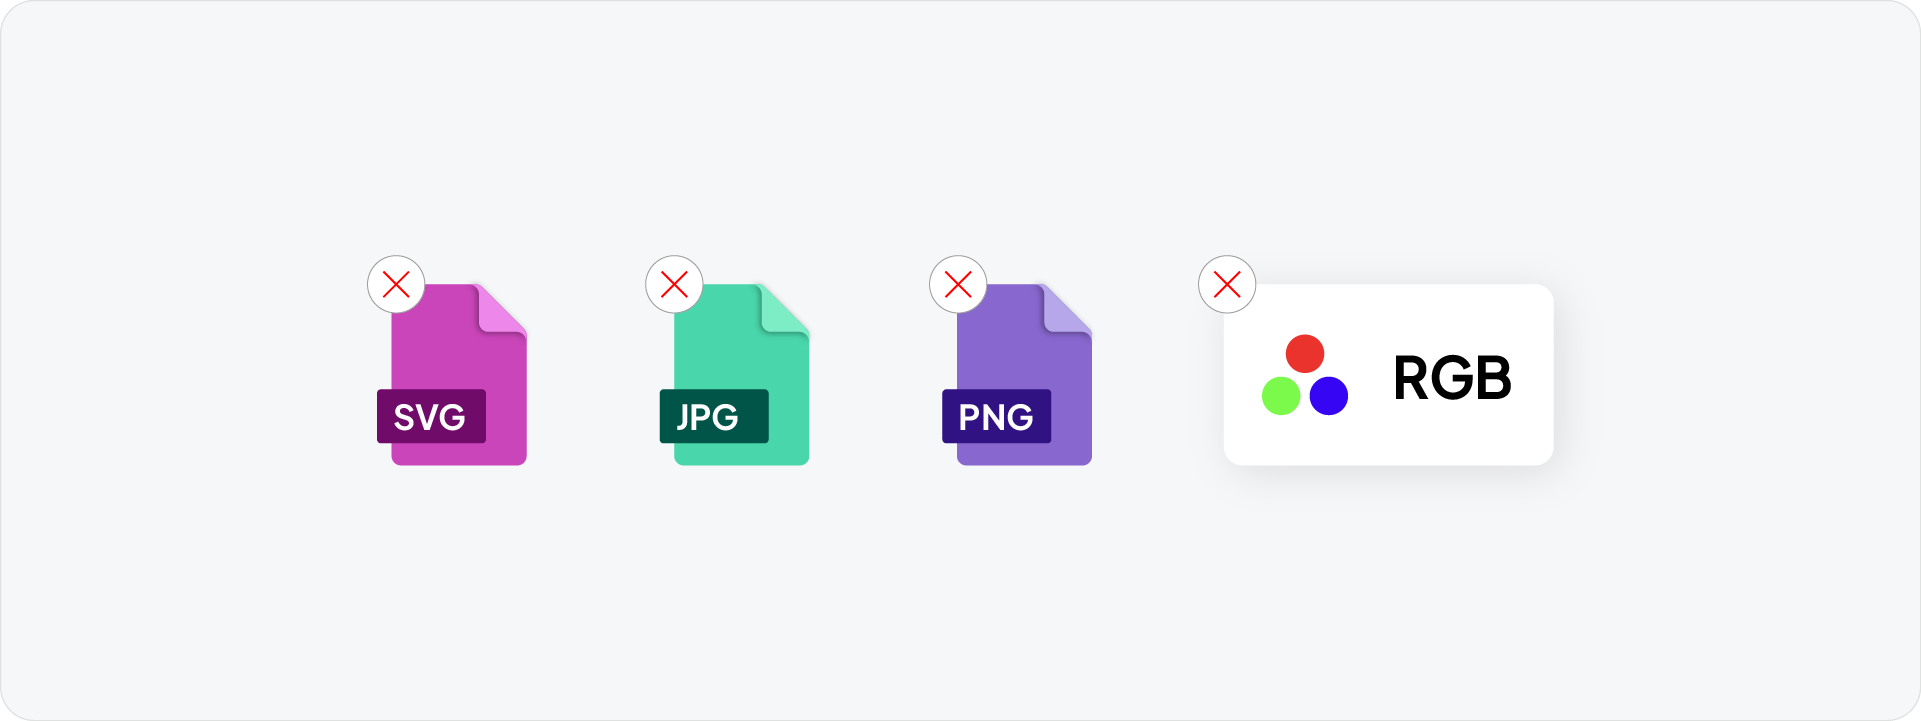
Exporting SVG with raster images embedded. If the logo uses a raster texture or photo element, SVG is not the right format. Use a high-resolution PNG instead.
Exporting PDF in RGB for print. Always switch to CMYK before exporting any print file in Illustrator.
Related Reading: For a complete breakdown of which formats belong in the print folder, read the logo file formats for print guide.
Organise your exports with the Logo File Structure
Once files are exported, organise them into the correct folder structure before zipping. Download the Logo File Structure for Client Delivery, a free pre-built folder system covering every format, colour variant, and variation in a consistent naming structure.
Export every format automatically with Exportit
Exportit is Akrivi's Logo File Generator built inside Adobe Illustrator. Rather than setting up export dialogs manually for each format, Exportit handles everything in one run:
- Selects your logo lockups from a visual grid
- Exports PNG and JPG raster files at the correct sizes for every digital context
- Exports AI, PDF, SVG, and EPS vector files in the correct colour modes for web and print
- Organises everything into the correct folder structure automatically
No manual PPI settings, no format switching, no naming files one by one. The complete high-resolution logo package is ready in minutes.
Generate Your Logo Files with Exportit

Conclusion
For digital use, export PNG at 72 PPI across multiple sizes. For print, always export a vector PDF in CMYK. PPI does not apply to vector files. Get the settings right once and every logo export from that point is consistent, sharp, and ready for any context. And if you want to skip the manual process entirely, Exportit handles every format, size, and colour mode automatically from inside Adobe Illustrator.